Real-Time Monitoring of Milli-Q Water Purifiers with Telemetry2U
Receive instant alerts when your Milli-Q system enters an alarm or warning state, or when critical water quality parameters—such as resistivity, conductivity, or flow rate—fall outside of acceptable thresholds. Stay informed in real time to prevent downtime and protect sensitive laboratory operations.
Real-Time Milli-Q Lab Water Monitoring with Telemetry2U
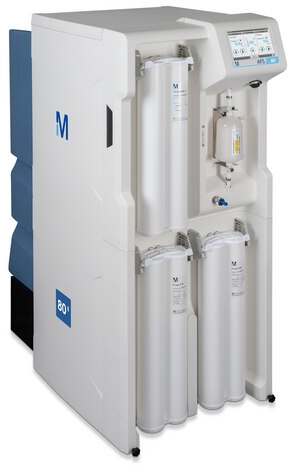
Purified water is critical in pathology and research laboratories, where it powers analysers and other essential equipment. Interruptions in water supply can cause costly delays, equipment damage, and workflow disruption. Traditionally, monitoring laboratory water systems in real-time has been expensive and complex, often involving high annual fees and limited flexibility.
Telemetry2U provides a cost-effective, cloud-based monitoring solution that integrates with Merck Millipore Milli-Q water purifiers over a LoRaWAN network. Our platform delivers real-time data, remote access, and instant alerts to help laboratories maintain continuous water quality and operational uptime.
LoRaWAN Integration for Merck Millipore CLX Systems with Telemetry2U
Telemetry2U provides an elegant, plug-and-play solution for connecting the Merck Millipore CLX range of water purification systems to the cloud via LoRaWAN. Access real-time parameters through user-friendly dashboards and configure alerts via email, SMS, or voice to be notified immediately if water quality drops or the system enters an alert state. Historical data can also be reviewed to support preventative maintenance and optimise system performance.
The CLX systems support an optional Data Report (DRP) output accessory, offering two 24V digital and two 4–20mA analogue outputs. Once installed, these outputs are accessible through a dedicated connector and cable.
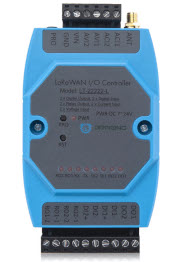
The Dragino LT22222L I/O Controller includes two digital and two 4–20mA inputs, making it the ideal LoRaWAN interface for CLX systems.
Telemetry2U offers a complete plug-and-play package, including all required hardware, installation, and configuration. Contact us today for an obligation-free quote.
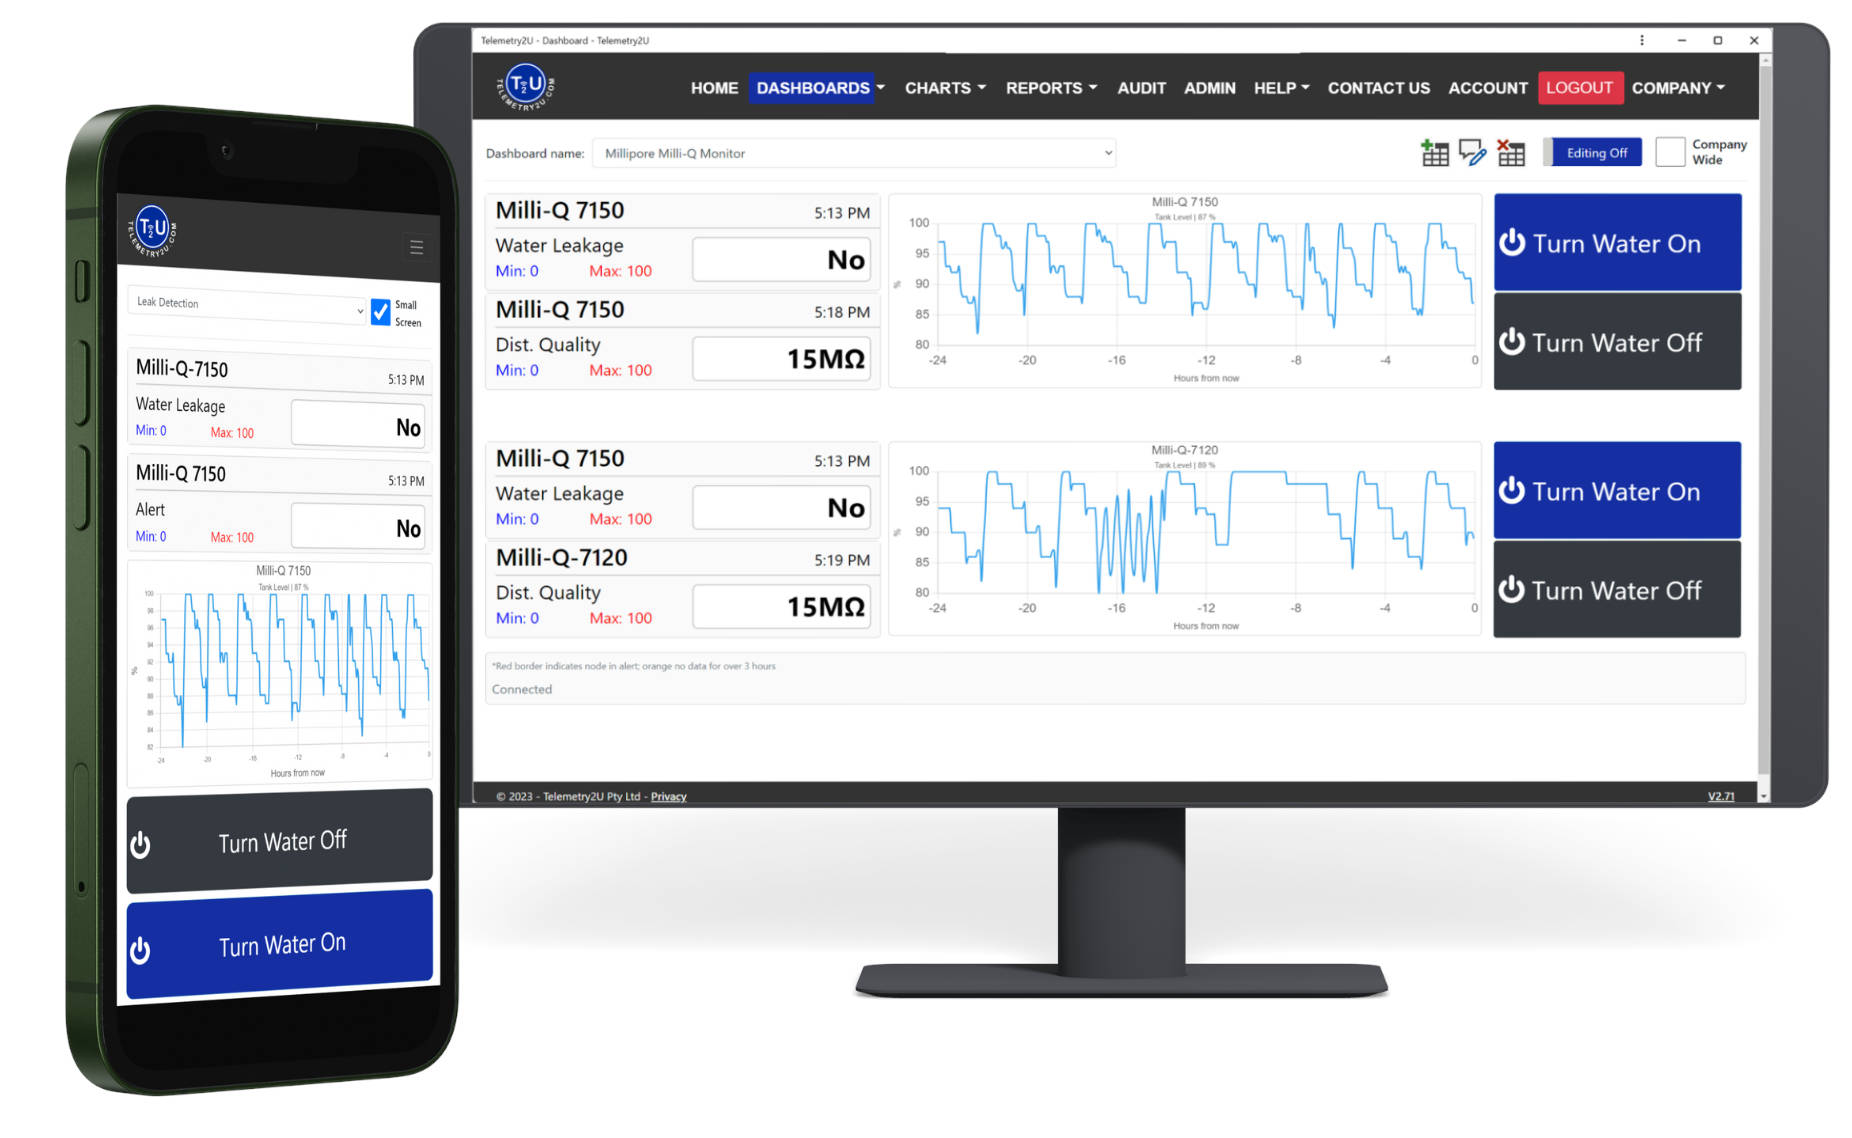
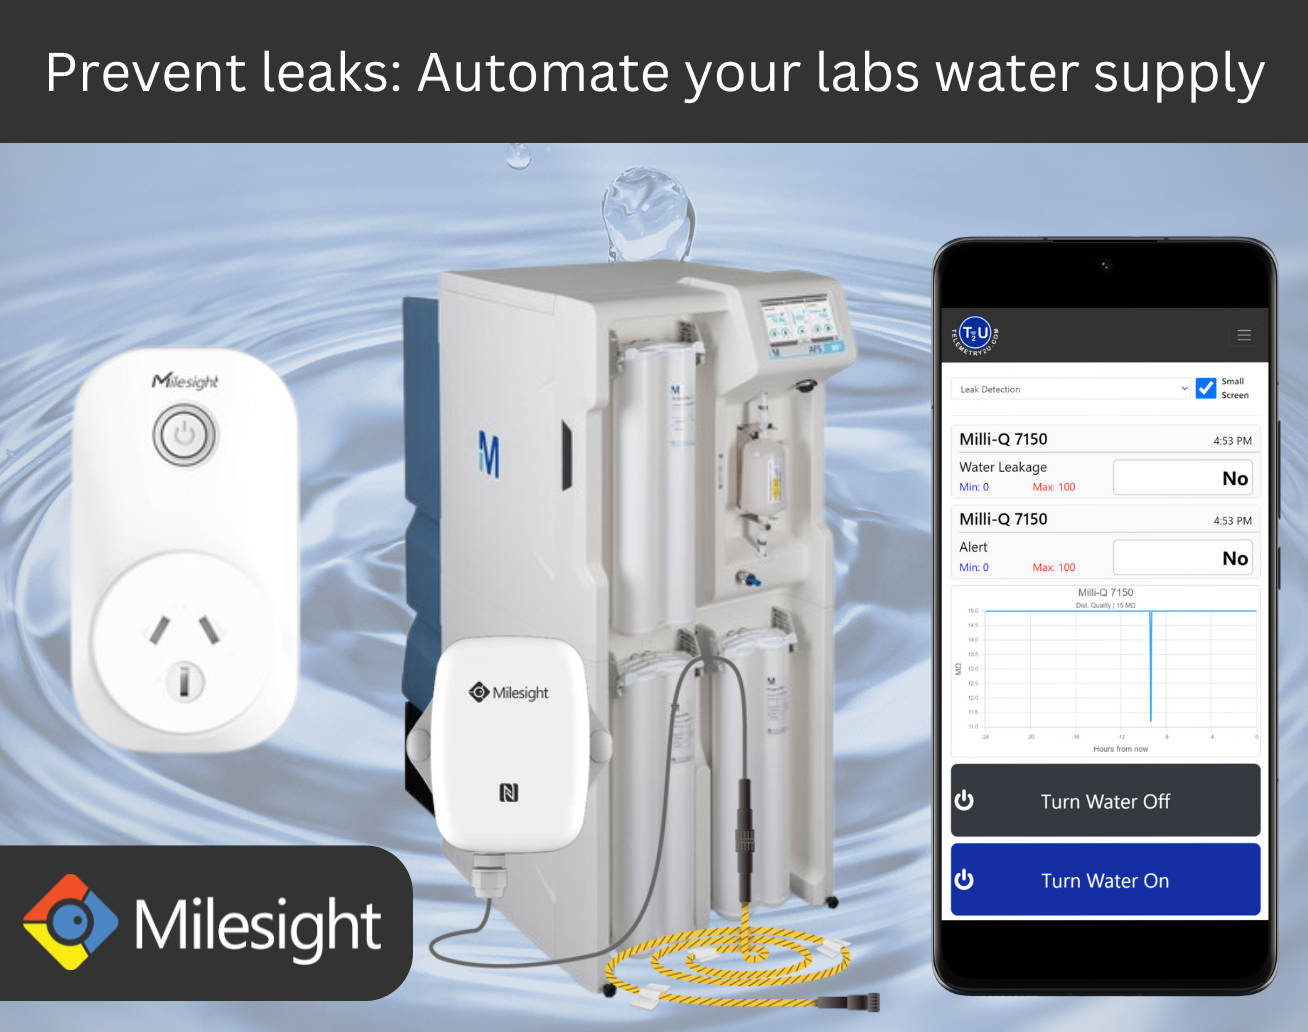
Leak Detection and Automated Shutdown for Milli-Q Water Systems
Protect your laboratory from water damage with Telemetry2U’s smart leak detection and automated shutdown system. When integrated with your Merck Millipore Milli-Q® Water Purifier, the system continuously monitors for leaks using high-precision LoRaWAN-connected sensors.
If a leak is detected, you’ll receive instant notifications via email, SMS, or voice call. But the response doesn’t stop there—Telemetry2U automatically shuts down the purifier’s power and activates a solenoid to close the water inlet, stopping the flow immediately.
- Enhanced Safety: Prevent water damage and protect critical lab equipment.
- Fast, Automated Response: Leak events are managed instantly to minimise risk and downtime.
- Complete Oversight: Real-time alerts and system automation provide confidence in uninterrupted operation.
With Telemetry2U, your water purification system becomes part of a smarter, safer lab environment.
Quick and Easy Installation of Your Telemetry2U Monitoring System
Telemetry2U provides this solution in a plug-and-play format. If preferred, a certified Merck Millipore service engineer can install the required components and configure the system on-site. The process is fast and causes minimal interruption. Alternatively, your internal technical team can follow the steps below to complete the integration.
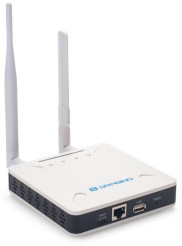
1. Install a LoRaWAN Gateway On-Site
LoRaWAN gateways establish long-range RF communication between sensors and the cloud. A single gateway can support hundreds of sensors, and it offers excellent range—even indoors in lab environments. Gateways can connect via Ethernet, Wi-Fi, or 4G and can be battery-backed for reliability.
View our LoRaWAN Network Setup Guide or watch our setup video on YouTube.
2. Install the DRP Interface Kit in the Milli-Q CLX
The DRP kit includes a connector and pigtail cable, and must be ordered separately. Installation takes under 15 minutes with minimal downtime. Enable outputs via:
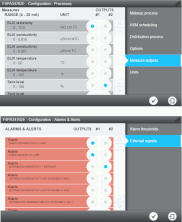
- Processes > Options > Alarm and Alert Outputs
- Processes > Options > Measure Outputs
Analogue Output 1: Elix Resistivity (MΩ.cm TC)
Analogue Output 2: Tank Level (%)
Digital Output 1: Alerts
Digital Output 2: Major Alerts
3. Configure the Dragino LT22222L I/O Controller
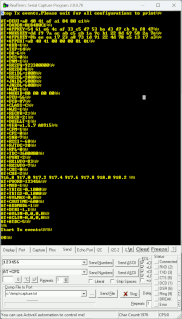
Connect via terminal software like RealTerm (9600:8:N:1) and enter the following commands:
AT+CFM=1– Enable message confirmationAT+ADDMOD6=1– Enable triggering modeAT+DTRI=1,1– Enable digital input interruptsAT+TRIG1=0,1000– Configure DI1 (24V, 1s delay)AT+TRIG2=0,1000– Configure DI2 (24V, 1s delay)
Ensure the frequency plan matches the gateway before registering on the Telemetry2U platform.
4. Wire the I/O Controller to the DRP Cable
Provide 12–24V DC to the controller (e.g., via this power supply). Connect using the table below:
| DRP Pin | Colour | Description | LT22222L Input |
|---|---|---|---|
| 1 | Brown | Alarm 2 - +24V | DI1+ |
| 2 | Blue | Alarm 1 - Trigger | DI1− |
| 3 | Pink | Alarm 2 - +24V | DI2+ |
| 4 | Yellow | Alarm 2 - Trigger | DI2− |
| 5 | Red | 4–20mA Out 1 + | ACI1 |
| 6 | Violet | 4–20mA Out 1 − | GND |
| 7 | Grey/Pink | 4–20mA Out 2 + | ACI2 |
| 8 | Red/Blue | 4–20mA Out 2 − | GND |
5. Calibrate and Configure on Telemetry2U
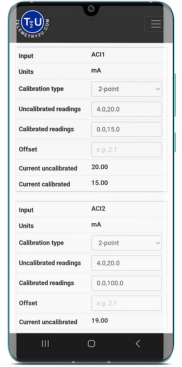
Set up signal scaling on the Telemetry2U platform under Admin > Calibrations:
- ACI1: Uncalibrated
4,20→ Calibrated0,15(MΩ.cm) - ACI2: Uncalibrated
4,20→ Calibrated0,100(%)
Customise labels under Admin > Node Maintenance > Input Labels:
| Input | Label | Units | Precision | Translator |
|---|---|---|---|---|
| ACI1 | Distribution Quality | MΩ.cm TC | 1 | None |
| ACI2 | Tank Level | % | 0 | None |
| DI1 | Alert | N/A | N/A | 0/1 => Alarm/No Alarm |
| DI2 | Major Alert | N/A | N/A | 0/1 => Alarm/No Alarm |
Tip: Hide unused inputs to streamline dashboards and reports.
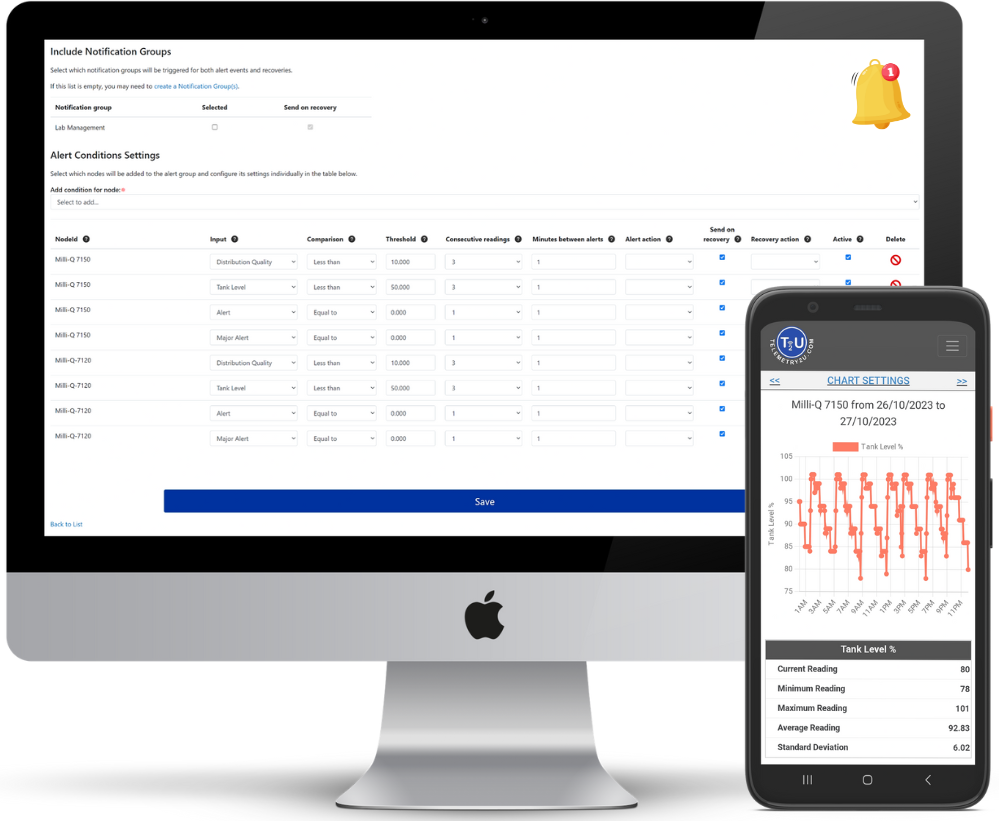
Real-Time Alerts for Water Quality Monitoring
In addition to viewing live water quality data on responsive dashboards and charts, you can configure a variety of alerts that notify your team via email, SMS, or voice call when critical parameters fall outside set thresholds. This ensures you have time to act before small issues escalate into costly downtime.
In this example, alerts are set up for distribution loop quality and tank level, but any monitored parameter—such as RO permeate quality or RO recovery—can be assigned to an output using the Milli-Q CLX interface. This allows early detection of suboptimal performance across system components.
Access can also be granted to your service technician, enabling remote monitoring and potentially reducing unnecessary call-out fees.
You’ll receive immediate notifications for any system-generated alerts or alarms, helping you stay on top of preventative maintenance and ensuring consistent water quality.
Contact us today for an obligation-free quote or demonstration.