Start Your Free 14-Day IoT Platform Trial – LoRaWAN, NB-IoT & LTE
This guide shows you how to sign up for a 14-day free trial of the Telemetry2U IoT platform, connect LoRaWAN, NB-IoT, or LTE devices, and start receiving data through networks like Helium or TTI. You’ll also learn how to add your own LoRaWAN gateway and host a private network, with the option to subscribe to a tailored plan at the end of the trial.
Getting Started with Your Free IoT Platform Trial
Anyone can sign up and try the Telemetry2U IoT platform free for 14 days. During the trial, you can add and test your own LoRaWAN, NB-IoT, or LTE devices, and integrate them through networks like Helium or The Things Stack (TTI). You can also add your own LoRaWAN gateway and host a private network. When the trial ends, you can subscribe to a plan tailored to your needs. This step-by-step guide works on any PC or smartphone.
What You’ll Need Before Starting Your Free Trial
- A current and accessible email address.
- Access to a public network (Helium or TTS) or a LoRaWAN gateway that you can configure to work with Telemetry2U's IoT Platform.
Creating Your Free Telemetry2U Account
Using any web browser, visit https://telemetry2u.com. Click the Register button from the top menu. If Register is not visible, you're already logged in as a demo user and must Logout first.
Enter a valid email address and your mobile number in international format (e.g., +61xxxxxxxxx), then choose a password.
Note:
Passwords must include at least one uppercase letter, one lowercase letter, one digit, one special character, and be a minimum of six characters long.
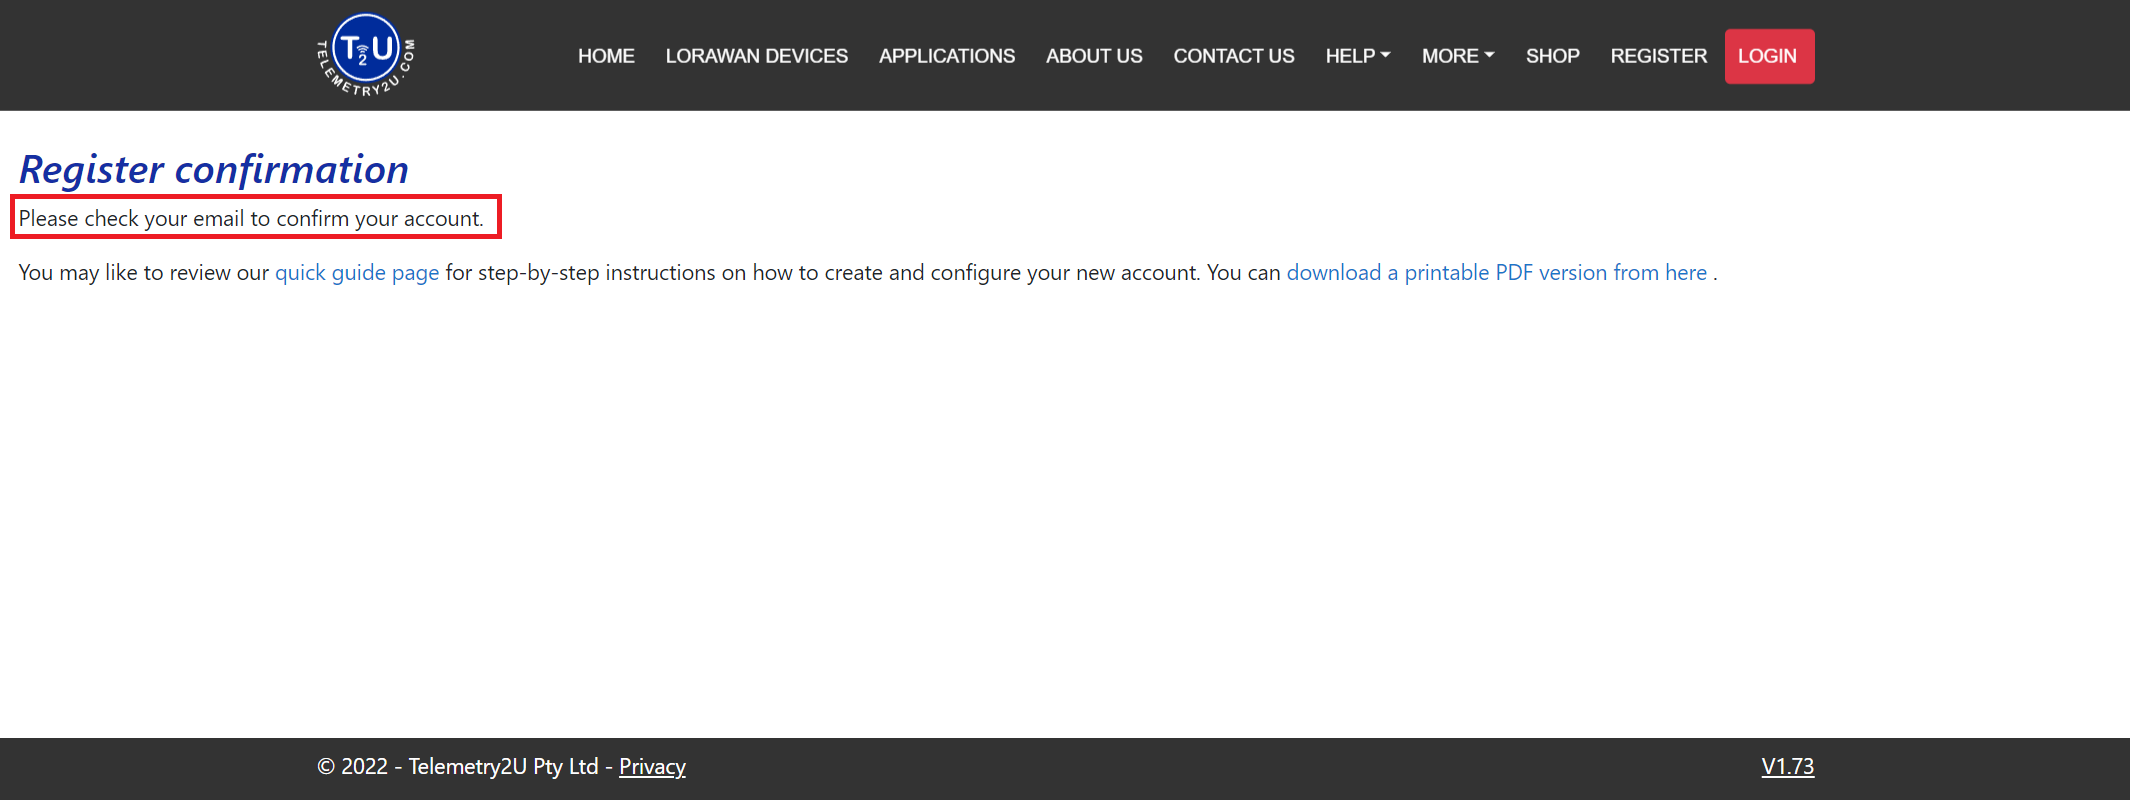
Click the Register button to continue. You'll be redirected to a confirmation screen advising you to check your email inbox.
Check your inbox for a welcome email from Telemetry2U that includes the following message:
Welcome to Telemetry2U!
Please confirm your account by clicking here. Please note it will not be possible to login until your e-mail address has been confirmed.
This e-mail has been generated in response to a request to register a new account on the Telemetry2U platform. If you did not originate this request, you may simply ignore this message or contact sales@telemetry2u.com for further information.
We look forward to seeing you soon,
The Telemetry2U Team.
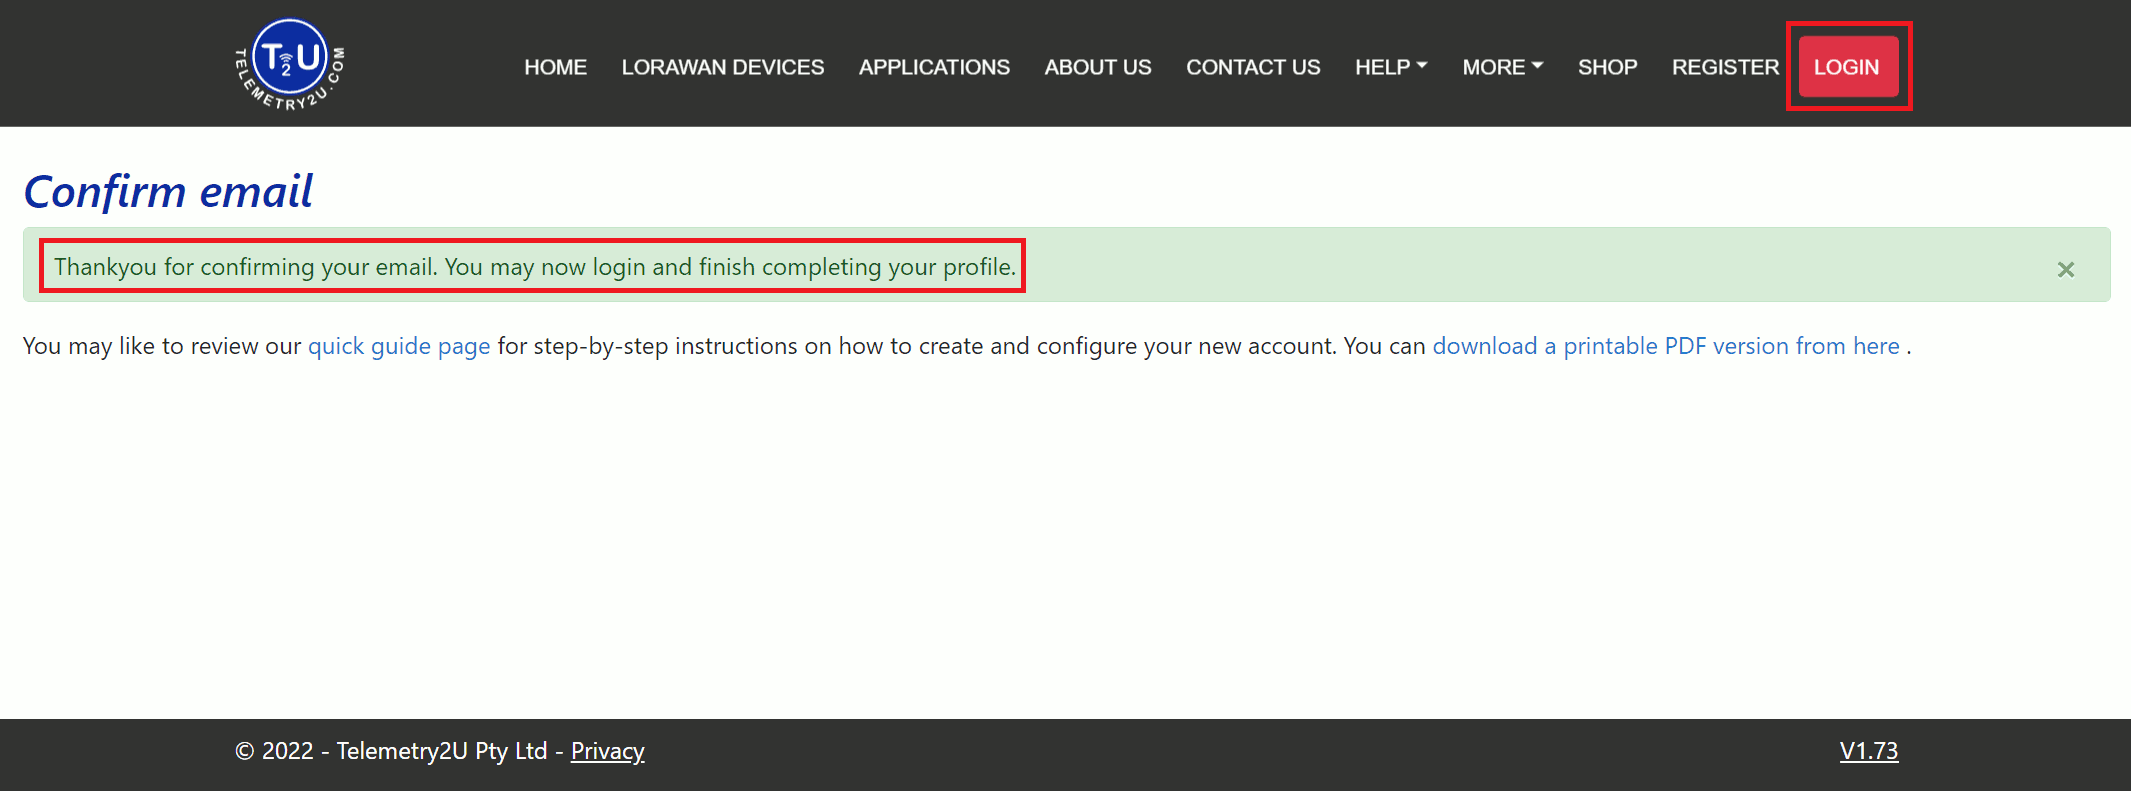
Click the confirmation link in the email to complete the registration process. You’ll then see a page confirming that your account has been successfully activated.
Logging In and Starting Your Free Trial
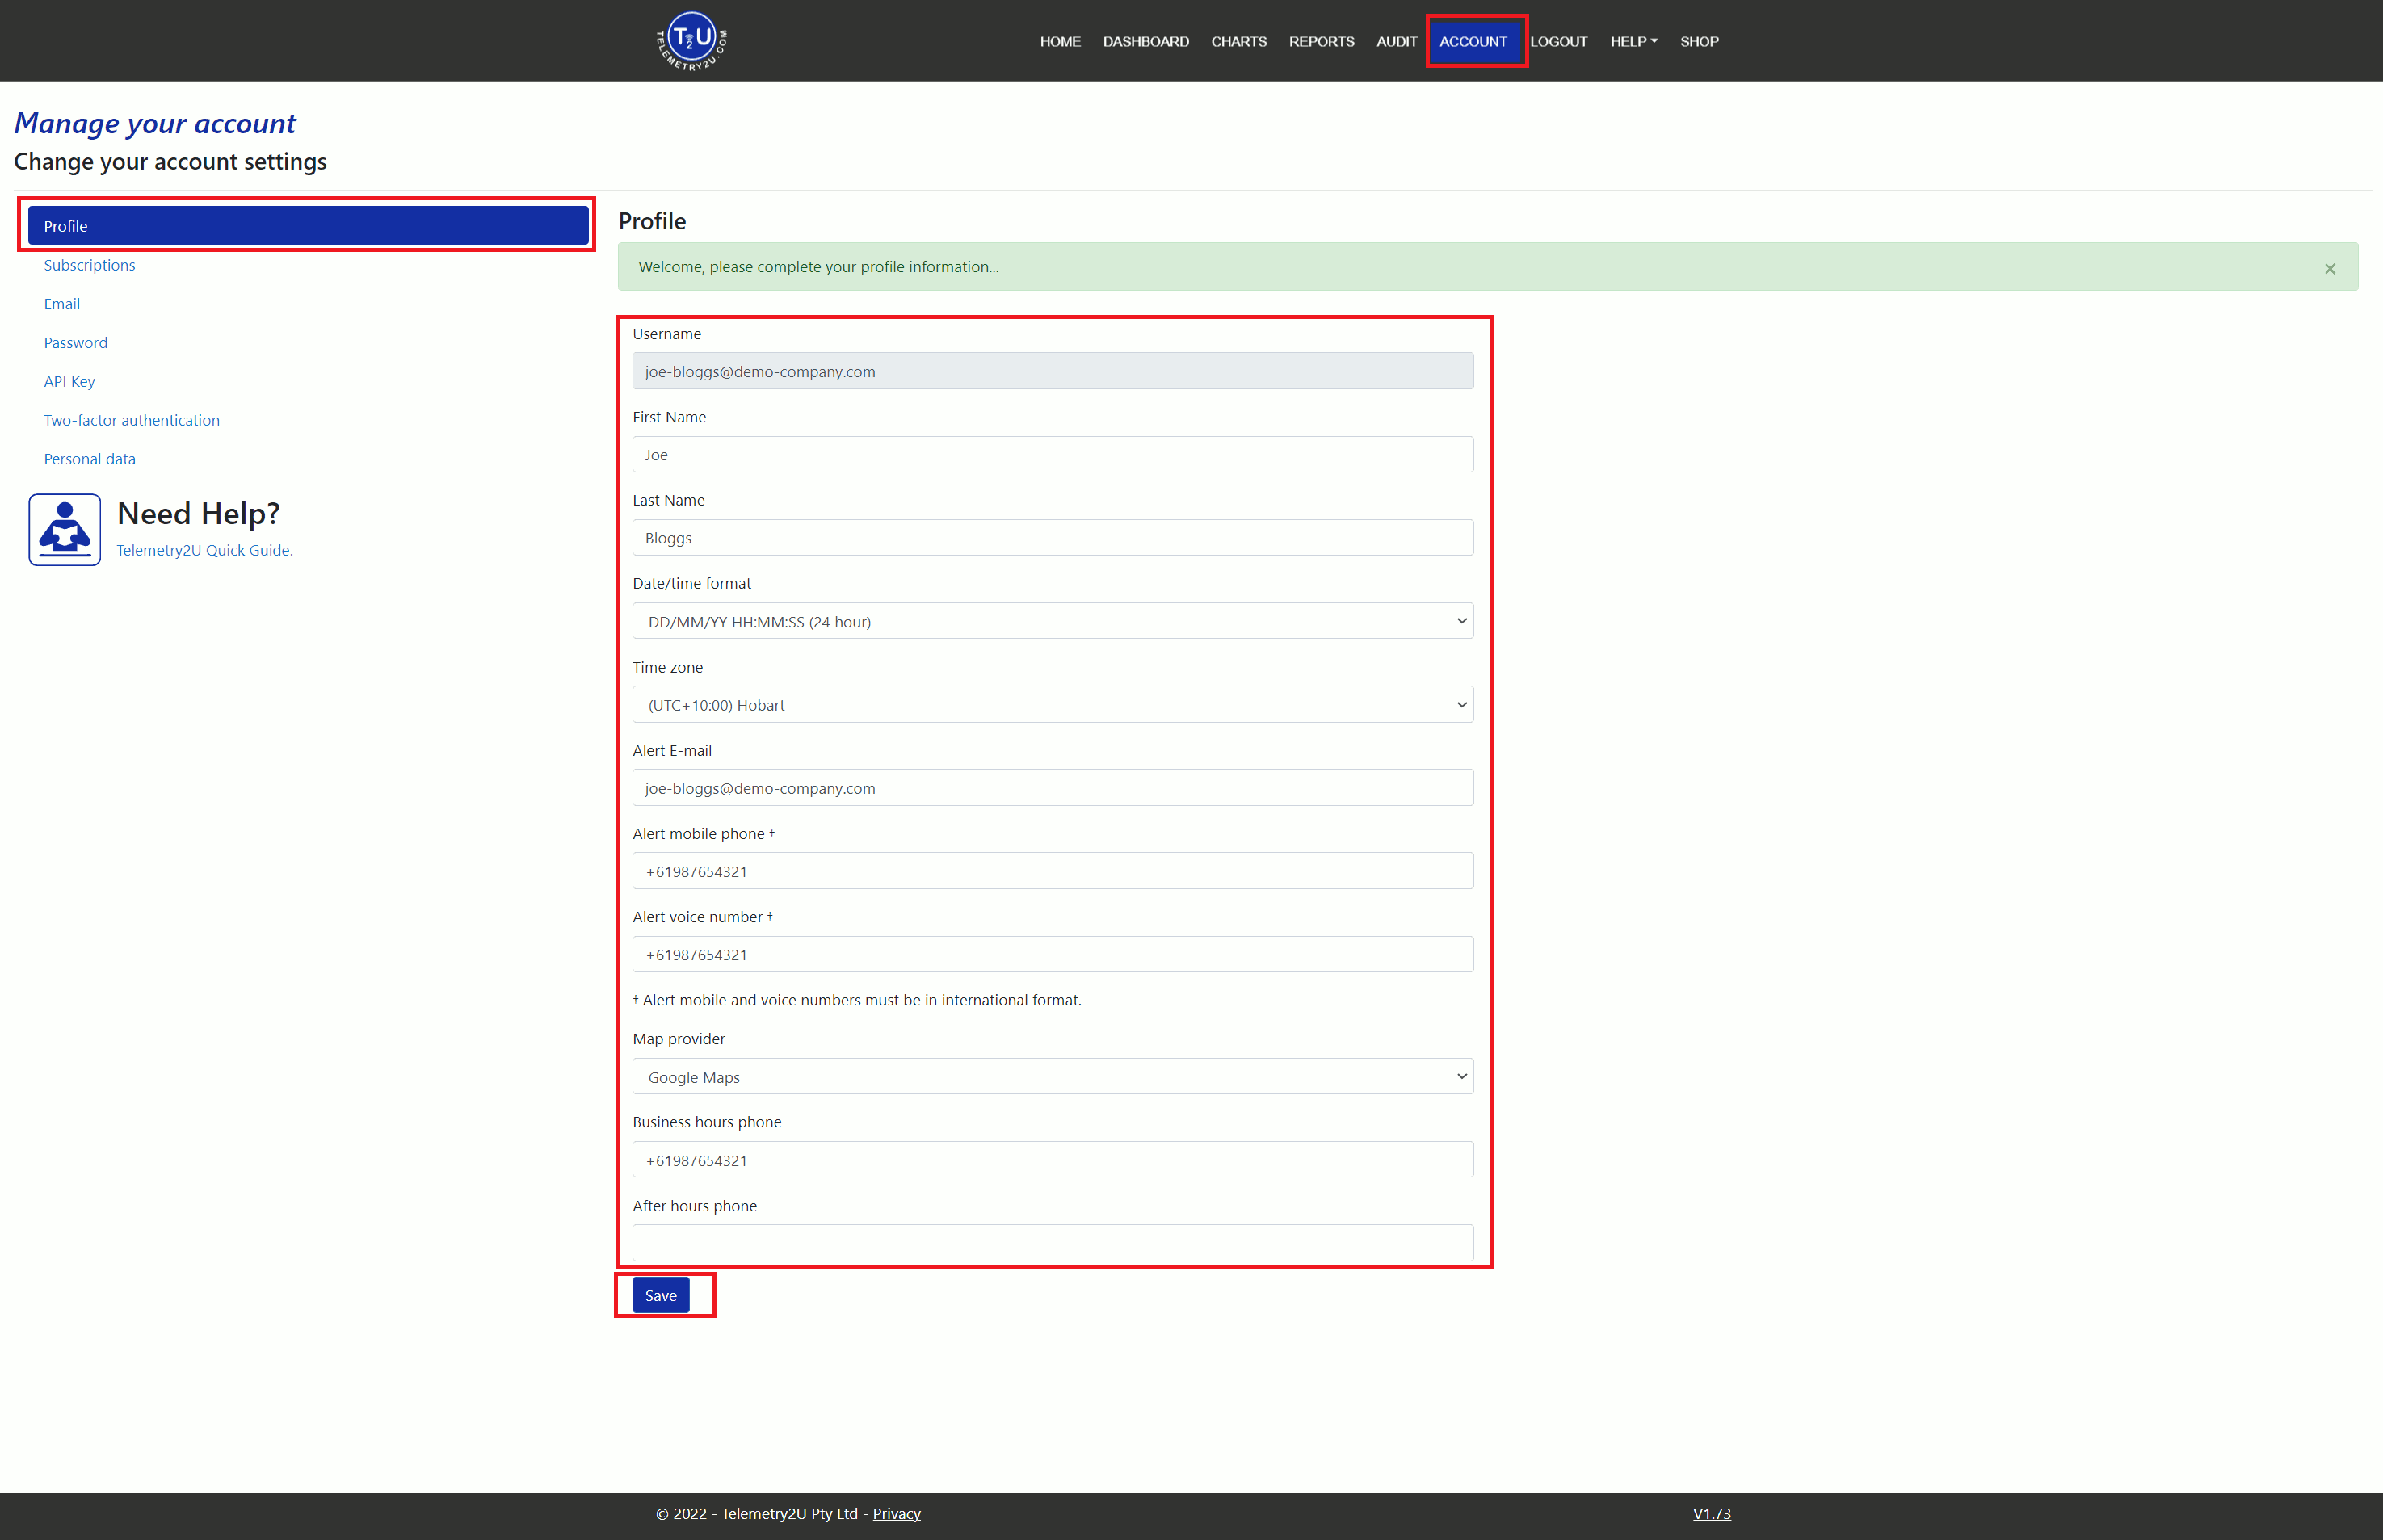
You can now log in to the Telemetry2U IoT platform. On your first login, you'll be taken directly to the Profiles section in your Account settings.
All fields are optional, but your account name will default to your First Name and Last Name. If these fields are blank, the account name will display as TBA TBA.
Note:
If you would like to change your Company Name or Description, please contact Telemetry2U and we’ll update it for you.
It’s a good idea to select the correct Time Zone, as this will be used for all data record timestamps. The Alert Email address defaults to your login email but can be changed to any address you prefer.
Once complete, click the Save button at the bottom of the page. You'll then be taken to a welcome screen. Click the link that says Manage your subscriptions.
You should now be on the Subscriptions page. If not, navigate there manually via Account >> Subscriptions.
Click on the Start Free Trial button.
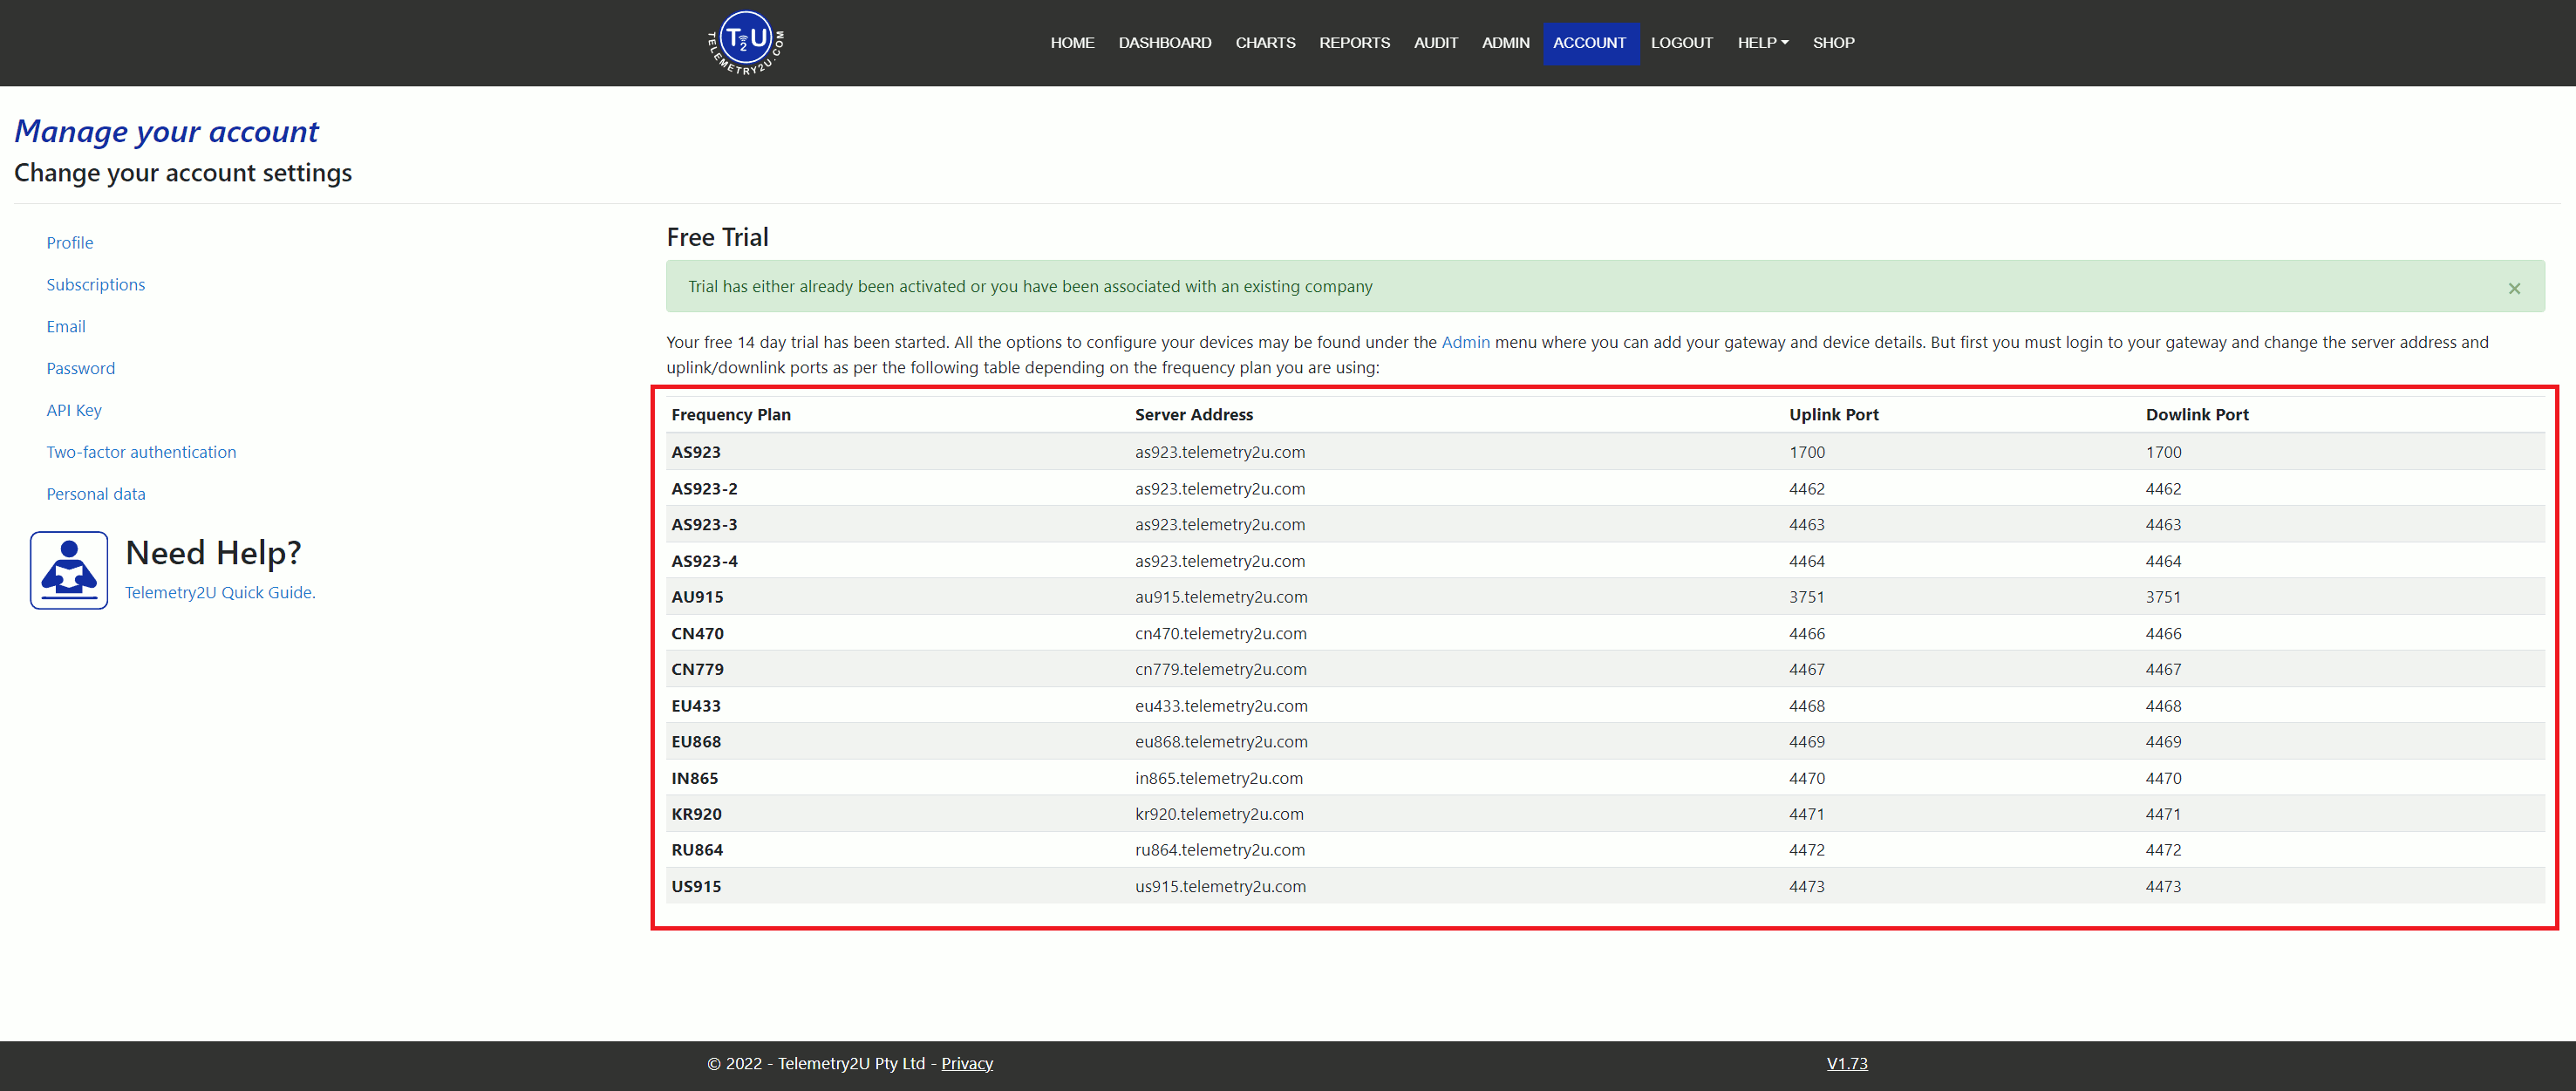
You’ll be taken to a page confirming that your trial has started. It will also display your LoRaWAN gateway settings, including Frequency Plan, Server Address, Uplink Port, and Downlink Port, in case you want to add your own gateway.
This completes the process. You can now integrate your sensors with the Telemetry2U platform and begin setting things up. We recommend reviewing the Telemetry2U Quick Guide to get started.
Upgrading Your Telemetry2U Subscription and Unlocking Features
The free trial of the Telemetry2U IoT platform has a few limitations. To continue using the platform and unlock all available features, you’ll need to upgrade your subscription.
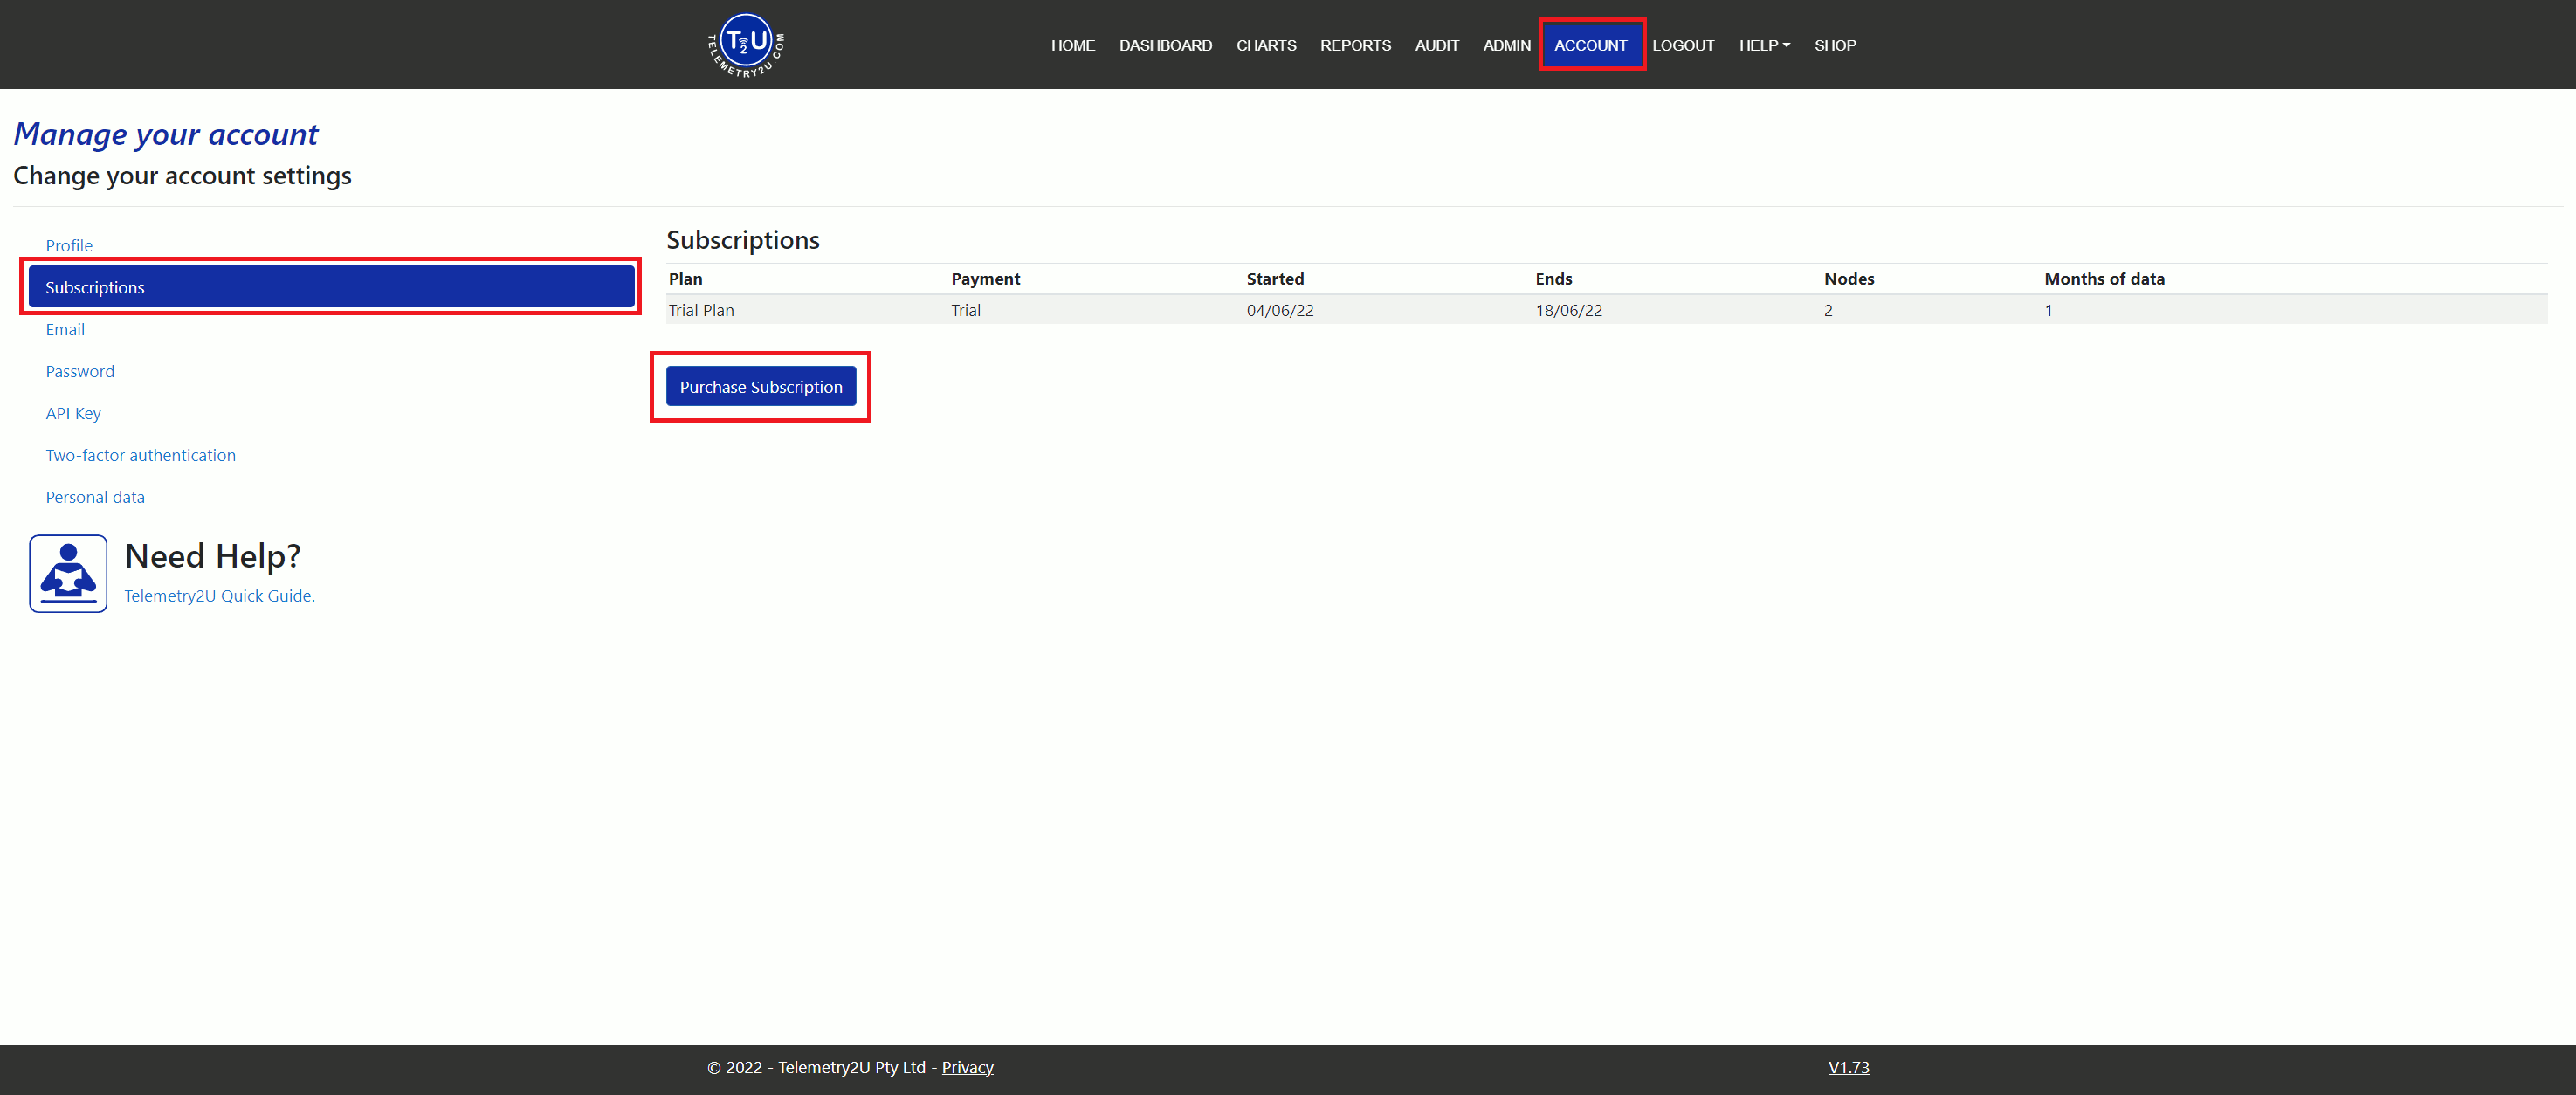
To do this, go to Account >> Subscriptions, then click the Purchase Subscription button.
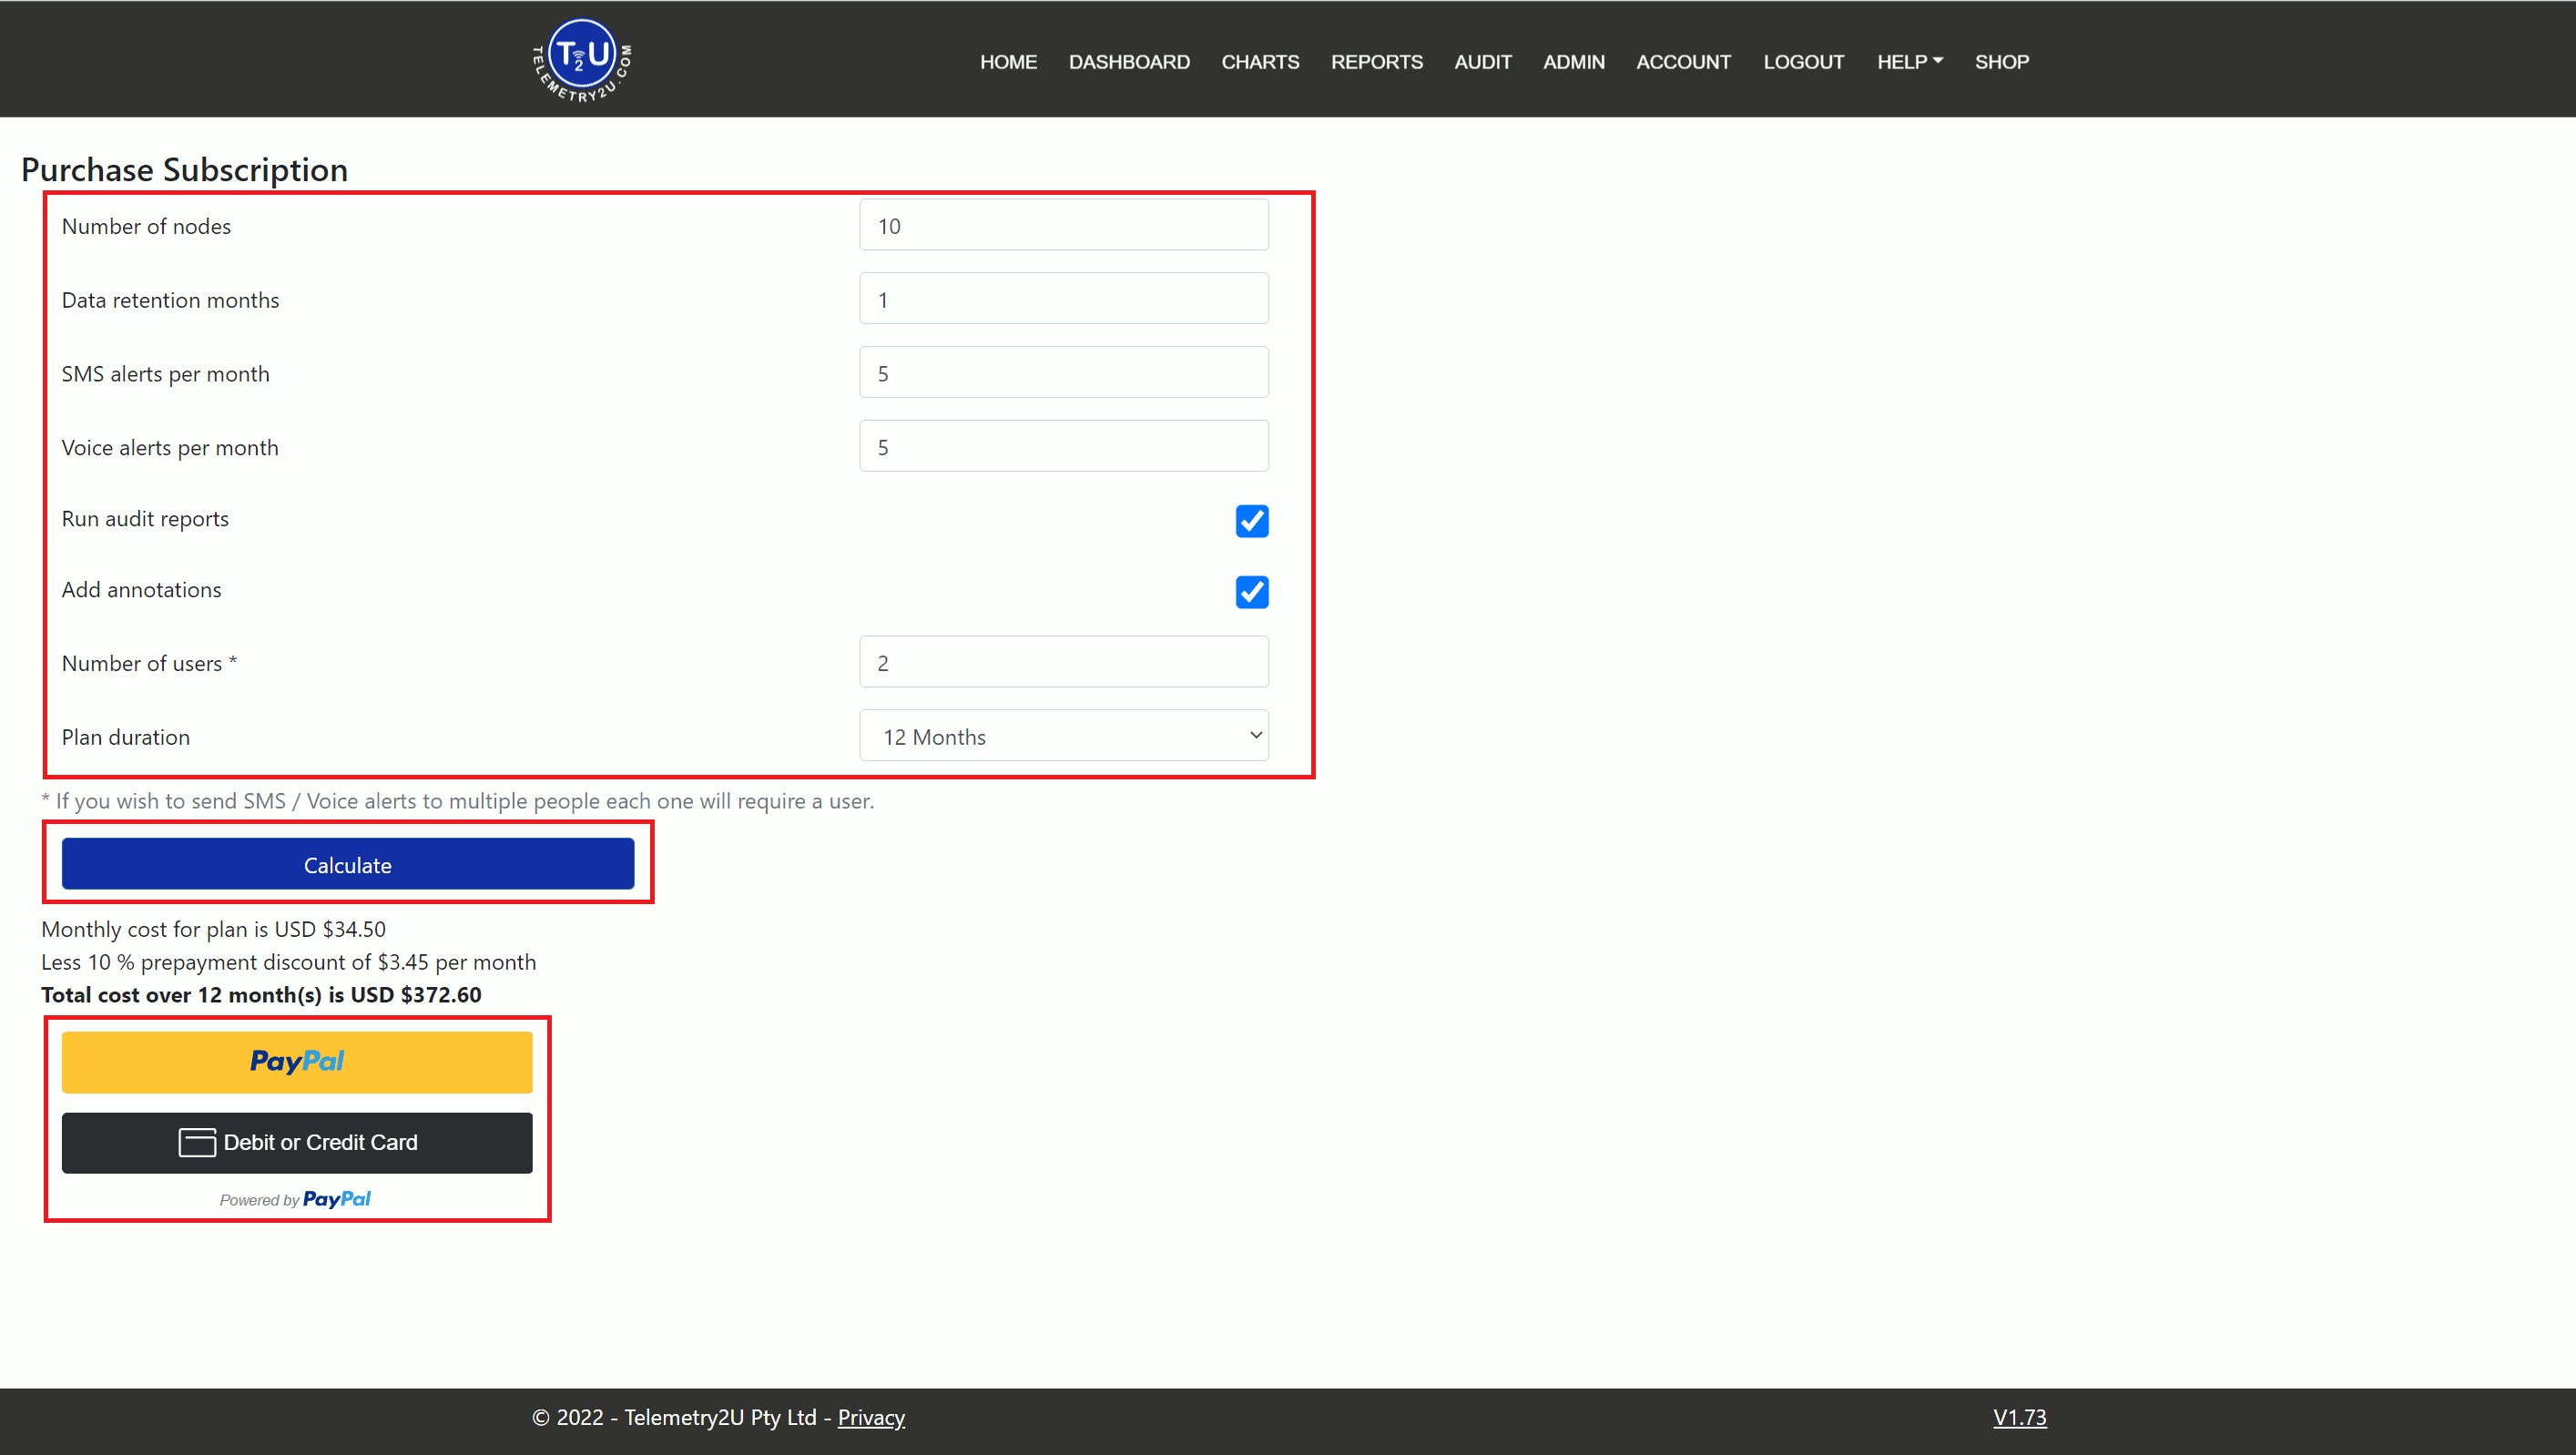
You’ll be taken to a subscription calculator where you can enter your requirements and click Calculate to preview pricing. You can then pay using PayPal or a Debit or Credit Card.
Your subscription can be changed or cancelled at any time.
Thank you for choosing Telemetry2U for your IoT applications. If you need any assistance, please contact us—we’re happy to help.
