Telemetry2U Registration Help Contents
Registering with Telemetry2U is straightforward. Provide your email address, create a secure password, and confirm your account via the email link. Upon first login, complete your profile with personal and notification details. You can then start a 14-day free trial or join an existing company account.
1.1 - Register an Account
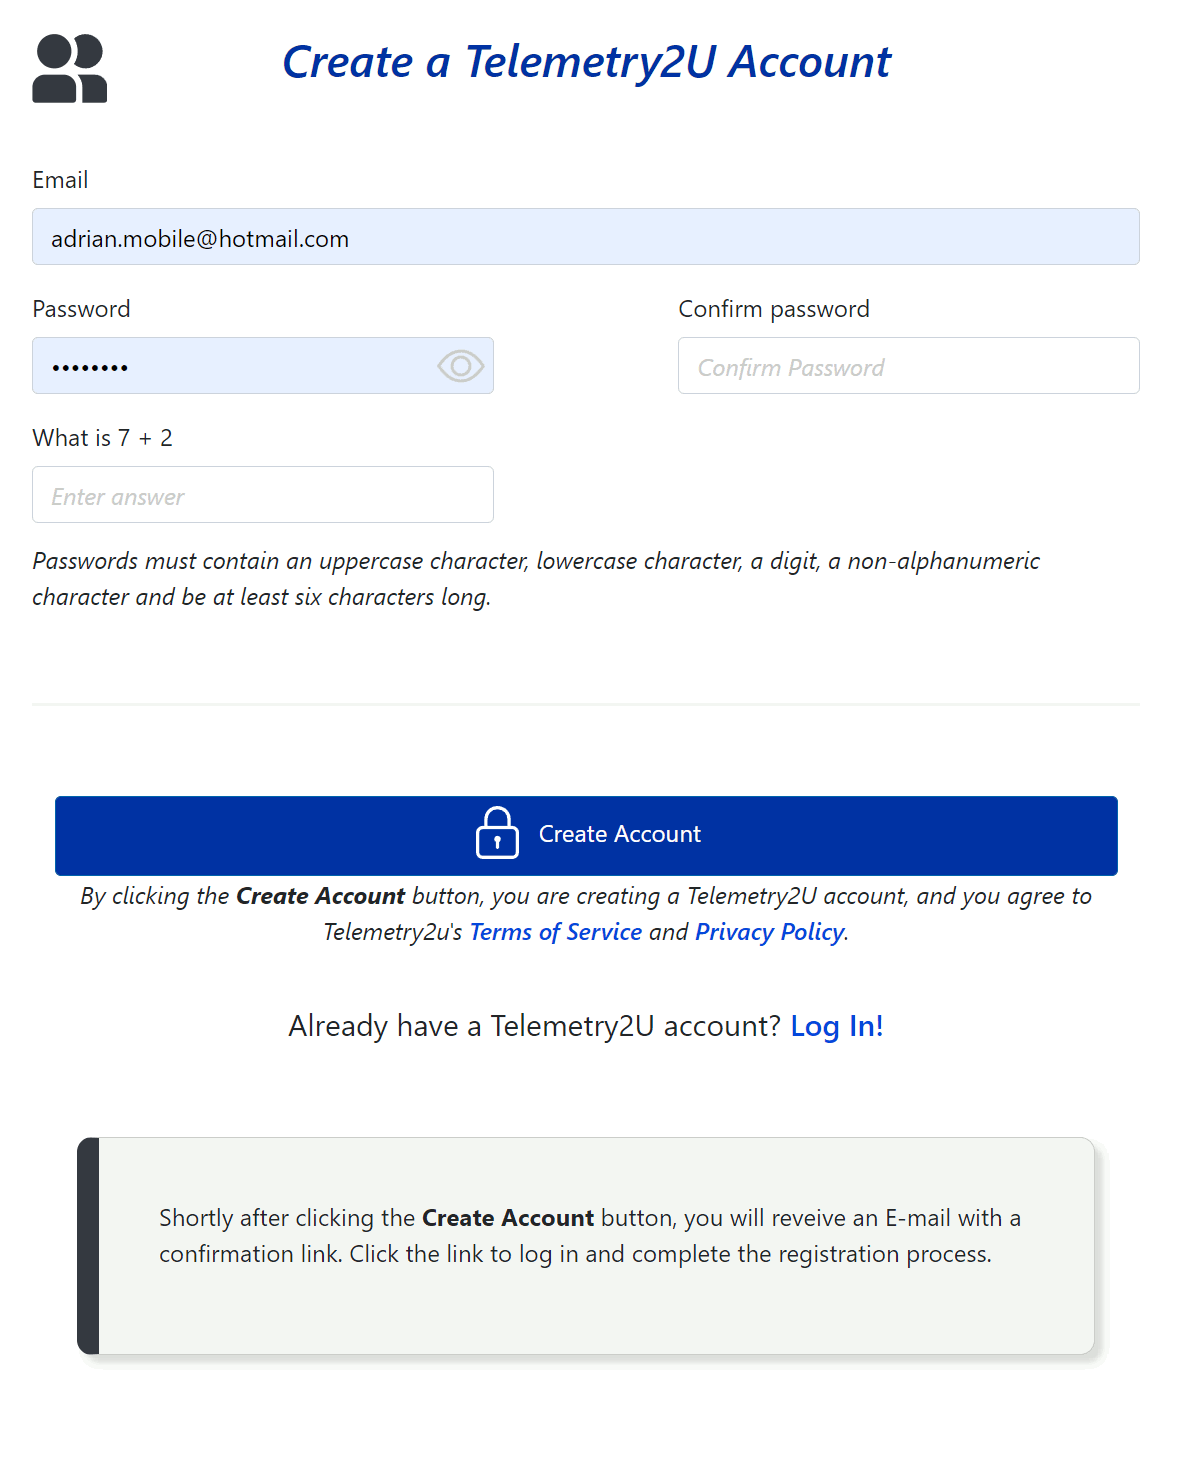
To register a new account, visit https://telemetry2u.com and click on the Register link in the top right corner.
Complete the basic from by providing the following details.
- A valid email address
- A password which must contain at least one symbol, capital letter, and number.
- Answer the basic question correctly before
Hit the Create Account button. If the from was completed correctly, you will receive an email similar to below within a couple of minutes.
Welcome to Telemetry2U!
Please confirm your account by clicking here. Please note it will not be possible to login until your e-mail address has been confirmed.
This e-mail has been generated in response to a request to register a new account on the Telemetry2U platform. If you did not originate this request, you may simply ignore this message or contact https://telemetry2u.com for further information.
We look forward to seeing you soon,
The Telemetry2U Team.
Once you've clicked the confirmation link, your account will have been activated and you will be taken to a page prompting you to log if for the first time.
Use your email address and password to log in now.
1.2 - First Login
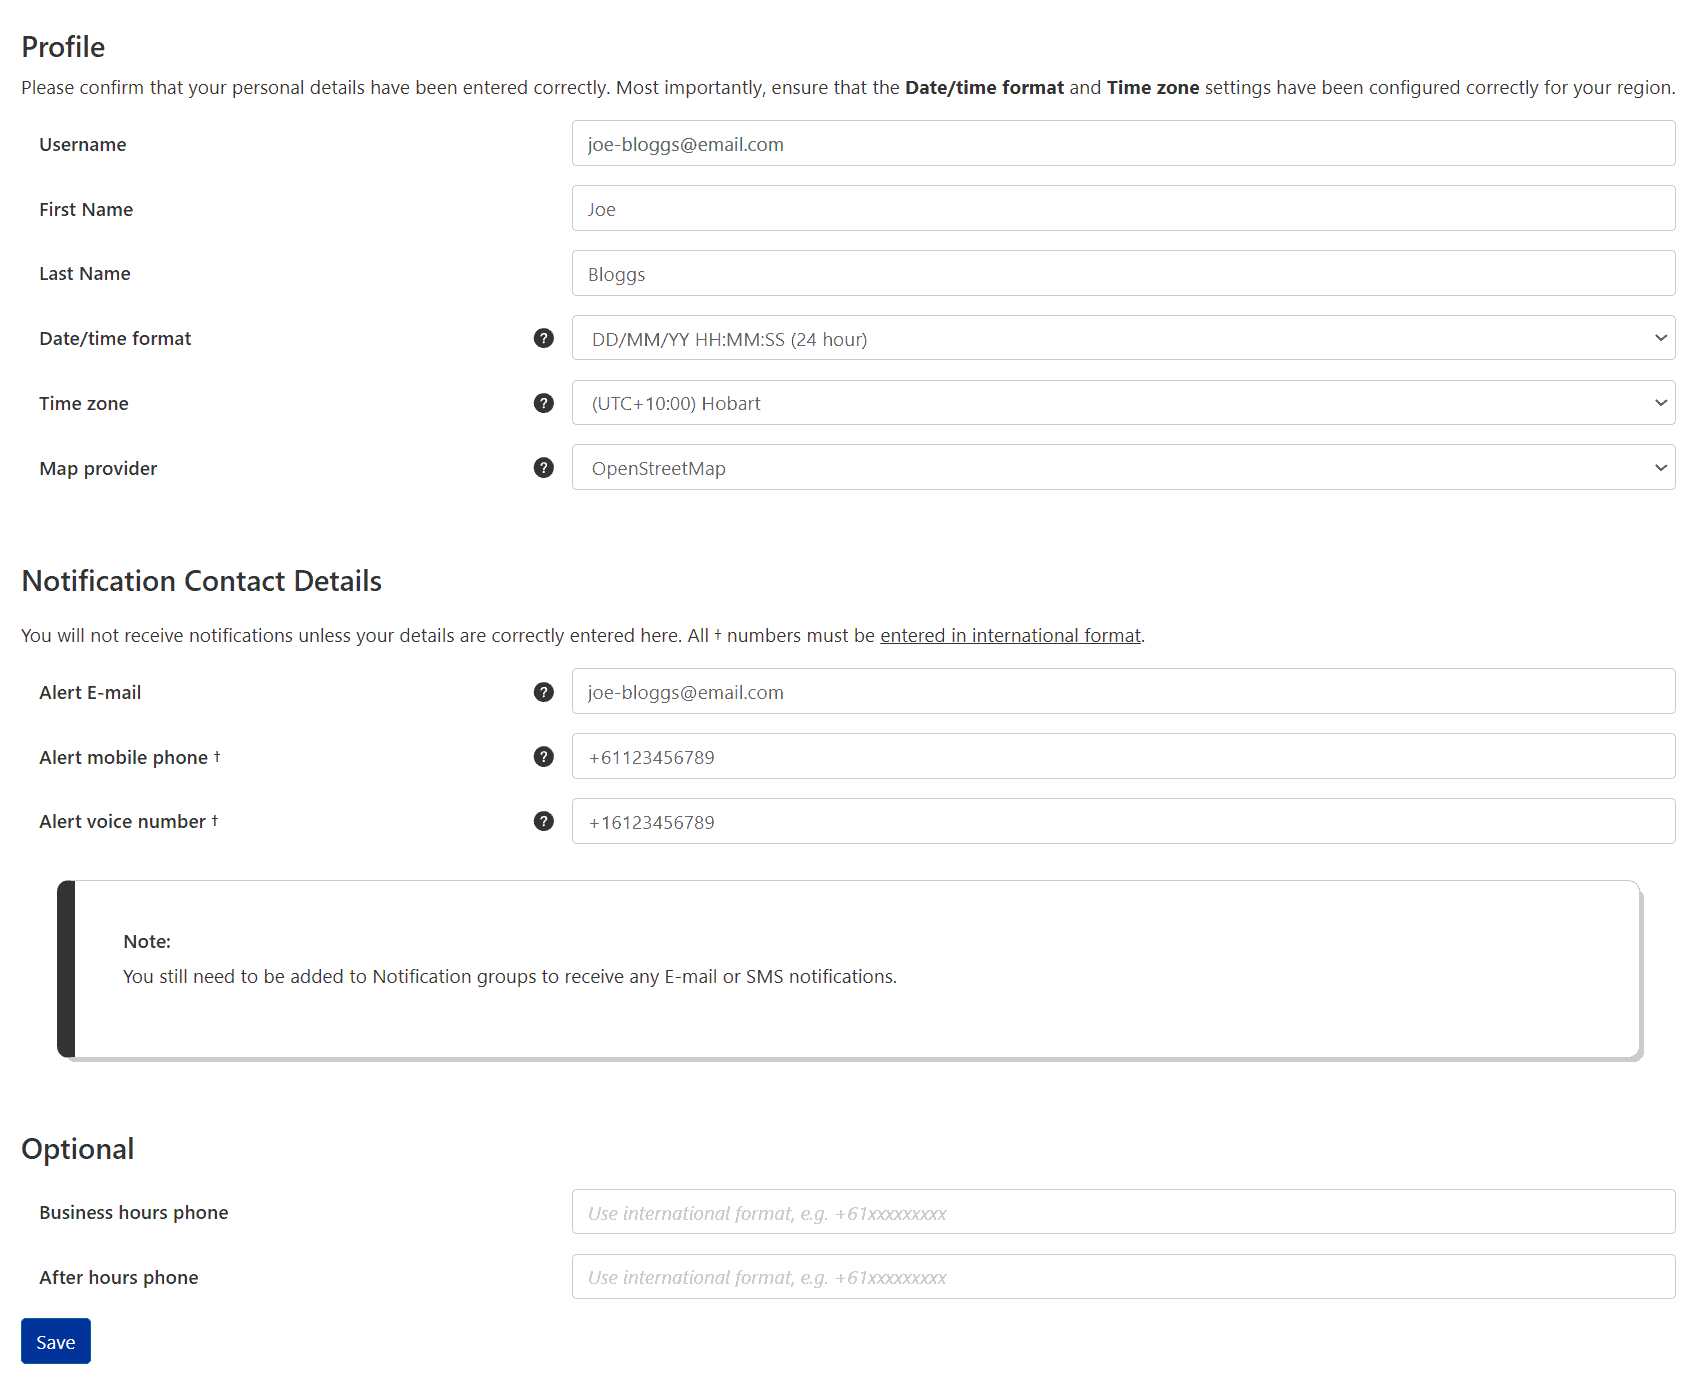
Once you have logged into your account successfully for the first time, you will be taken to your accounts profile page where you will need to confirm your details and complete the following fields.
- First Name
- Last Name
- Select your preferred date/time format
- Select you time zone
If you would eventually like to receive email, SMS, and voice notifications from sensor alerts, you need to complete the following fields in the Notification Contact Details section.
- Alert E-mail - The email address that will receive alert notification
- Alert Mobile Phone - The mobile phone number that will receive SMS alert notification
- Alert Voice Number - The phone number that will receive voice alert notification
Click the Save button at the bottom of the page when complete.
Note:
All phone numbers must be entered in international format, otherwise SMS and voice notifications may not be received reliably.
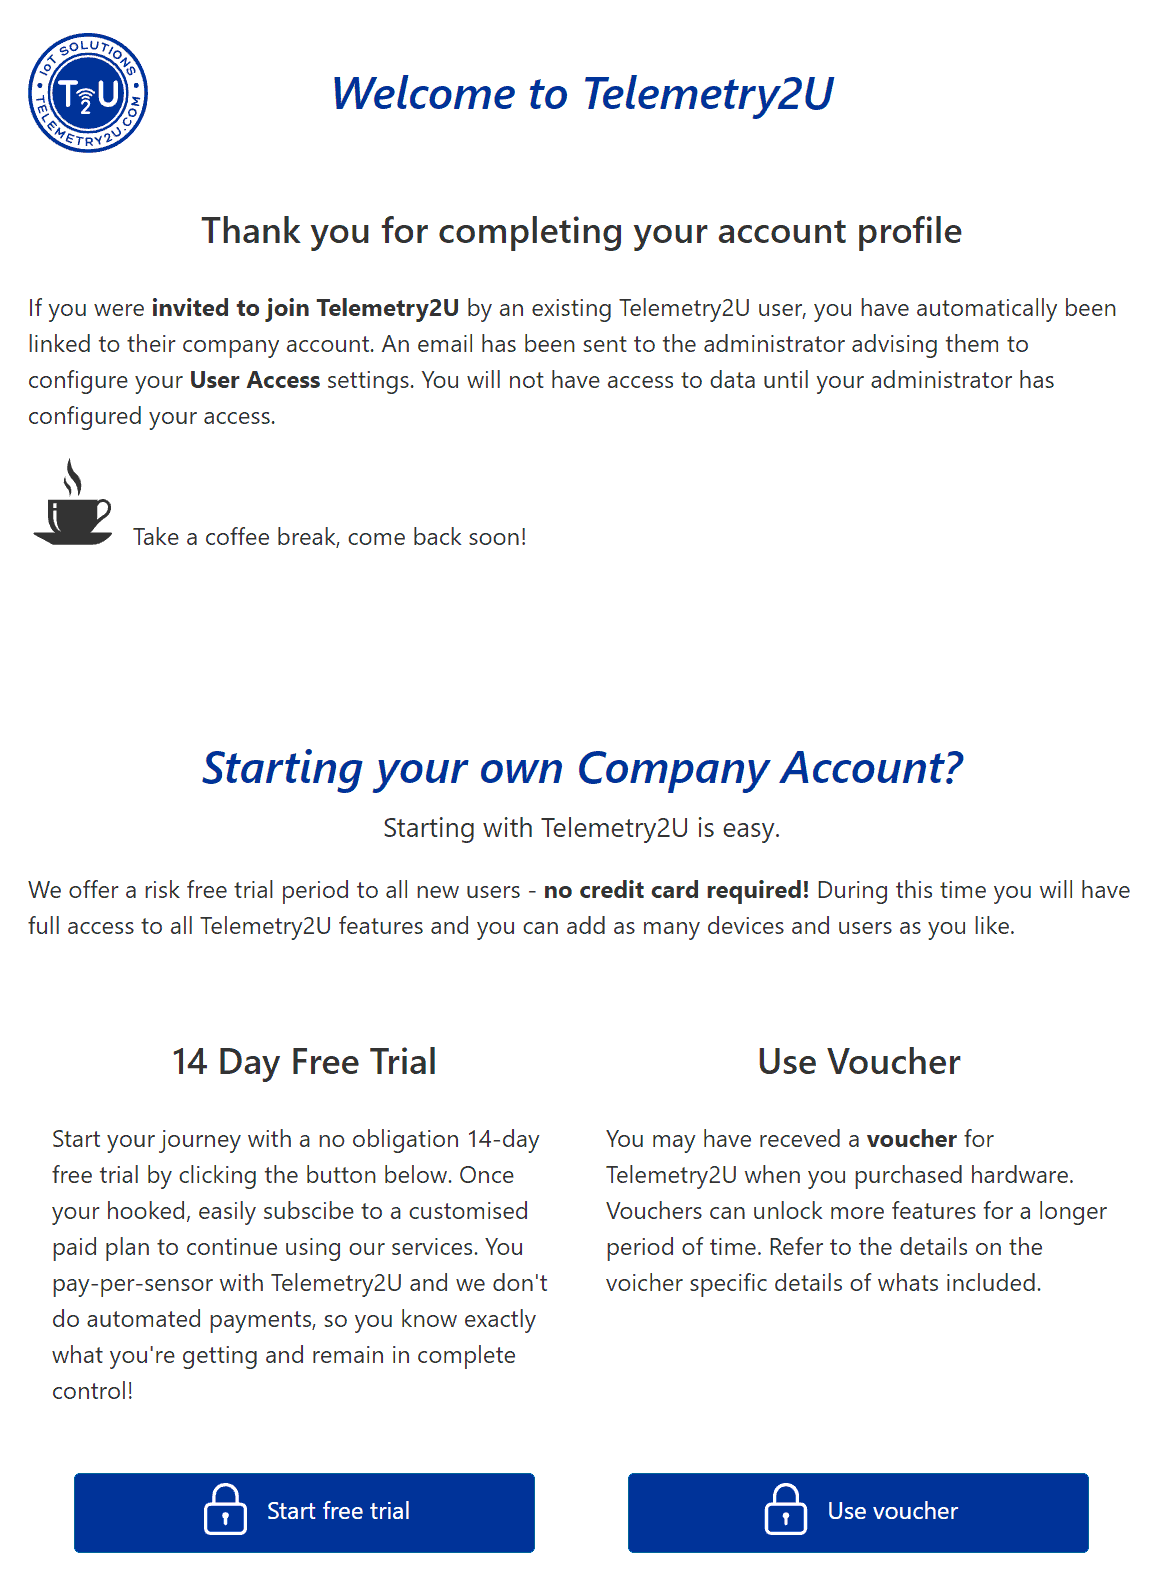
You will now land on the Telemetry2U Welcome Page where you will be presented with two options for proceeding:
-
Starting Your Own Account with a 14-Day Free Trial
If you're setting up your own company account, you can immediately start using Telemetry2U with a 14-day free trial. No credit card is required, and you will have full access to all the platform's features during this period. You can also add as many devices and users as needed. Once the trial is over, you can choose a paid plan to continue using the service with complete control over your subscription, including no automated payments. -
Joining an Existing Account
If you were invited to join Telemetry2U by an existing user, your account will be linked to their company account. However, you won’t have access to any data or features until the account administrator (the person who invited you) configures your User Access settings. Once your access has been set up, you’ll be able to use the platform based on the permissions assigned to you by the administrator.
Note:
The person who invited you will receive an email notification once you have completed your registration, prompting them to configure your user access. If you still don't have access after some time, please contact your host directly for assistance.
What's Next?
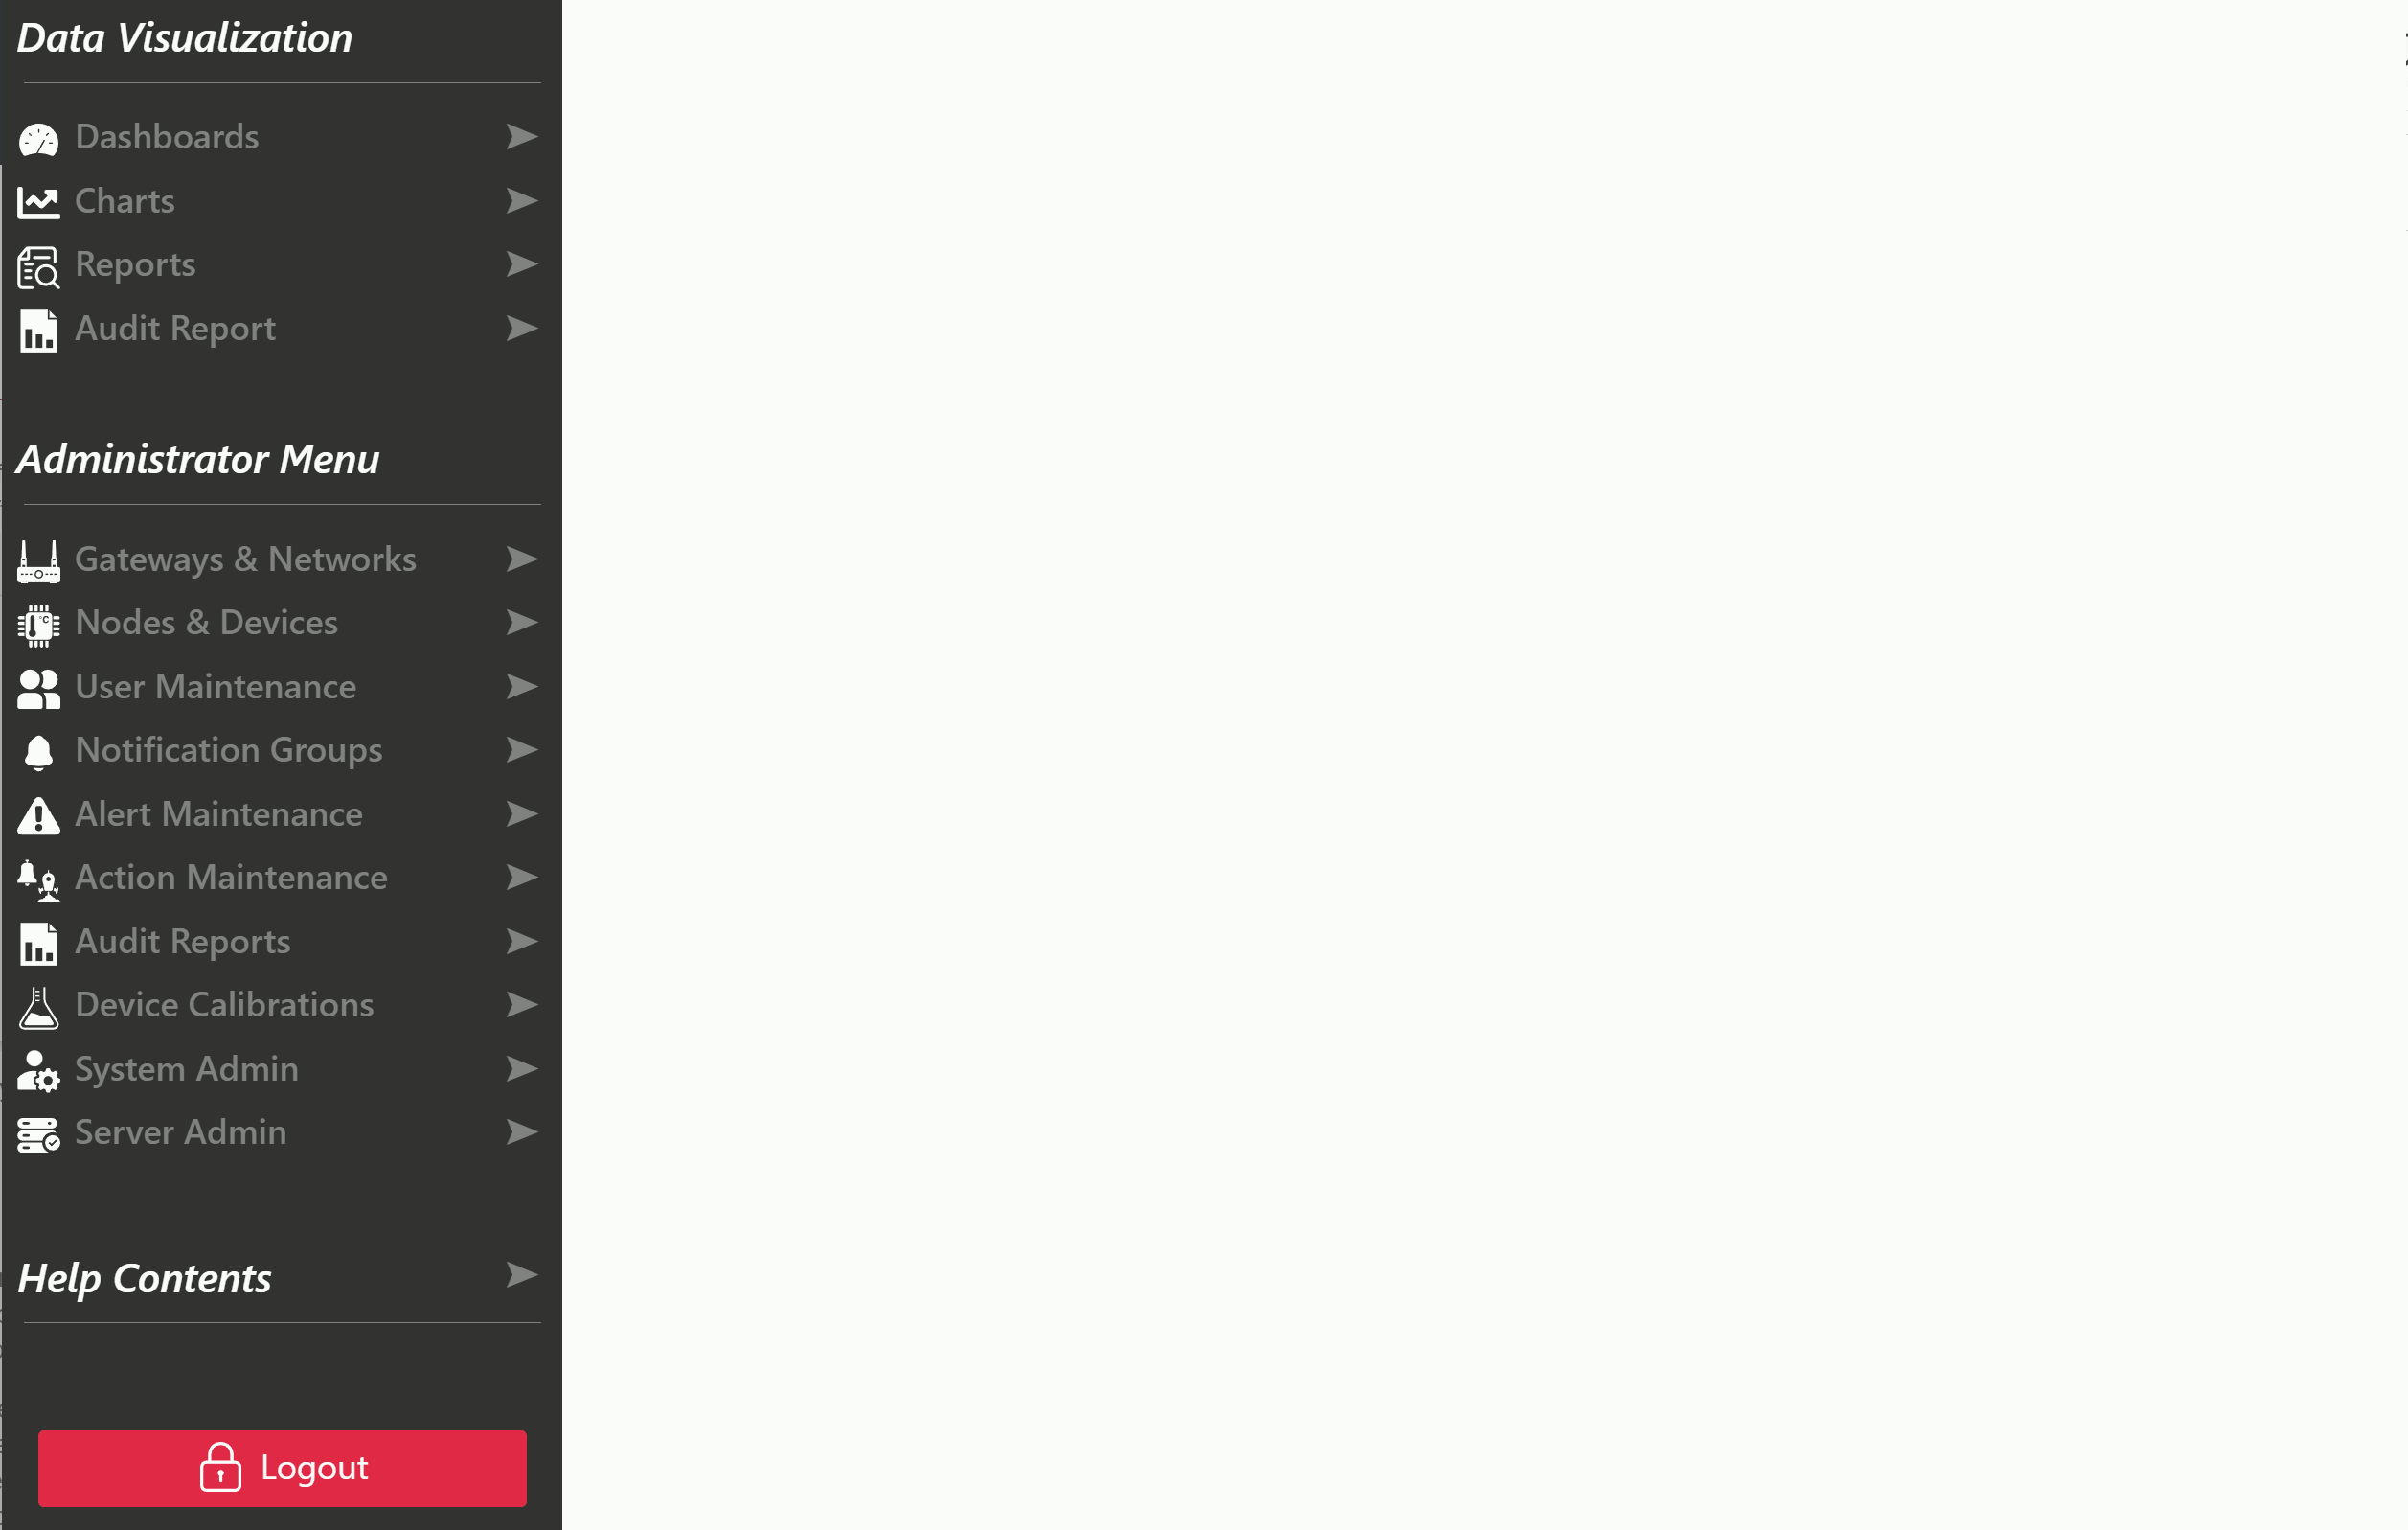
After logging in to the Telemetry2U platform, you will have access to the Side Bar on the left of the screen - If you do not see the side bar, you are not logged in to Telemetry2U. At the top of the sidebar, there is a menu icon that will open the full side menu when clicked. There are also shortcuts to all the main visualization pages and well as the administrative pages. Hover over the icons for a description.
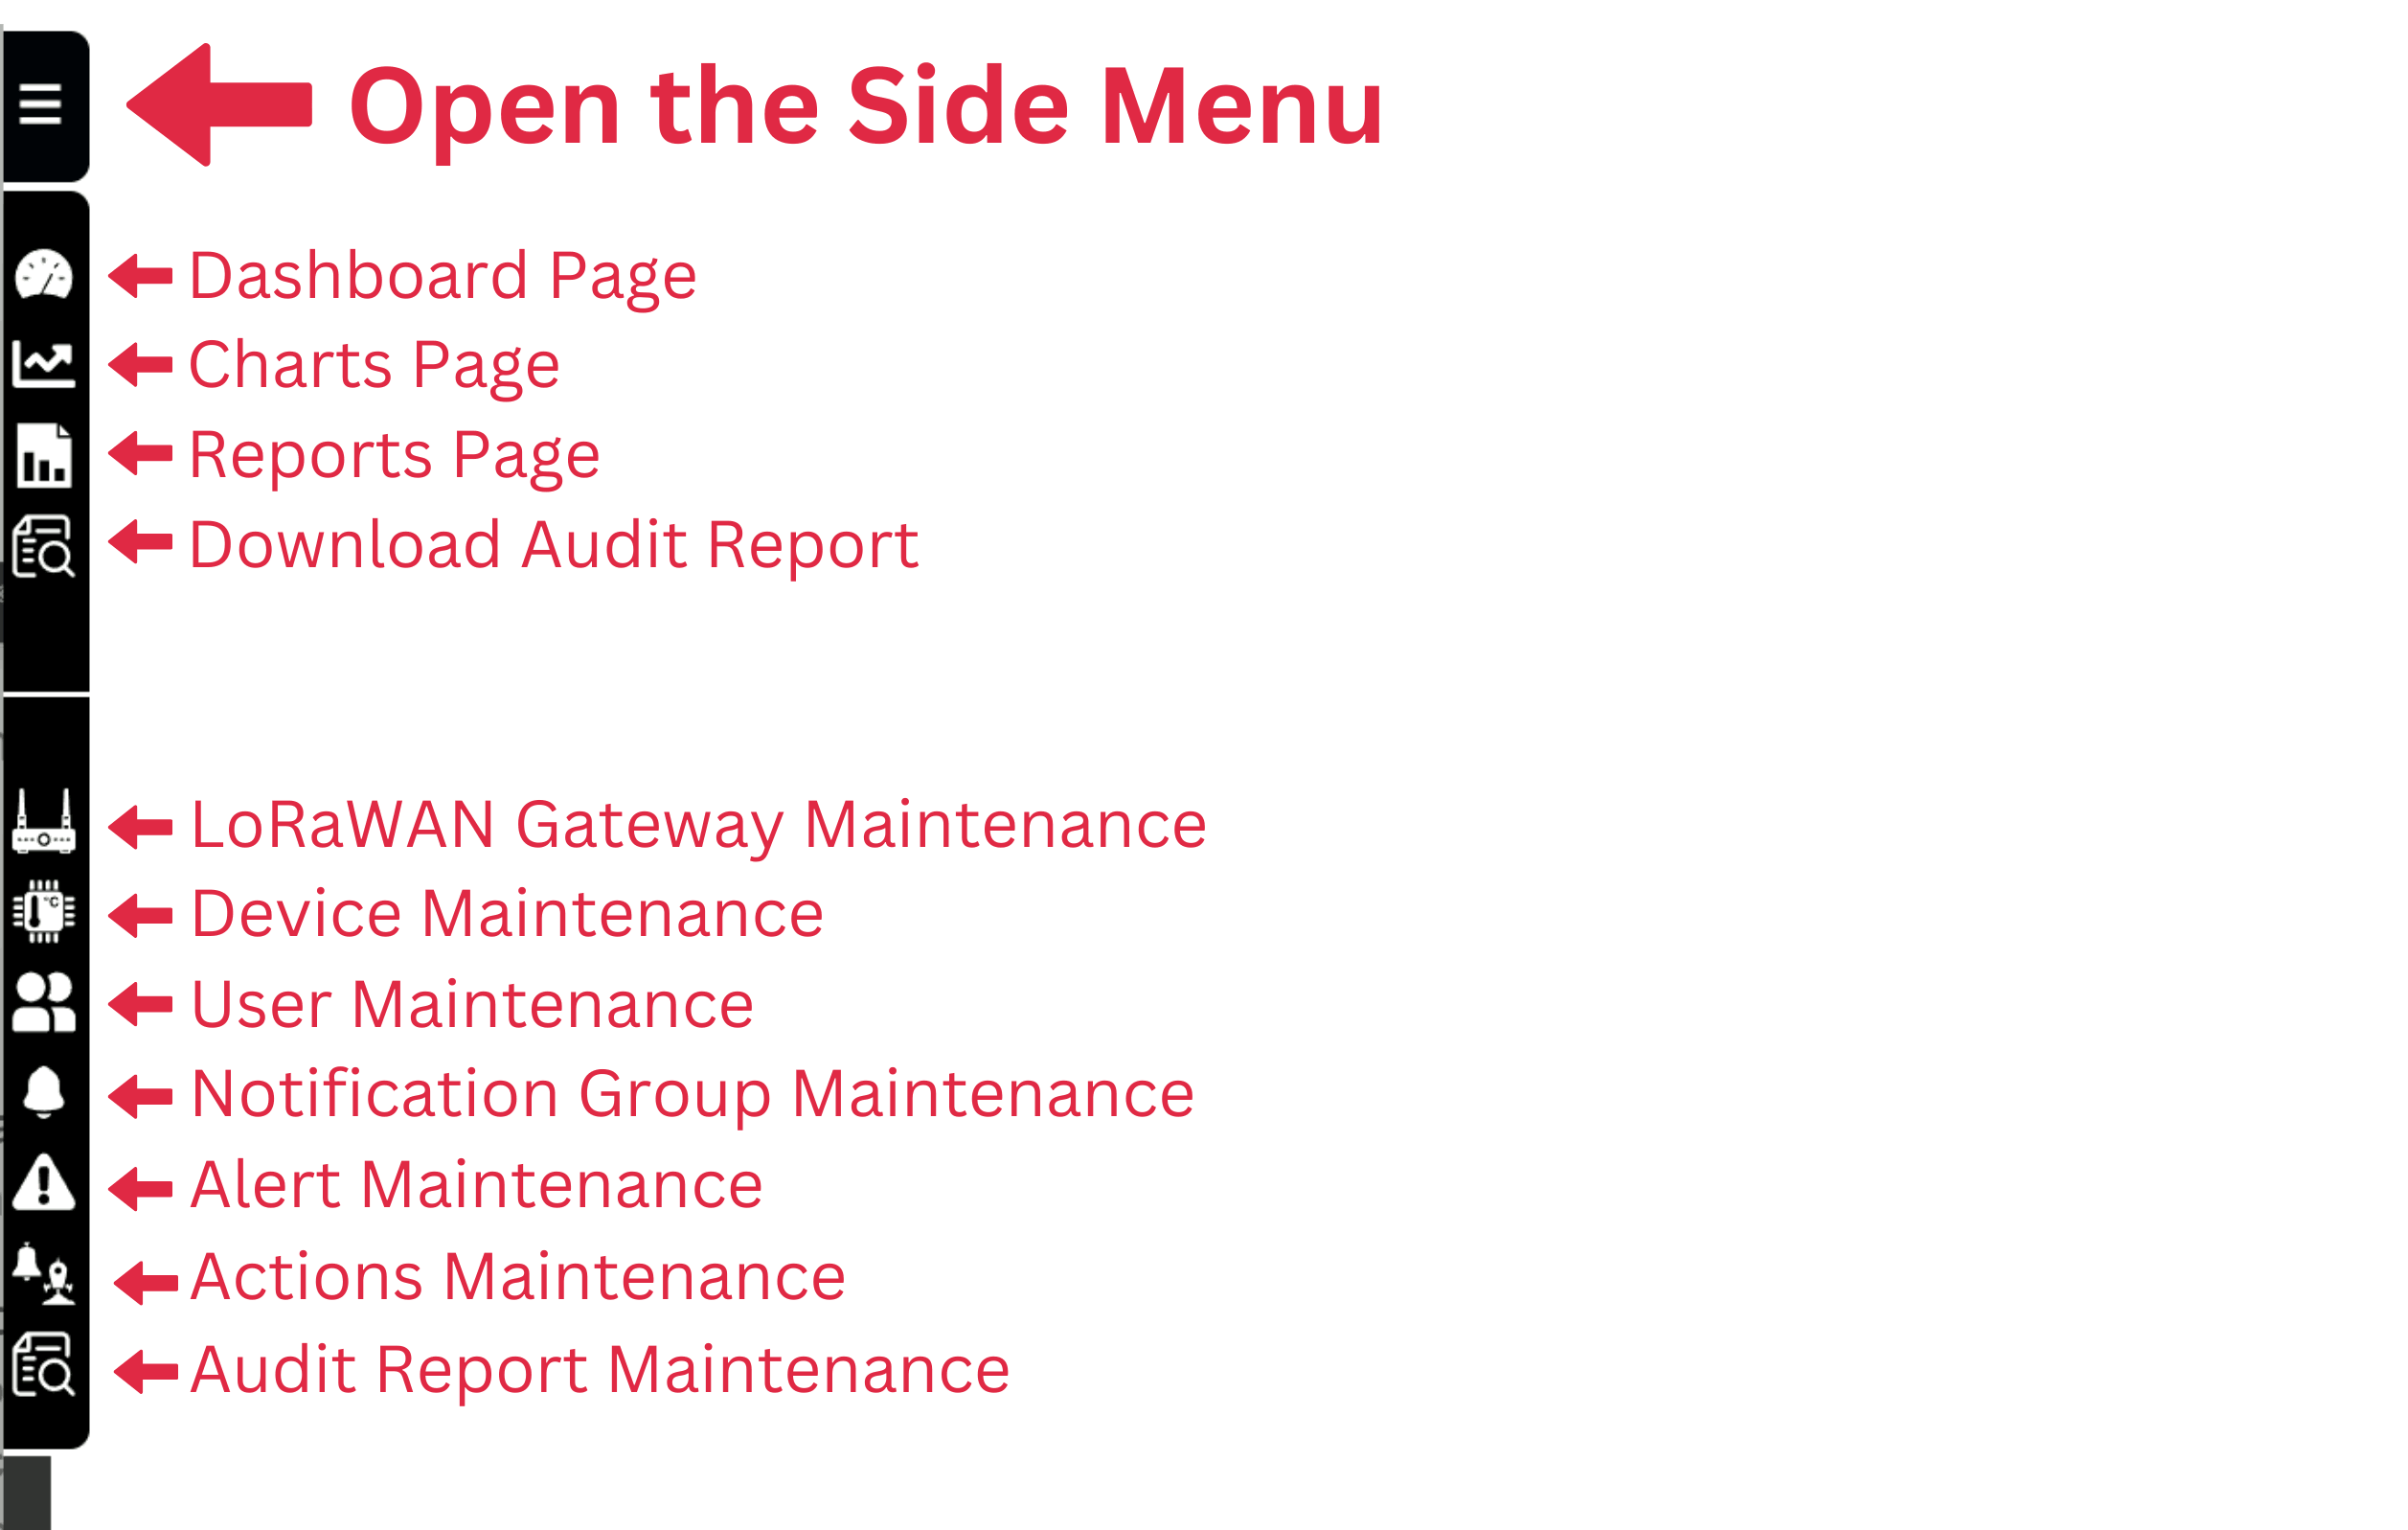
The side menu is organized into three key categories:
- Data Visualization
- Administrator Menu
- Help Contents
Data Visualization is available to all users and provides tools for viewing real-time data on dashboards, charts, and tables, as well as generating downloadable audit reports.
Administrator Menu access is determined by the features assigned to your account. If you’ve created your own account, you will have full access to all features. However, if you were invited to join an existing account, your access may be limited based on the nodes and roles assigned to you by your administrator (the person who invited you).
Help Contents can be expanded with a click, offering quick access to support resources from any page. It should always be your first stop when seeking assistance.
1.3 - Log in as Guest
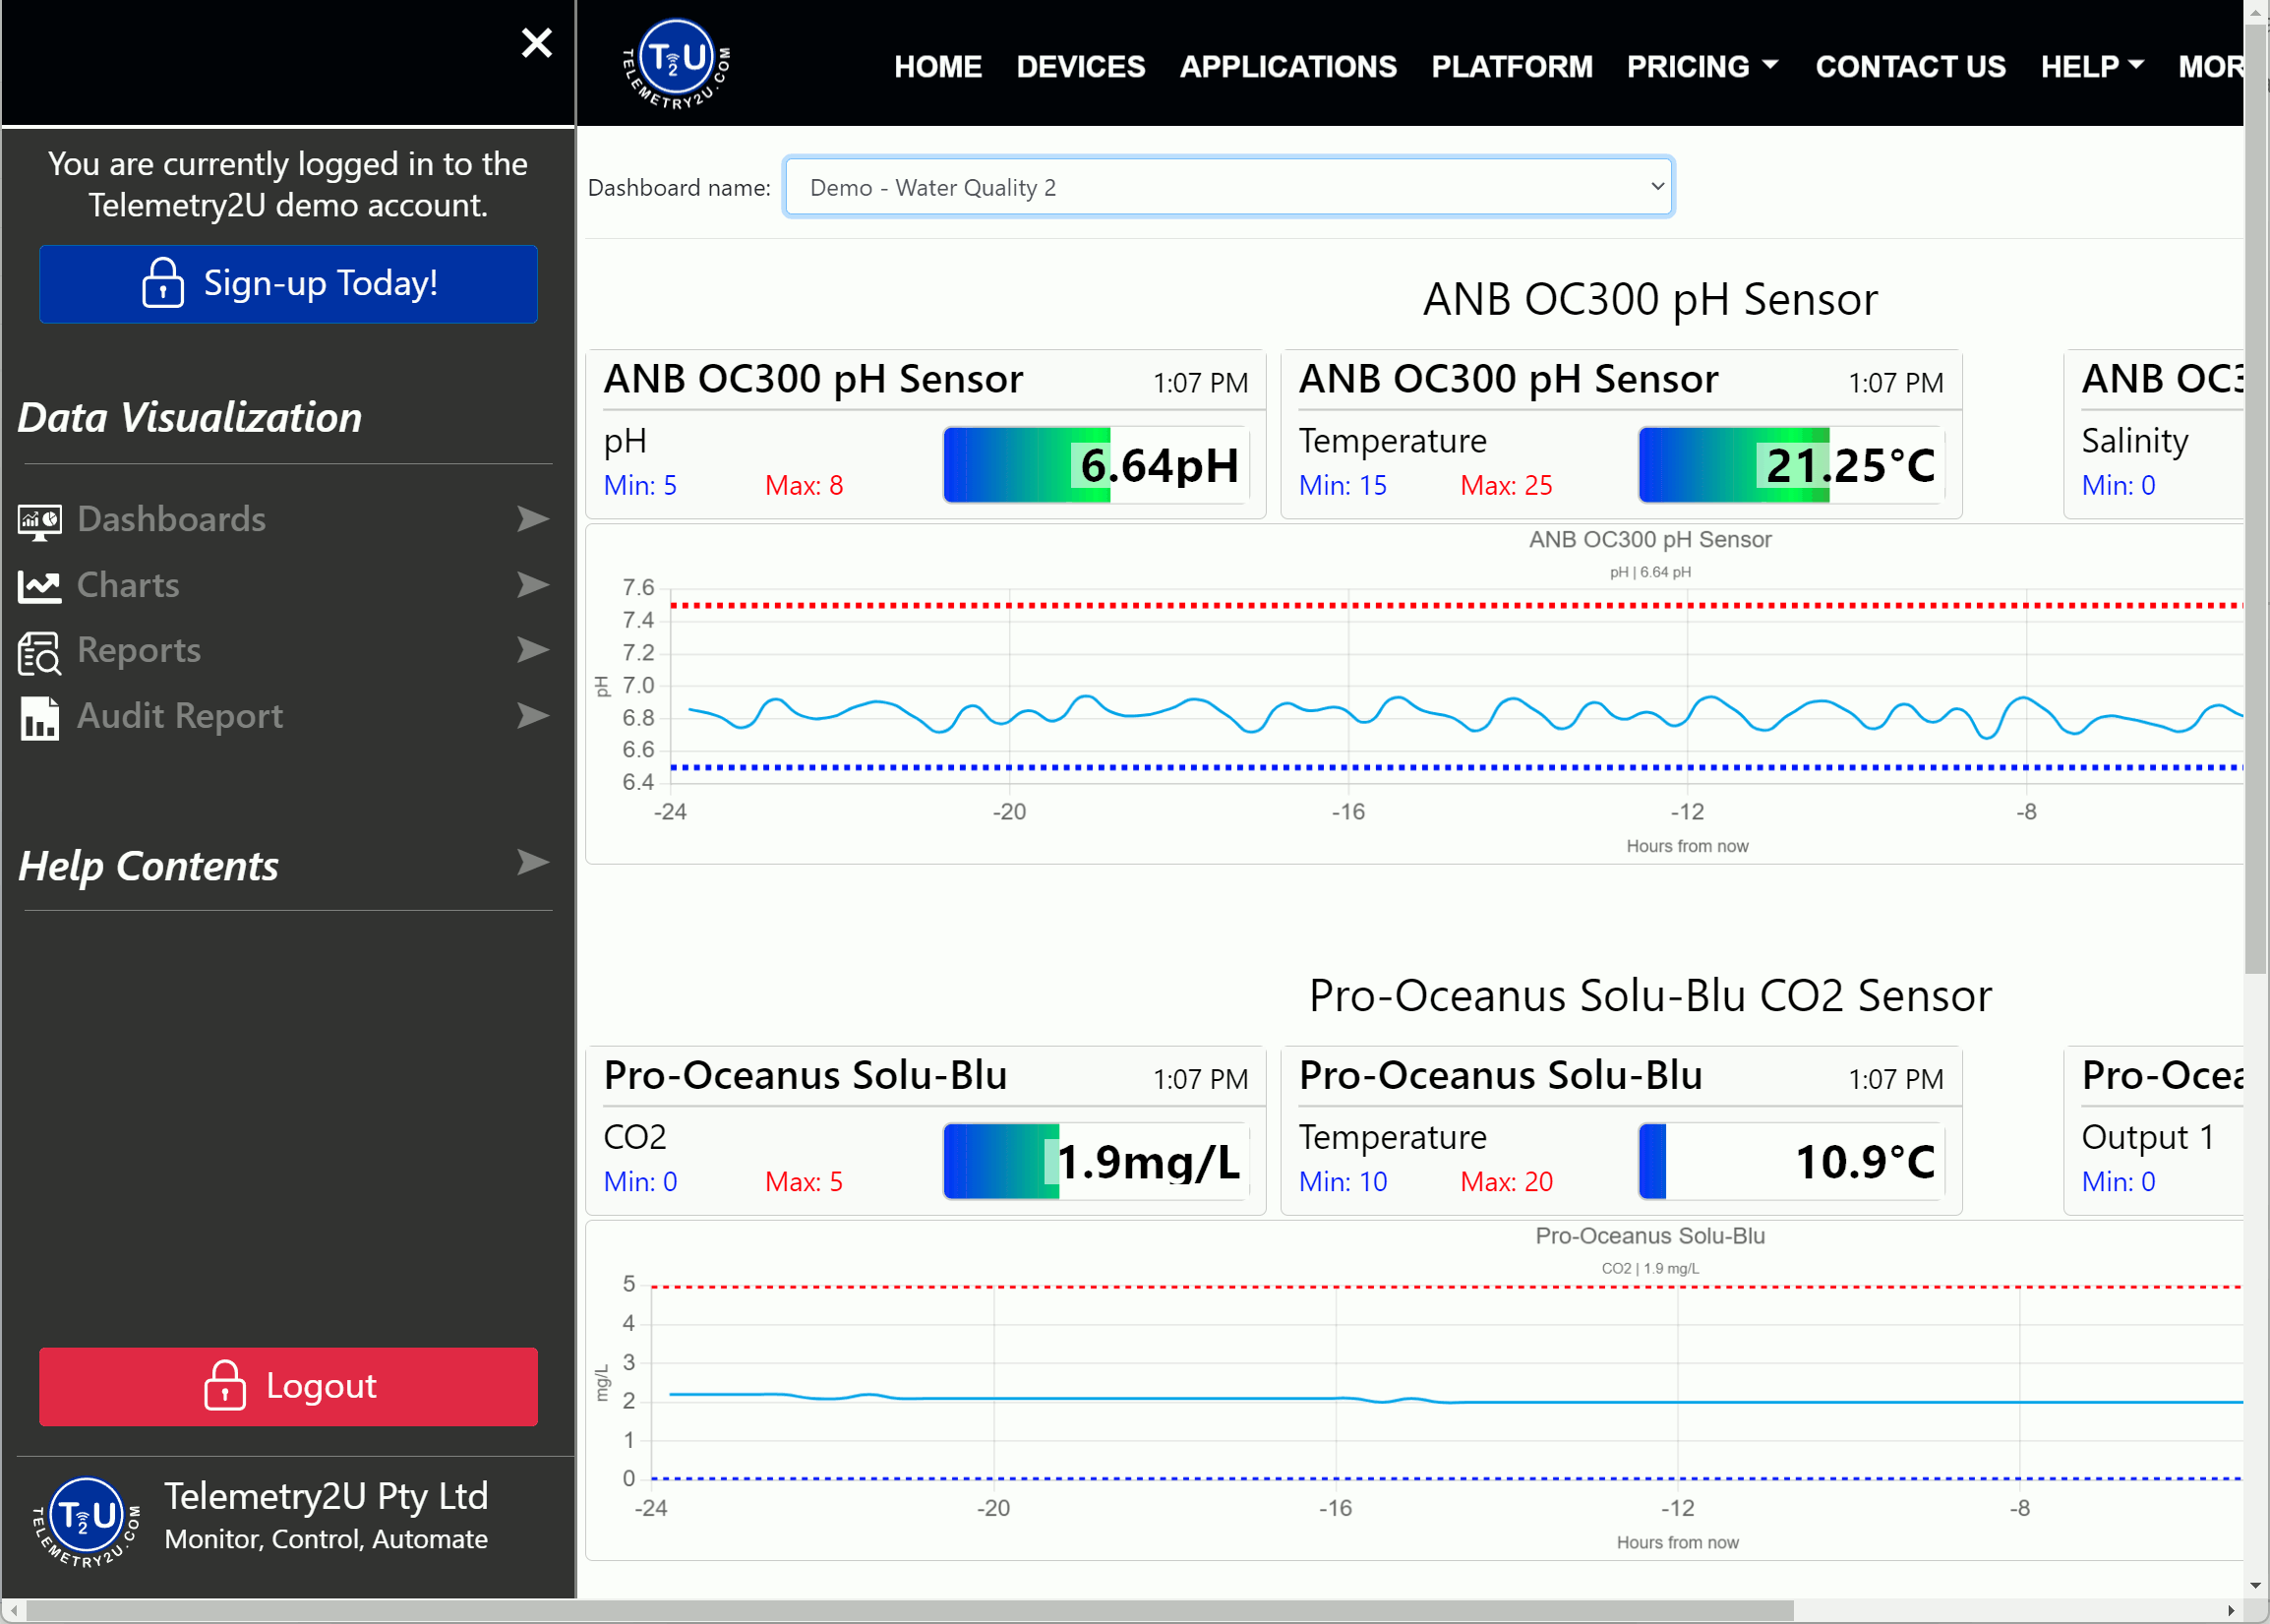
You can log in to our demo account as a guest by clicking the Login as Guest button on the login page or by clicking on any of the Demo buttons on any of our main pages. The demo account provides full access to all visualisation options, allowing you to explore dashboards, charts, and reports to see how the platform works. However, since no administrator roles are assigned to the demo account, administrative functions—such as setting alerts, managing notification groups, creating or editing dashboards—are not available. This demo is designed to give you an idea of the platform's capabilities without the ability to make changes.
If you’d like to experience the full functionality of Telemetry2U, including unrestricted access to all features, we recommend signing up for a 14-day free trial. During this trial, you'll be able to explore everything the platform has to offer, with no limitations or restrictions.