Telemetry2U IoT Platform Documentation - Accounts
Manage your user profile settings, including name, time zone, contact details, and preferred notification methods. This ensures alerts and reports are accurate and delivered as expected.
7.1 - Modifying Personal Data and Settings
The Accounts page is available to all users to manage their account settings. Navigate to the Accounts page via the top menu. The side menu can be used to navigate between sections.
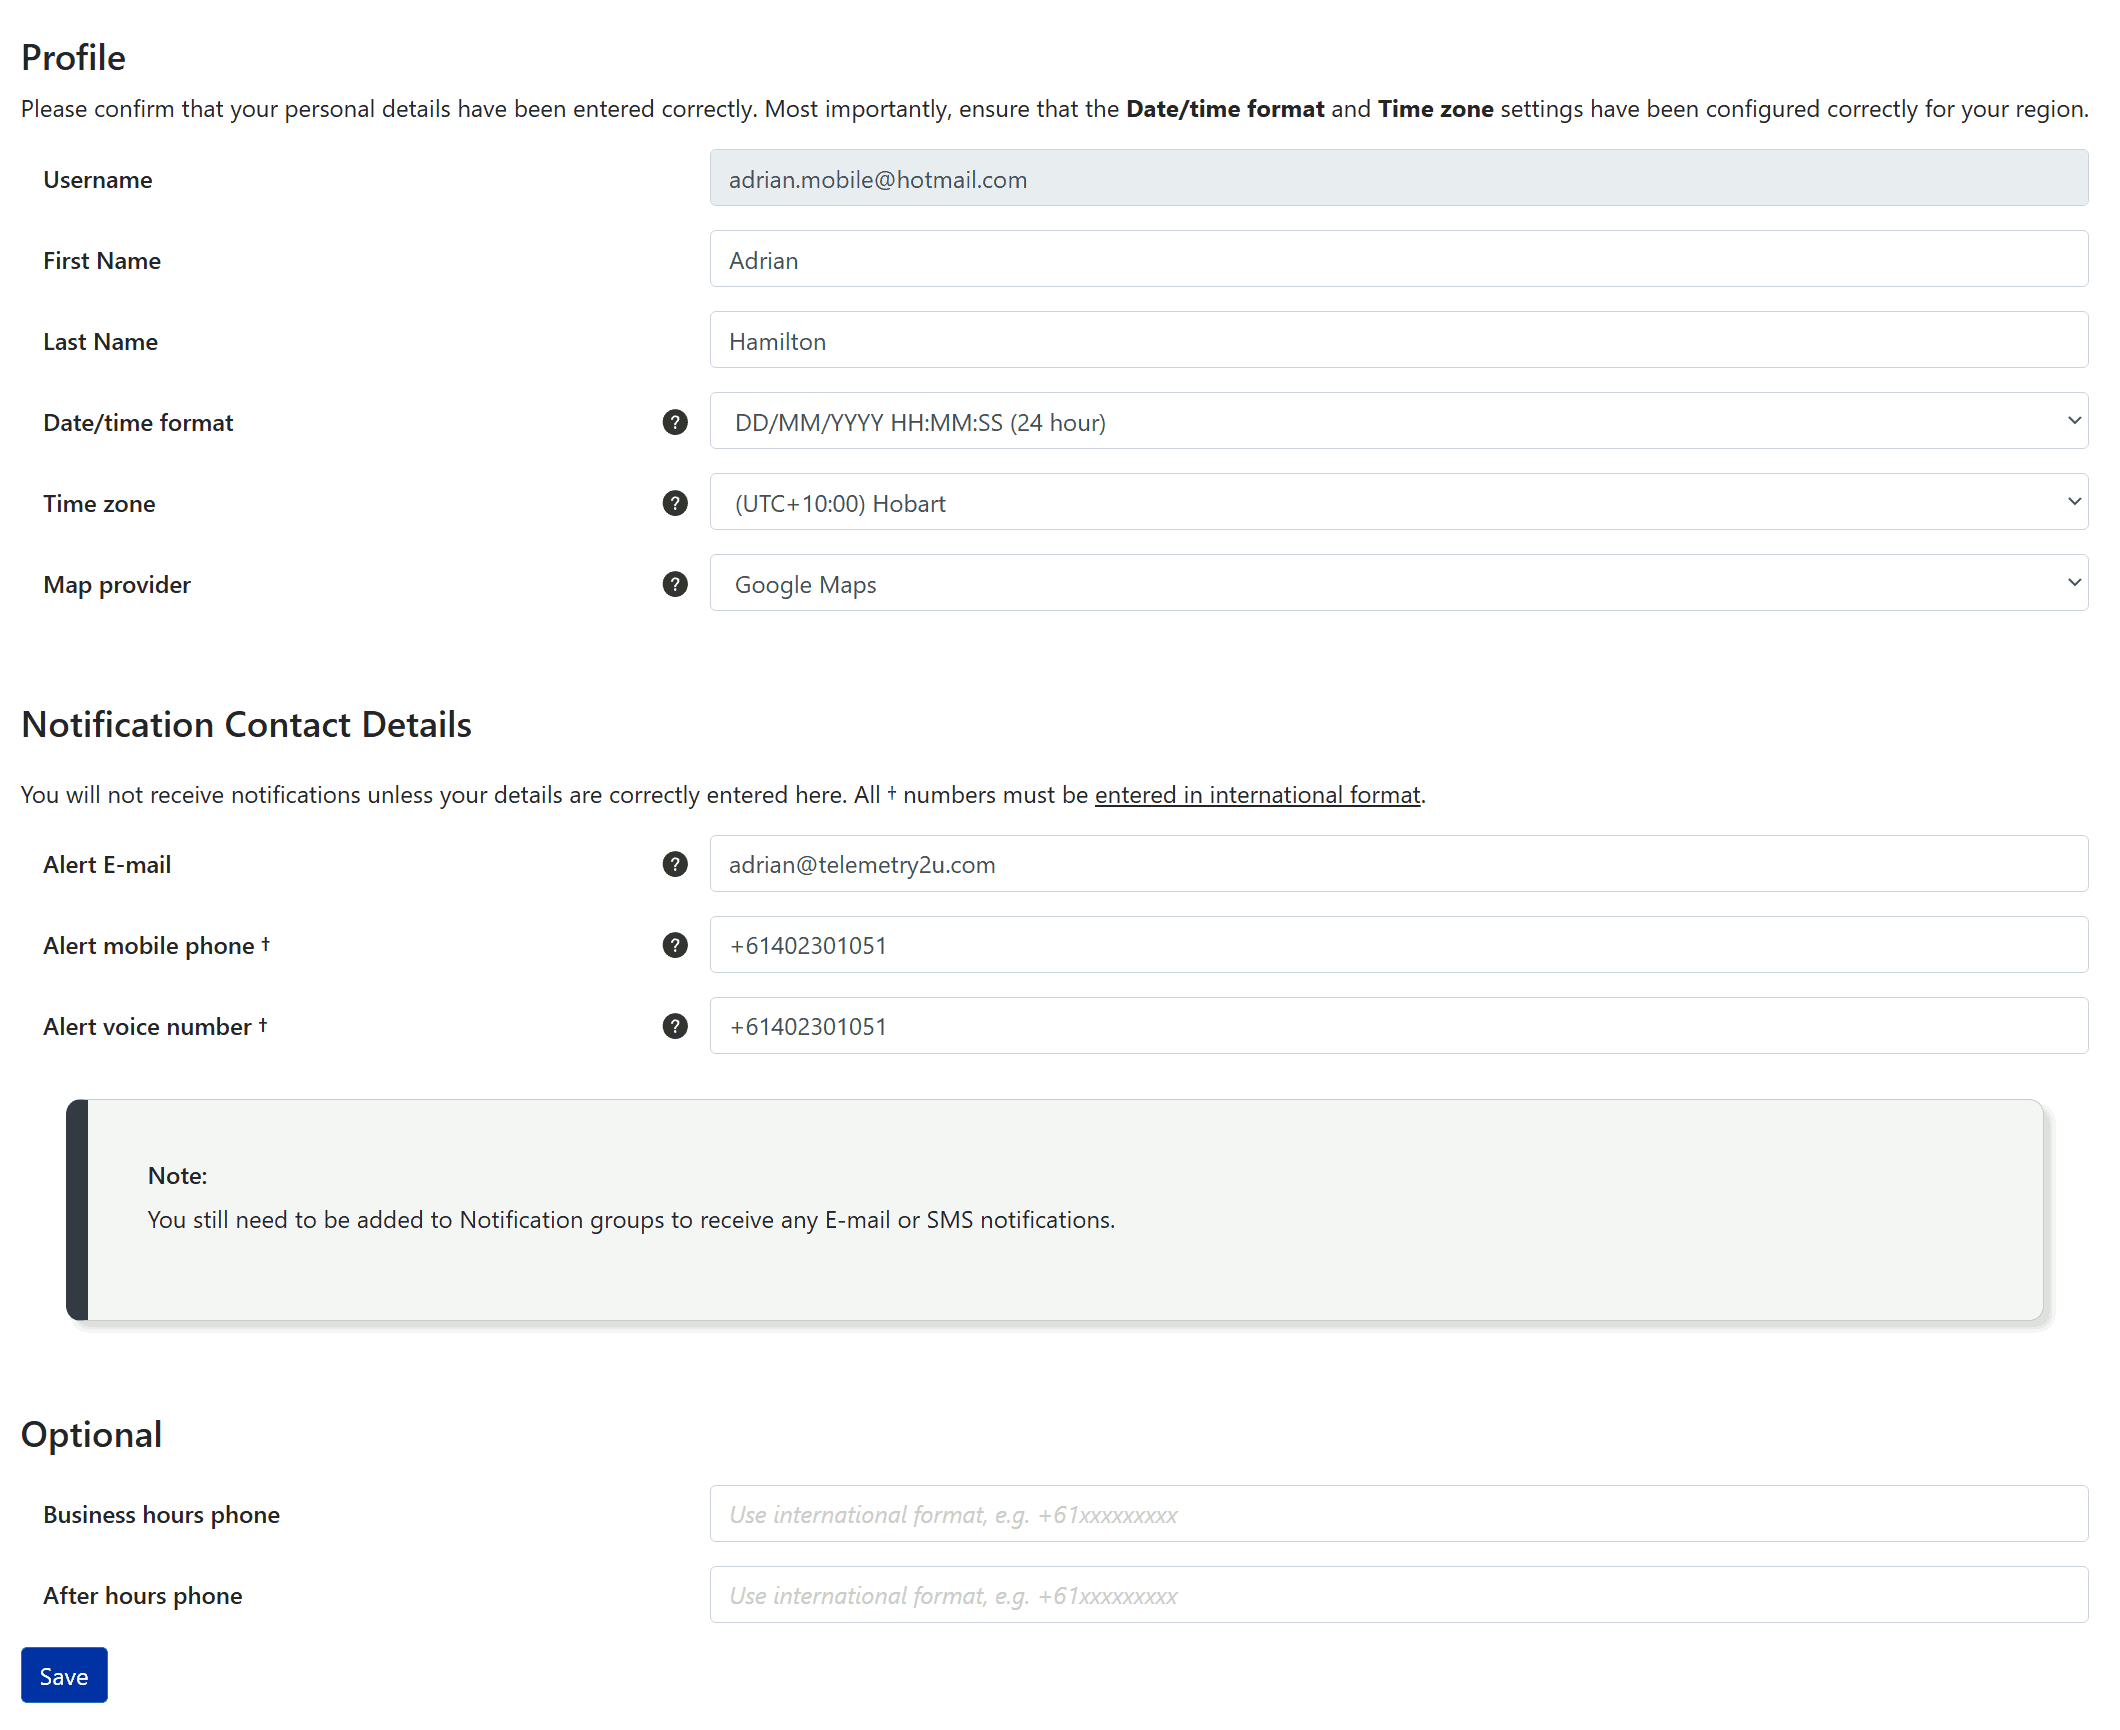
The Profile page allows users to view or change their general account settings. All fields are explained in detail below.
- Username - The username is the email address that the user has used to register an account with Telemetry2U. It can’t be changed on this page; however, it can be changed on the E-mail page as described in Section 7.3 – Accounts Email Settings.
- First Name - As entered during sign-up. It can be changed at any time by the end user or a company administrator. This field in mandatory and cannot be blank.
- Last Name - As entered during sign-up. It can be changed at any time by the end user or a company administrator. This field in mandatory and cannot be blank.
- Date/time format - As selected during sign-up. It can be changed at any time by the end user or a company administrator. This time format will be used on all pages with a time stamp, including the charts page, reports page, and audit reports.
- Time zone - As selected during sign-up. It can be changed at any time by the end user or a company administrator. This time zone will be used on all pages with a time stamp, including the charts page, reports page, and audit reports.
- Alert E-mail - As entered during sign-up. It can be changed at any time by the end user or a company administrator. This address will be used for any notifications including alerts and audit reports. This field is optional, but users will not receive email alerts if left blank.
- Alert mobile phone - As entered during sign-up. It can be changed at any time by the end user or a company administrator. This phone number will be used for any SMS notifications. This field is optional, but users will not receive SMS alerts if left blank. It must be entered in international format i.e., +61-xxxxxxxxx.
- Alert voice number - As entered during sign-up. It can be changed at any time by the end user or a company administrator. This phone number will be used for any voice notifications. This field is optional, but users will not receive voice alerts if left blank. It must be entered in international format i.e., +61-xxxxxxxxx.
- Map provider - Determines what map application will be used for GPS related LoRaWAN products. Choose from Open Street Maps, Google Maps, and Bing Maps. This field is optional.
- Business hours phone - The users business hours contact phone number. This field is optional.
- After hours phone - The users after hours contact phone number. This field is optional.
Hit the Save button after making any changes.
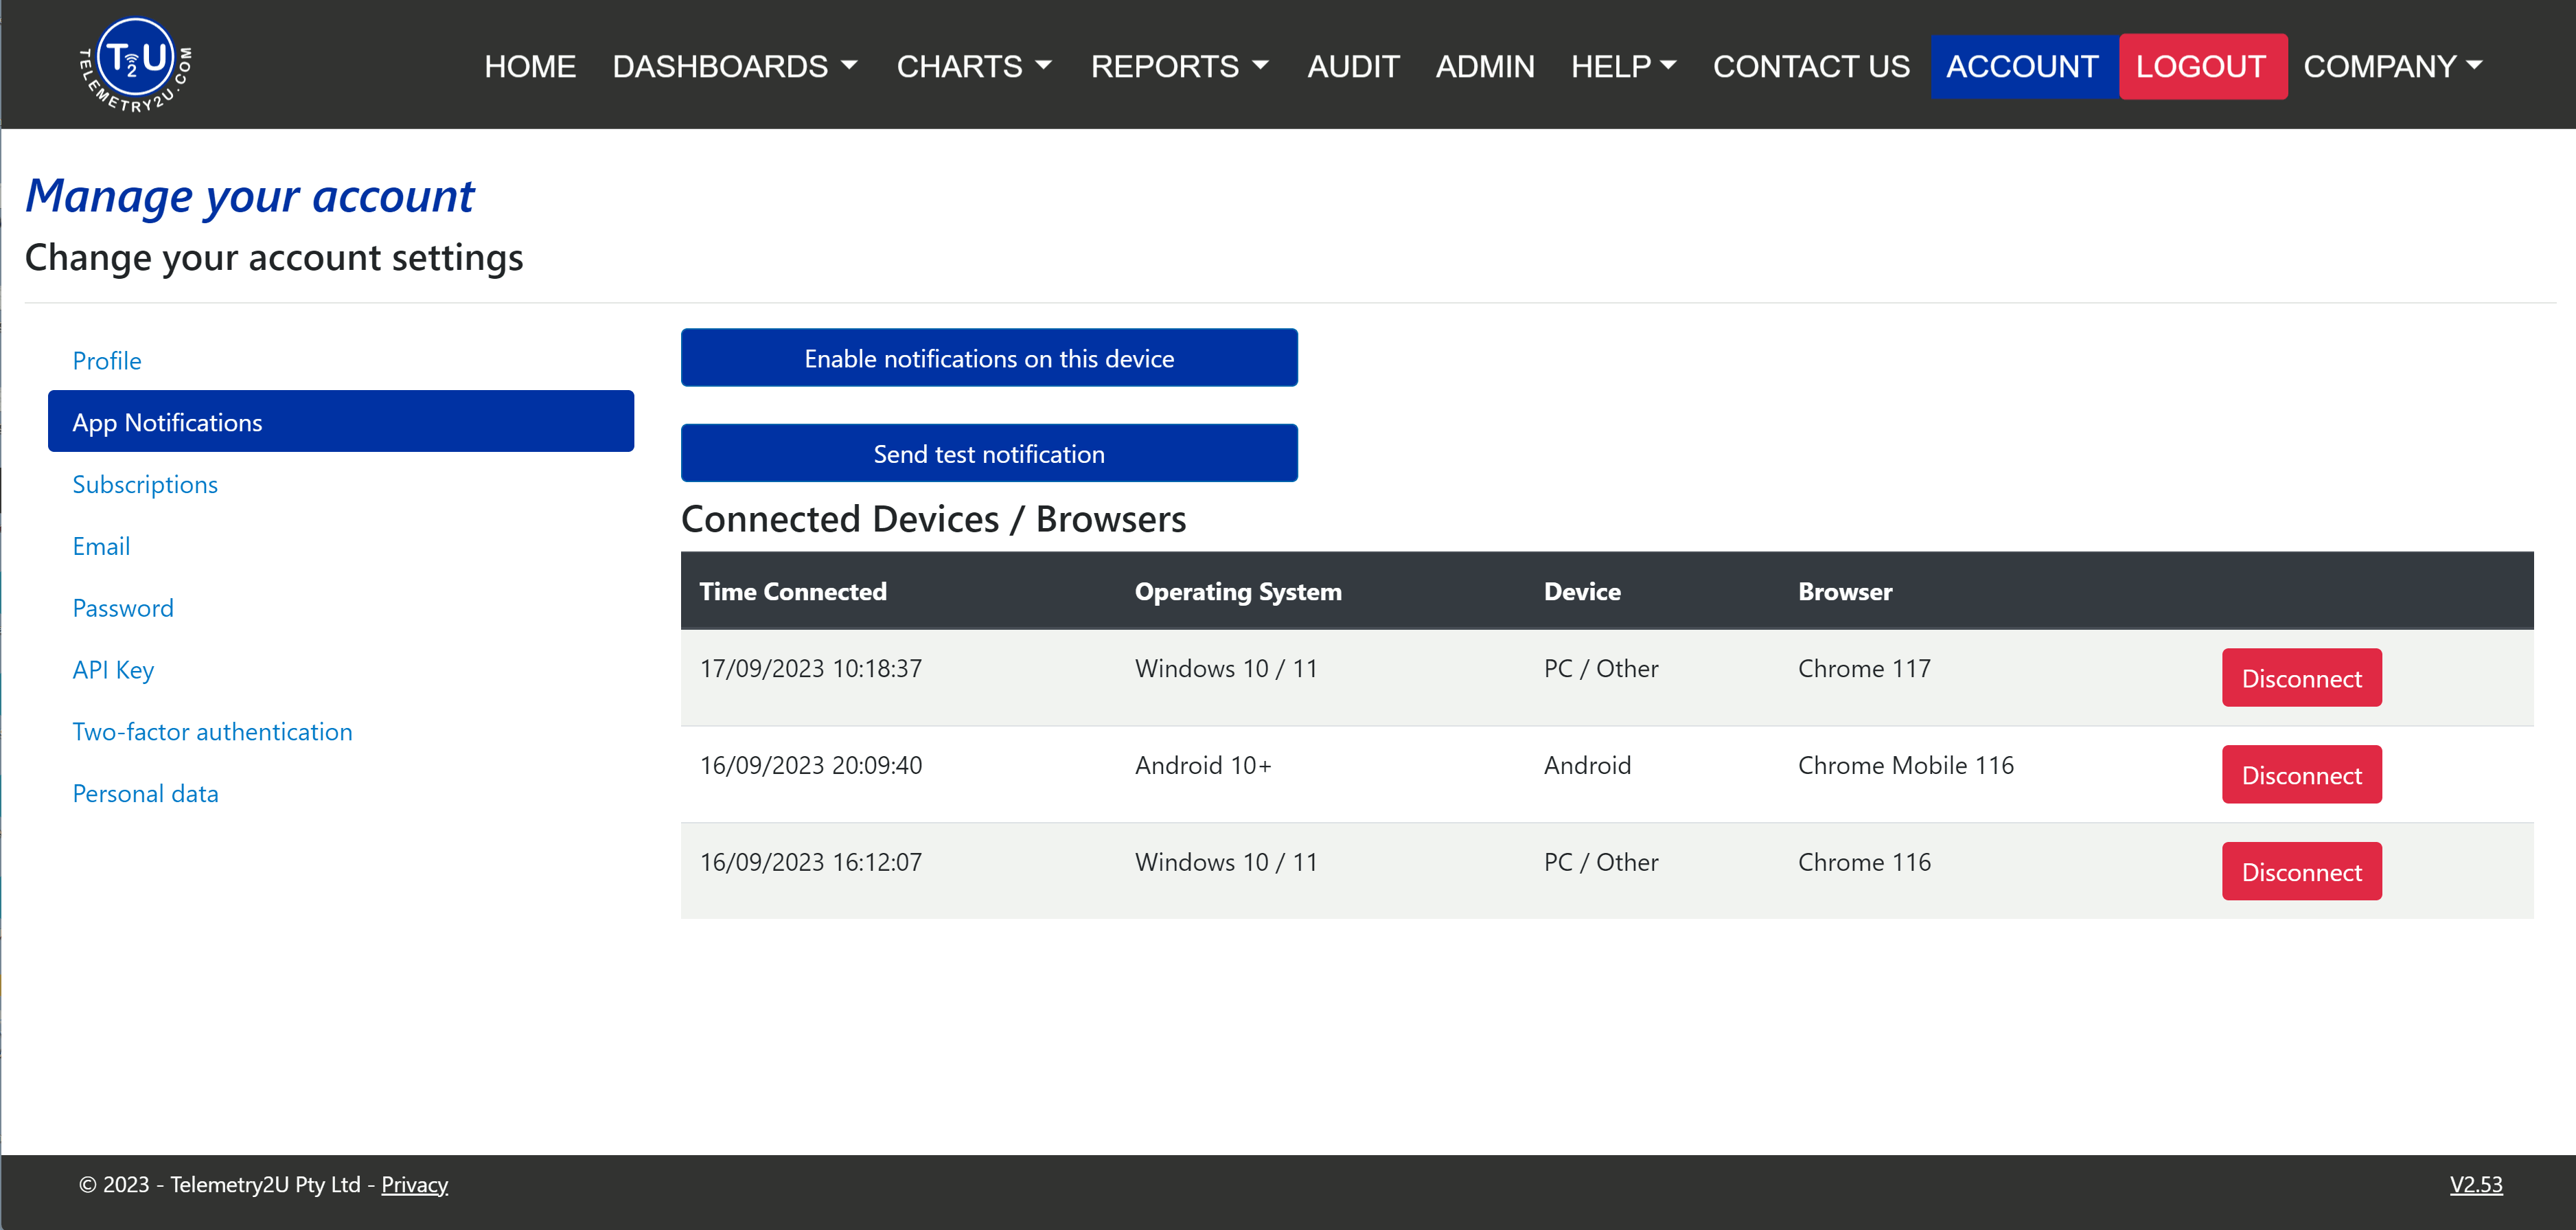
7.2 - Enabling App Notifications
If you've installed the App on any of your devices, you can enable push notifications that are received instantly and can be linked to alert conditions or node/gateway down alerts.
Open the App and navigate to the Accounts section. Click on the App notifications link from the menu and click on the Enable notifications on the device button. You may get a pop-up prompting you to grant permission. Once the device / browser has connected successfully, you should see the details in the table at the bottom of the page.
If you hit the Send test notification button, a notification will be sent to all of your connected devices.
Notes:
- Make sure your operating system and browser are running the latest updates.
- If you clear your Chrome of Safari browser cache, you will need to re-enable notification.
- Once you have enabled push notifications, you will need to configure your Notification Groups to receive App Notifications before any notifications will be received. Read More.
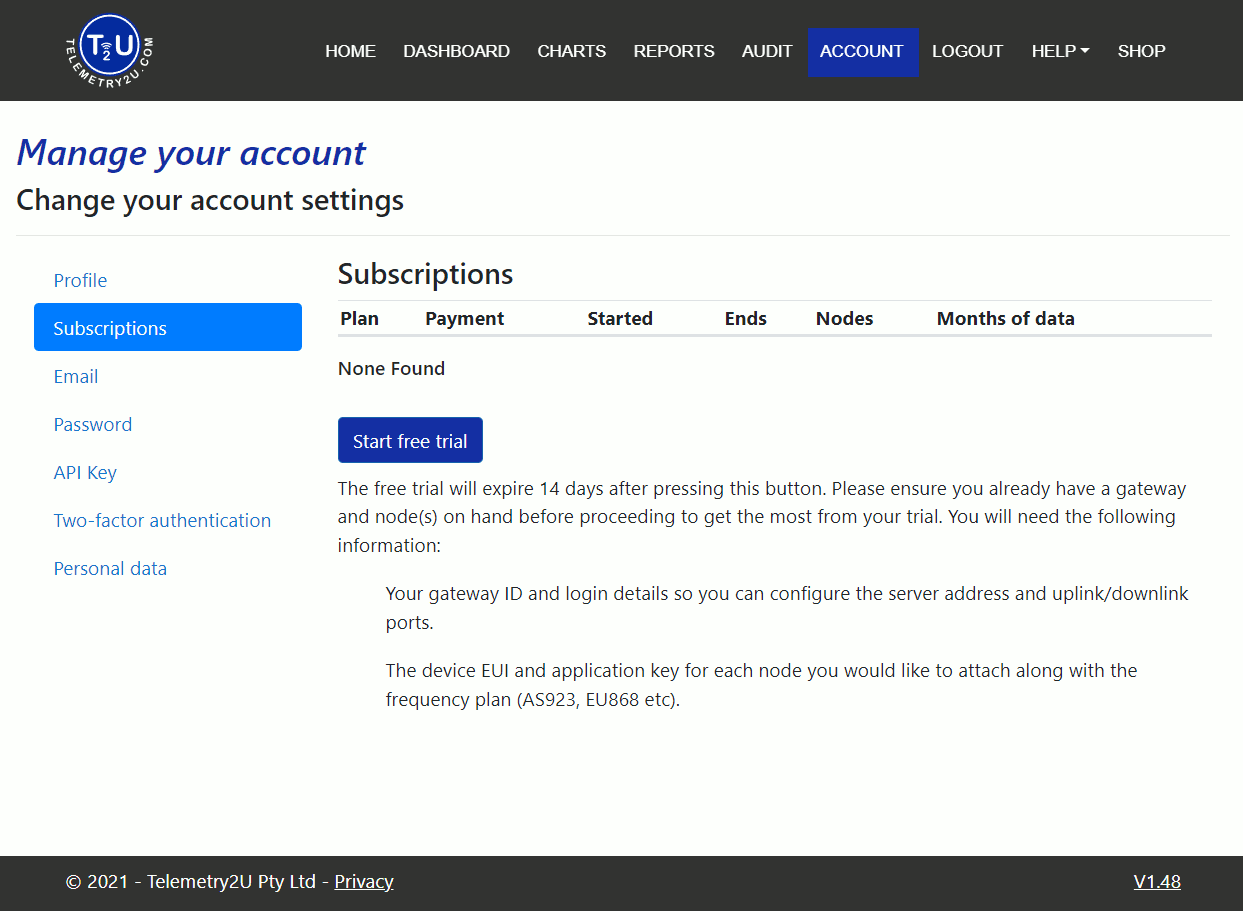
7.3 - Starting a Free Trial
If you plan on starting your own account and bringing your own hardware, you need navigate to ‘Subscriptions’ via the ‘Account’ page. From here, you can click ‘Start free trial’. The trial period runs for 14 days and allows for one gateway with two nodes for a single user. A few features are disabled, including SMS and voice alerts but it is enough for you to get started and confirm Telemetry2U will meet your monitoring requirements. Once you hit the save button, your individual account will be created, and you are ready to get started adding your hardware as described in the latter sections.
Your trial period will last for 14-days but you can upgrade to a paid subscription at any time if you would like to unlock more features.
Your account and data will be deleted after 1-month after the trial period expires if you no not sign up for a paid plan within that period.
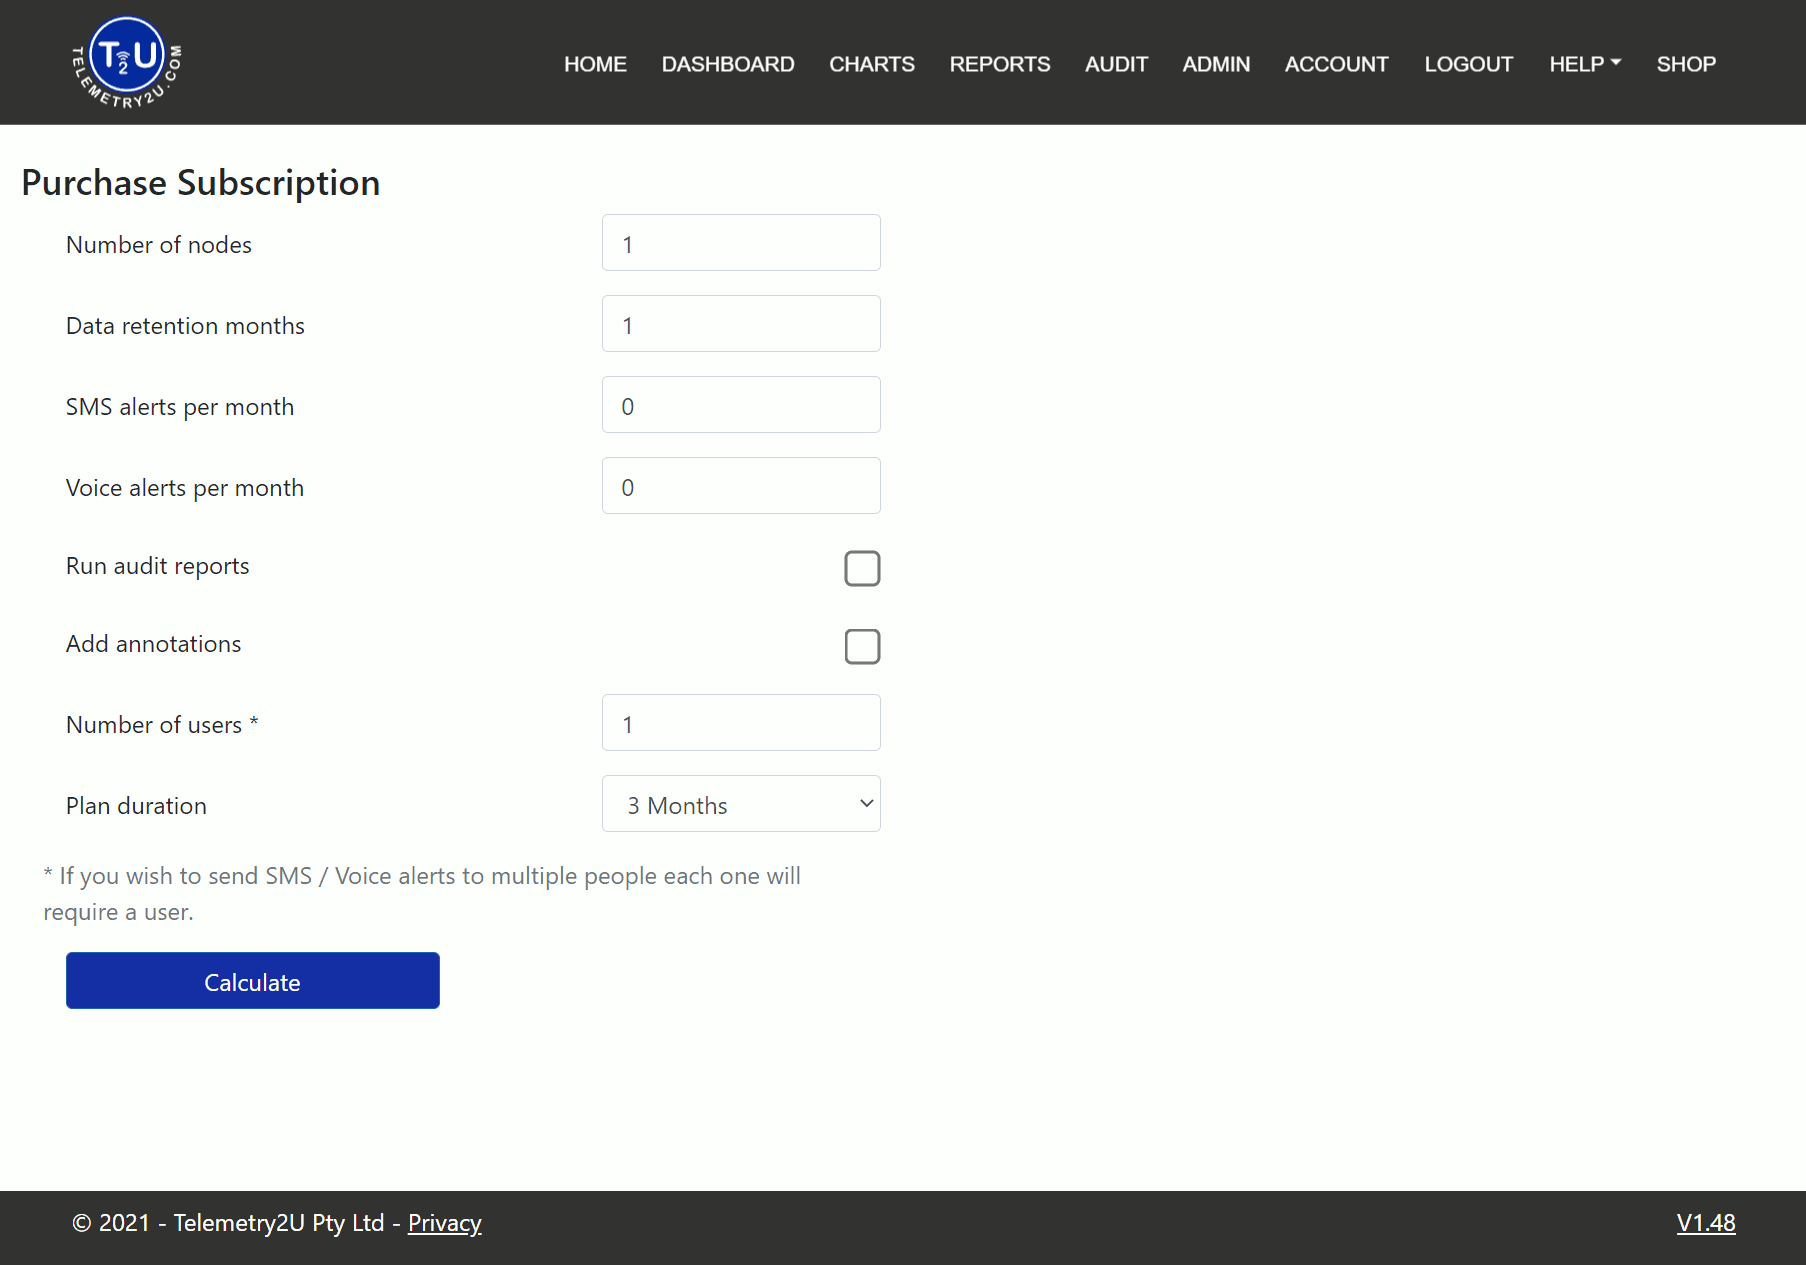
7.4 - Upgrading to a Paid Subscription
Once your 14-day trial period has ended, you will need to subscribe to a paid plan to continue using Telemetry2U. You can do this by navigating back to ‘Subscriptions’ via the ‘Account’ button. From here, you can click the ‘Plan Subscription’ button and design a custom plan that perfectly meets your requirements. Complete the form and click the ‘Calculate’ button and a quote will generated automatically.
Once satisfied, accept the charges, and complete the transaction with PayPal or with a credit/debit card. You can choose to pay monthly, quarterly, or annually.
If you have a large project in mind, please contact us as we may be able offer a better deal through a special customised plan, but this would not be considered for less than 50 nodes.
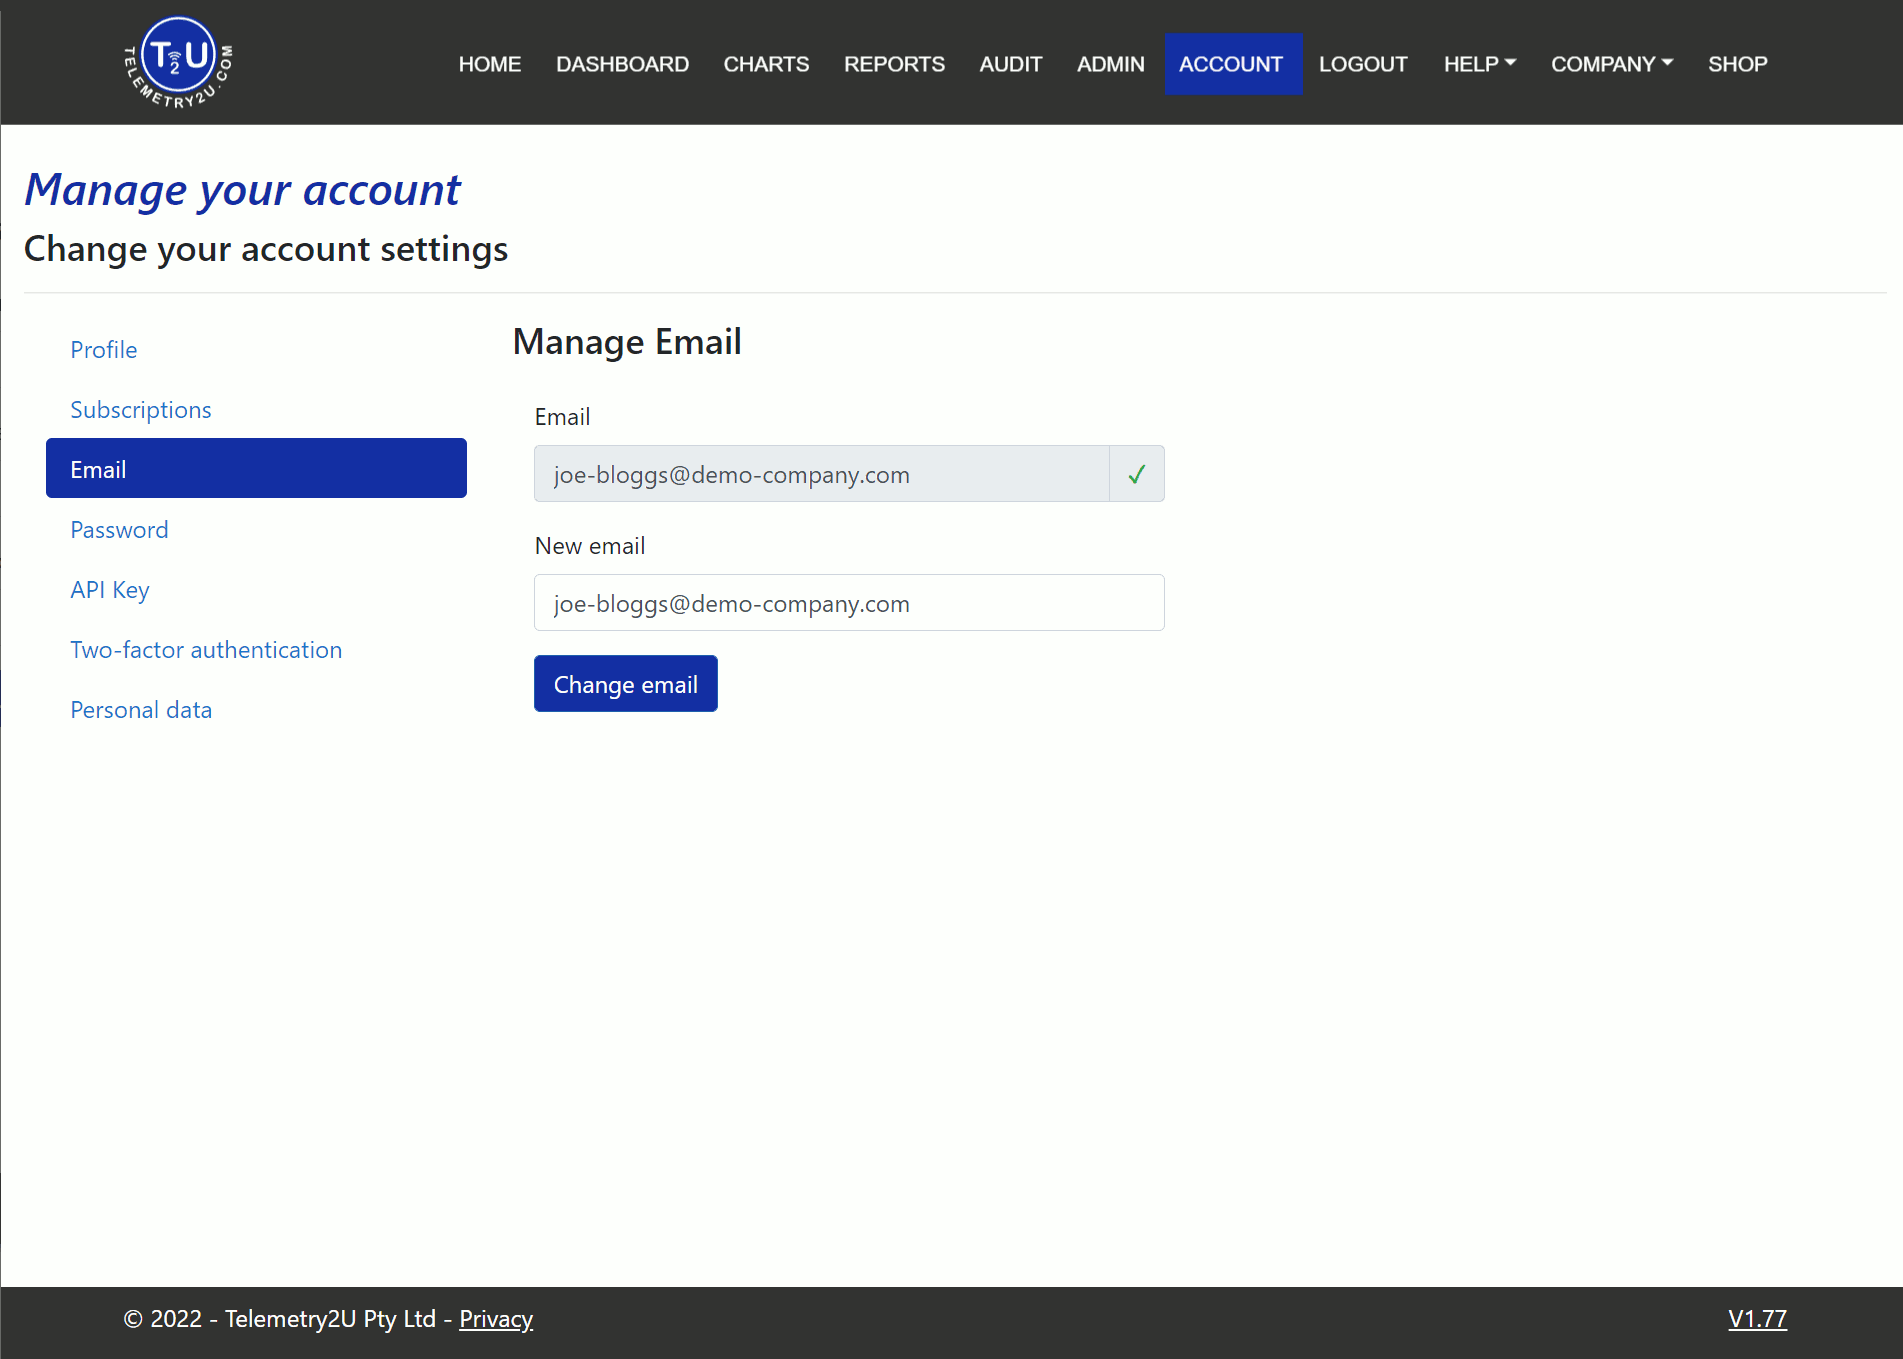
7.5 - Changing Login Email Address
The Email page allows users to view or change the E-mail address used to sign into their account.
To change an email address, enter the email address in the New email field and click the Change Email button. A confirmation email with a link will be sent out to the new address. The user MUST click the link in the confirmation email before the changes take effect.
Once the email has changed successfully, the user will need to log into Telemetry2U with the new address.
Note:
If the user fails to click the confirmation link, no changes will take effect. The user will still be able to log into Telemetry2U with their original username/email address.
Hit the Save button after making any changes.
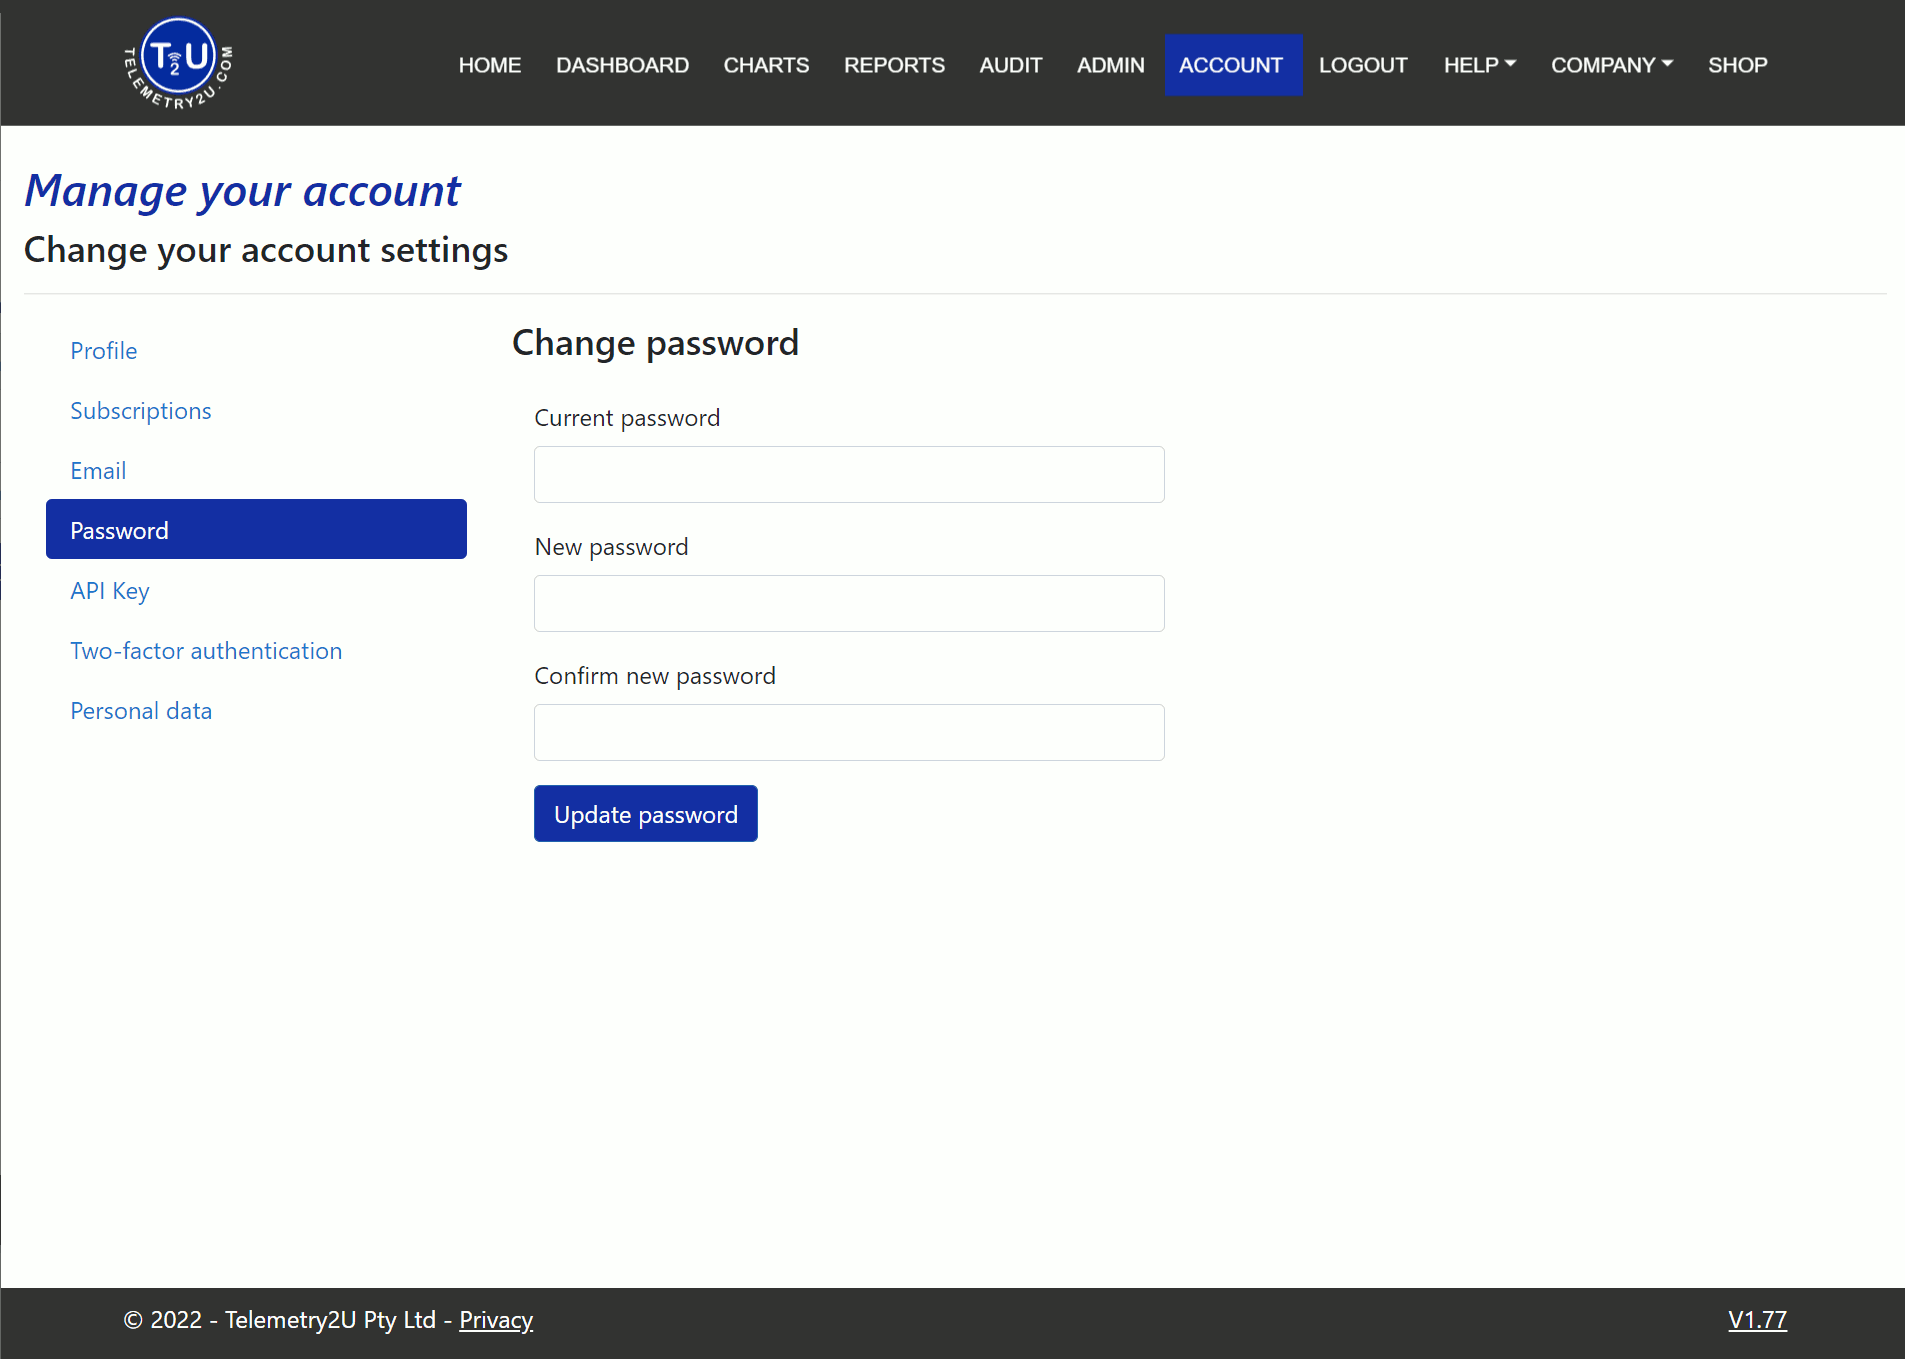
7.6 - Changing Login Password
The Password page allows users to change the password used to sign into their account.
Firstly, users must enter their Current password before entering their New password and the Confirm new password in the relevant field. If the new and confirmed passwords are not an exact match, the changes cannot be saved.
Note:
Passwords on Telemetry2U must contain at least one capital letter, one number, and one special character.
Hit the Update Password button when everything has been entered correctly.
An E-mail will be sent to the users registered E-mail address confirming that the password has been changed successfully.
7.7 - Creating an API Key
An API (Application Programming Interface) is a software intermediary that allows two applications to talk to each other. API’s mate it possible for 3rd party software to pull data from the Telemetry2U database tables. For this to be done, a unique API key needs to be generated.
If an API Key has not yet been generated, click on the Create API Key button. A unique API Key will be automatically generated and displayed in the API Key box.
If an API key has already been generated and is no longer required, you can remove the API key by clicking the Clear API Key button.
Note:
You can update or change an API key by first clearing and the readding the API key.

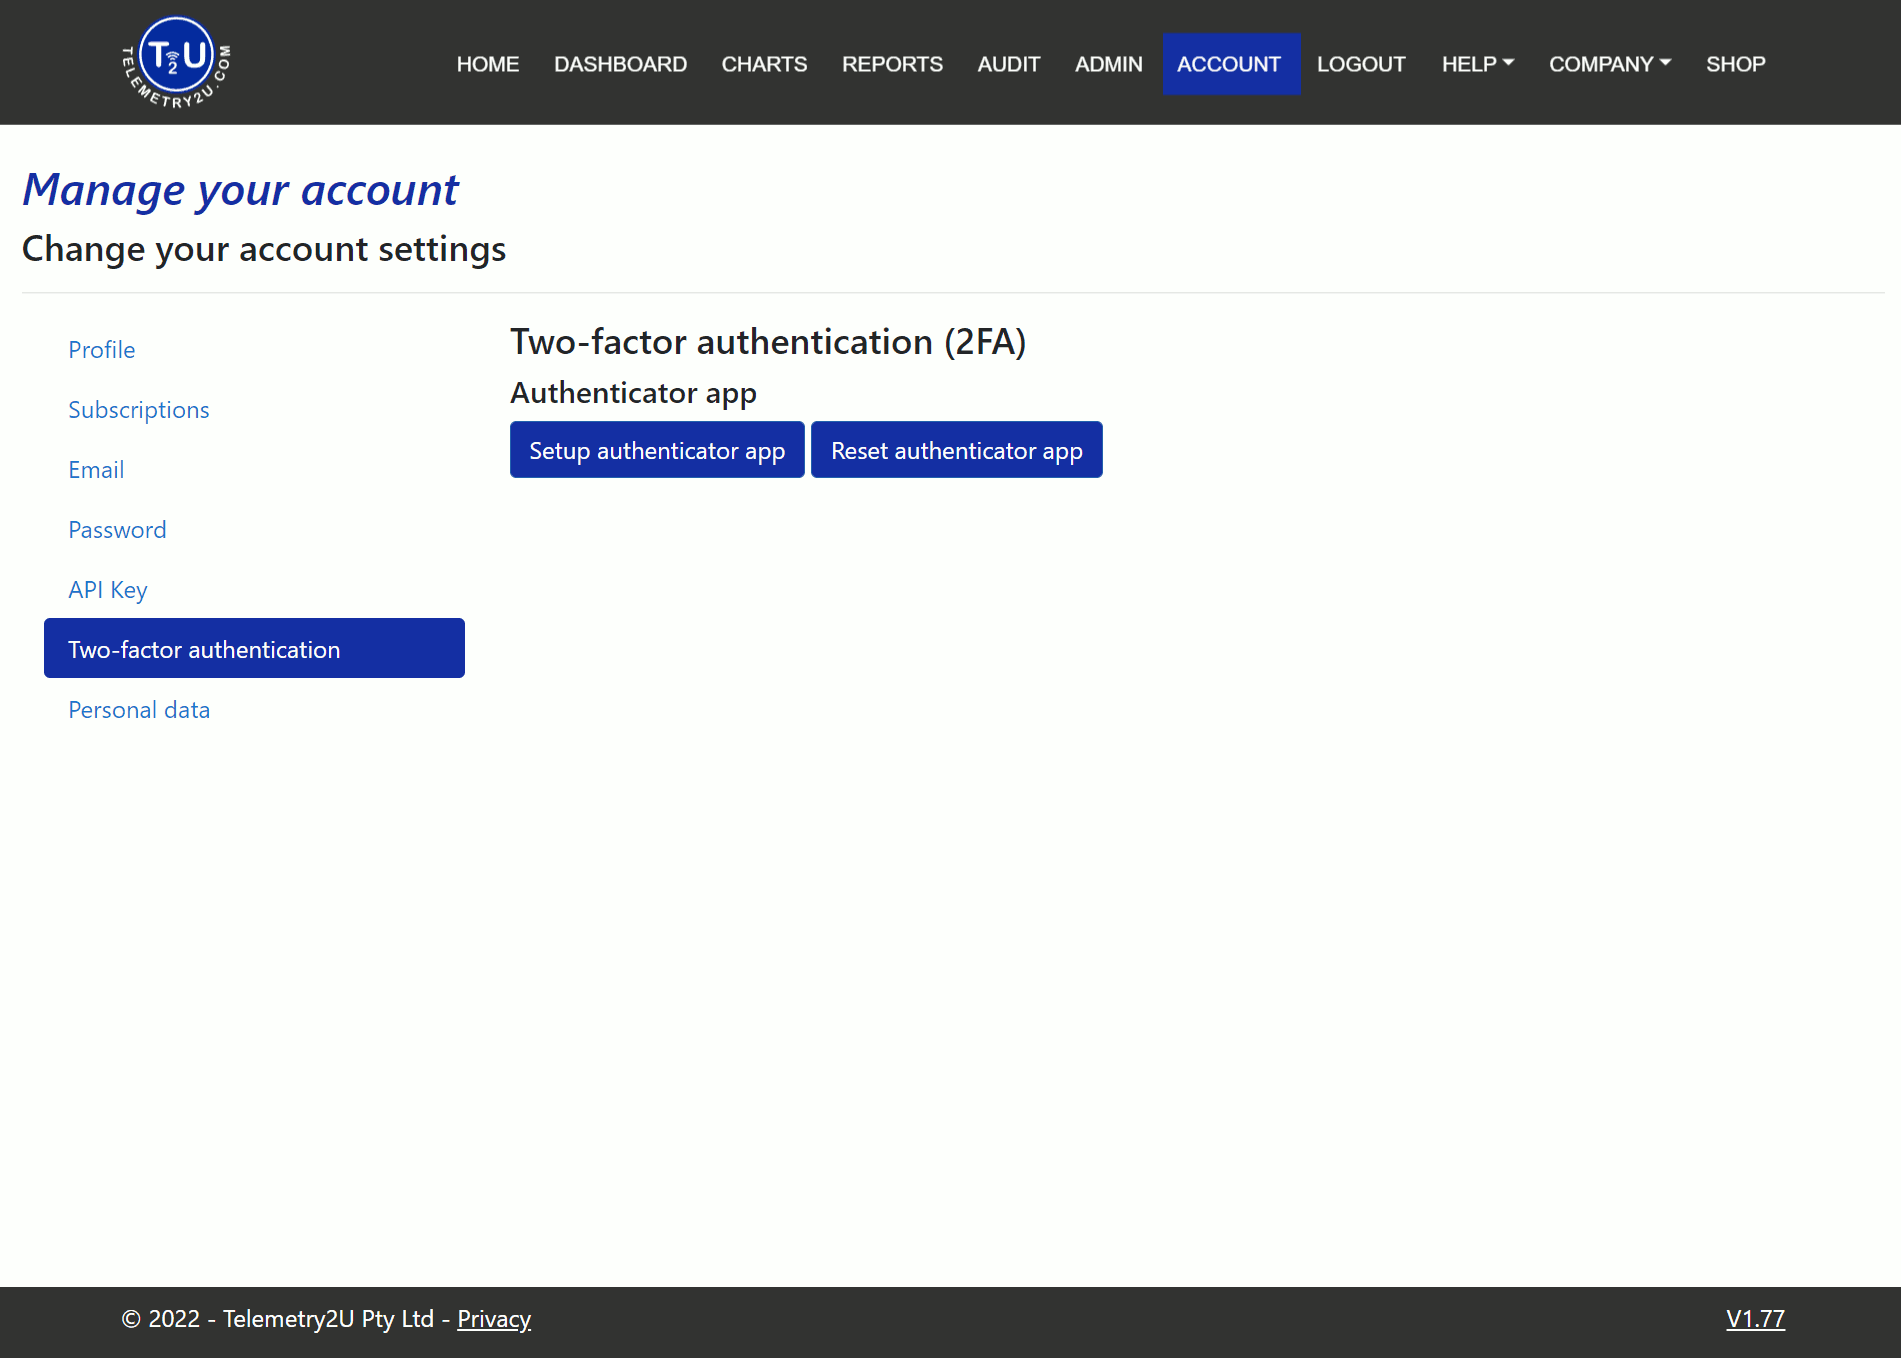
7.8 - Two-Factor Authorisation (2FA)
Two Factor Authentication, or 2FA, is an extra layer of protection used to ensure the security of online accounts beyond just a username and password.
Telemetry2U uses an authenticator app for 2FA. Follow these steps to use an authenticator app.
-
Download a two-factor authenticator app like Microsoft Authenticator for Windows Phone, Android and iOS or Google Authenticator for Android and iOS.
- Scan the QR Code or enter this key mqif e4hf ftib m6ve yaym wk4s gwet cmlk into your two factor authenticator app. Spaces and casing do not matter.
- Once you have scanned the QR code or input the key above, your two-factor authentication app will provide you with a unique code. Enter the code in the Verification Code box at the bottom of the page and click on the Verify button to complete the process.
If you’ve already setup 2FA and wish to reset it, you can do so by clicking on the Reset authenticator app button.
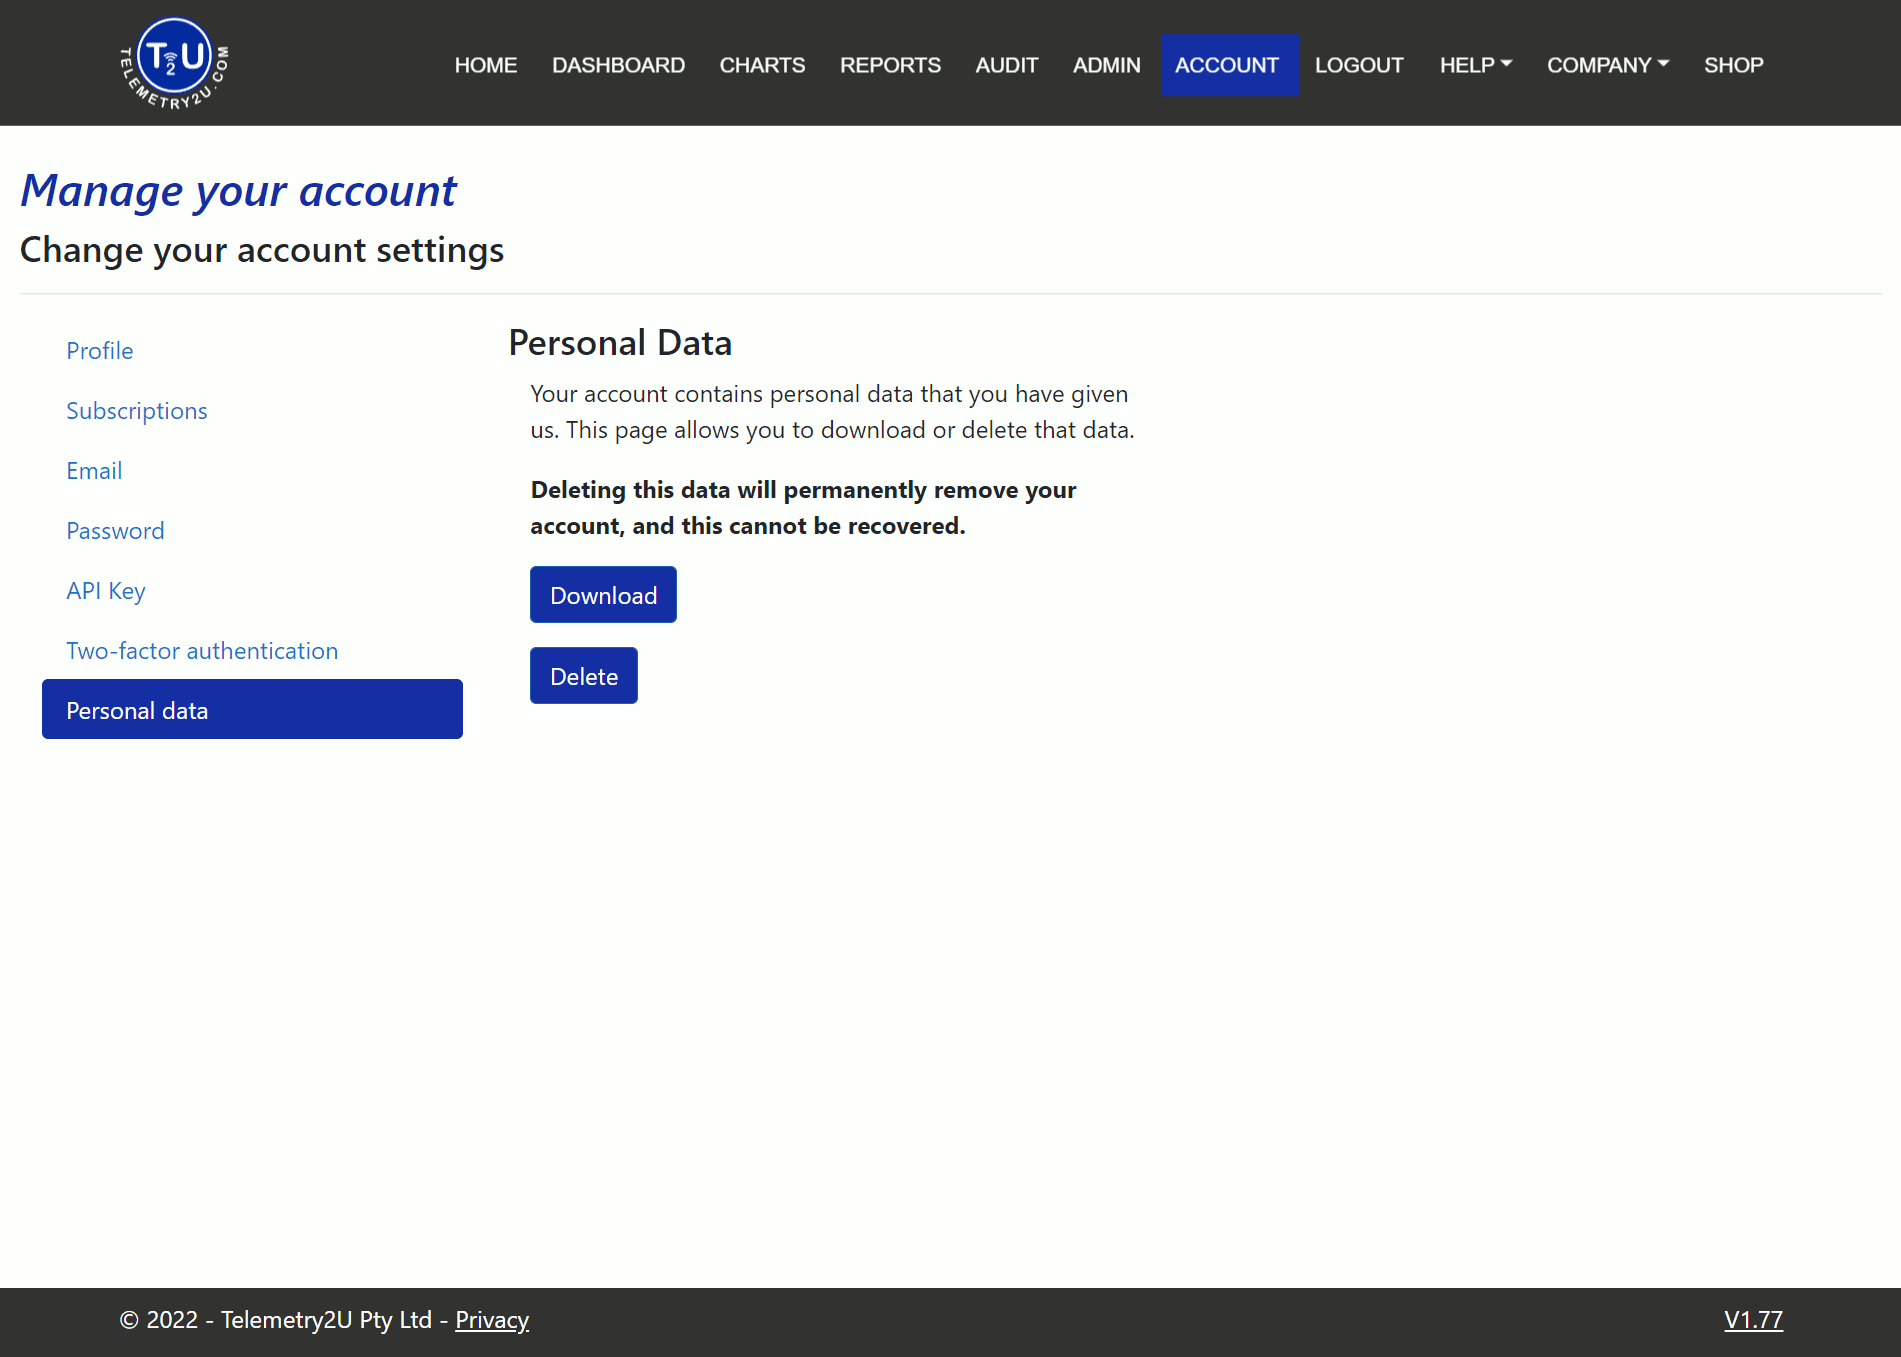
7.9 - Delete Personal Data and Close Account
All Telemetry2U users have complete control over all data stored on Telemetry2U. By navigating to Account >> Personal data, a user can download and view all personal data stored by Telemetry2U by clicking on the Download button. Data is downloaded in JSON format, but it can be clearly viewed in any text editor like Notepad or Word.
It is also possible to remove all personal data from Telemetry2U by clicking the Delete button. It is important to note that once your personal data has been deleted, it cannot be recovered, and you will no longer be able to log into Telemetry2U. If you choose to use Telemetry2U products or services in the future, you will need to register a new account.