Integrate with Telemetry2U Using the REST API
Create an account-level API key and use the Telemetry2U REST endpoints to retrieve node details, the latest sensor record or historical data for external software, reporting and analytics.
Before You Start
The API provides read-only access to the nodes already available to the Telemetry2U account used for authentication. It can be used by trusted server-side applications, scripts, spreadsheets and data-analysis tools.
Use an account that already has access to the nodes required by the integration.
Both values are required to construct the authorization value.
Make requests from protected server-side code, a controlled desktop application or another secure tool.
Security: Do not embed the API key in browser JavaScript or another public-facing website. Keep it in protected configuration or a suitable secret store.
1. Create the API Key
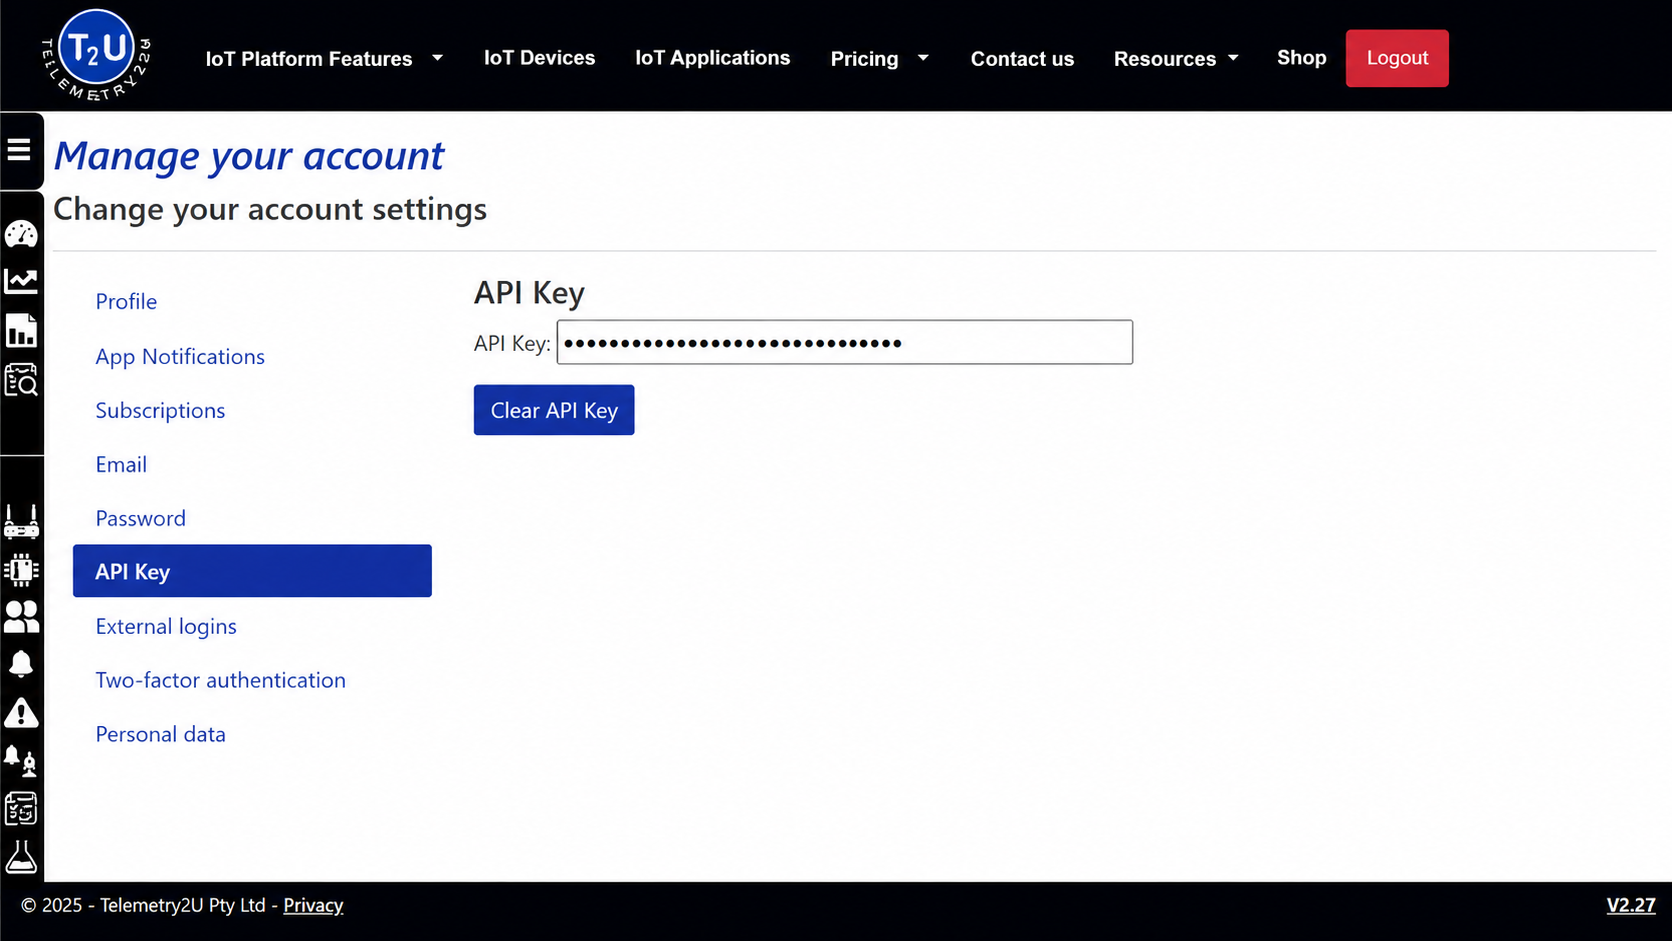
Open Account and select API Key from the account menu. If no key exists, select Create API Key. The generated value is displayed in the API Key field.
When an existing key is no longer required, select Clear API Key. To replace a key, clear the current value and create a new one. Any integration using the previous key must then be updated.
2. Authenticate the API Request
Build the authorization value from the account email address and API key. Join the two values with a colon, Base64 encode the resulting string and send it as a Bearer token.
Create the value to encode
Add the authorization header
The current Telemetry2U C# example encodes email:apiKey using
ISO-8859-1 before converting it to Base64. Use the same result when reproducing
the authentication process in another language.
3. Request the Available Node List
Begin with the nodes endpoint. It confirms that authentication is working and returns
the nodeId, description, location and notes for each node available to the account.
Example request
curl "https://telemetry2u.com/api/nodes" \
  -H "Authorization: Bearer <BASE64_TOKEN>" \
  -H "Accept: application/json"
Save the required nodeId from the JSON response. The same identifier is used
to retrieve the latest reading or a historical date range.
4. Retrieve the Latest or Historical Data
Telemetry2U currently provides three read-only endpoints. Substitute the required node identifier and dates before sending the request.
| Endpoint | Result |
|---|---|
/api/nodes |
Returns the nodes available to the authenticated account. |
/api/data/{nodeId} |
Returns the last received record for the selected node. |
/api/data/{nodeId}/{startDate}/{endDate} |
Returns records received between the specified UTC start and end dates. |
Latest record example
Historical data example
Historical queries use UTC dates. The maintained sample code formats dates as
YYYY-MM-DD. Use the same date format consistently in each request.
Protect and Maintain the Integration
- Keep API credentials outside source control and public website code.
- Use HTTPS endpoints exactly as shown.
- Confirm that the account retains access to every node required by the integration.
- Clear the API key immediately if it may have been exposed.
- Update every connected application after replacing the key.