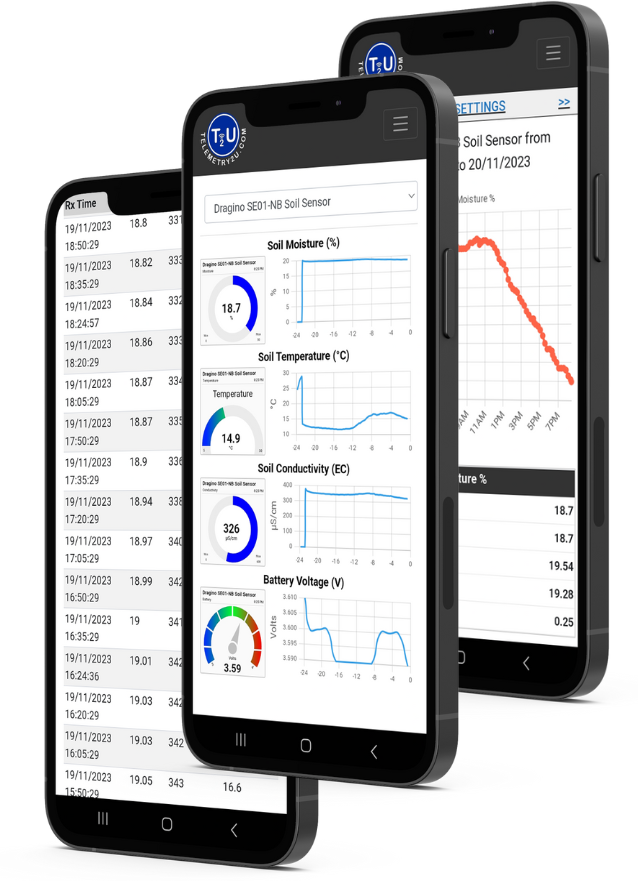
How to Add Dragino NB-IoT Sensors to Telemetry2U
Configure a supported Dragino NB-IoT device for the Telstra network, register it in Telemetry2U and confirm that measurements are arriving correctly. Each command below can be copied directly to your clipboard.
Connect a Dragino NB-IoT Device to Telemetry2U
Dragino NB-IoT devices connect directly to a compatible cellular network without requiring an on-site LoRaWAN gateway. Telemetry2U receives the device payload, applies the selected device configuration and makes the decoded measurements available in Reports, Charts, dashboards, alerts and scheduled reports.
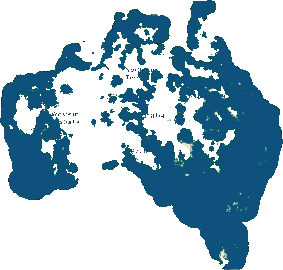
Check predicted NB-IoT coverage at the installation location before commissioning the sensor. Building materials, antenna position, terrain and the selected device model can affect the final connection quality.
Devices purchased pre-configured from Telemetry2U may already contain the required SIM and server settings. Use this guide when configuring compatible Dragino hardware yourself or when checking an existing installation.
Confirm the model, modem family and current firmware before applying commands.
For this Australian example, use a Telstra-compatible SIM with the correct APN.
Install Serial Bluetooth Terminal and have the Dragino device PIN available.
You need permission to create a node under Admin > Node Maintenance.
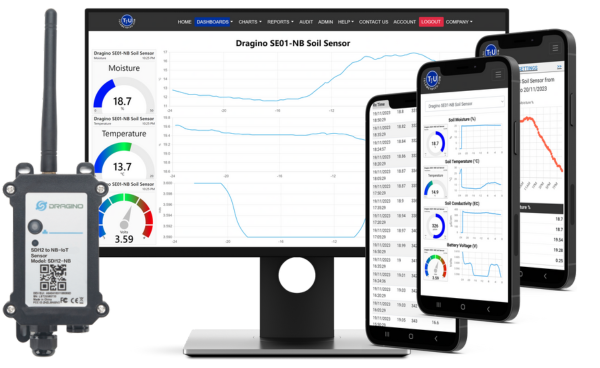
1. Install the SIM and Connect by Bluetooth
Install the SIM before powering the device, then use Bluetooth Low Energy to open the Dragino command terminal.
- Confirm that the SIM is activated for NB-IoT service and uses the telstra.m2m APN for this deployment.
- Insert the SIM in the direction specified for your Dragino model. Do not force the holder or assume every enclosure uses the same orientation.
- Press and hold the device button for approximately five seconds, then allow the device to complete its startup sequence.
- Install Serial Bluetooth Terminal for Android.
- In the app, open Devices, select Bluetooth LE, scan and choose the Dragino device that matches the identifier on its label.
- Enter the device PIN when prompted. Wait until the startup output has finished before sending commands.
Connection timing: if Bluetooth connects and immediately drops, wait approximately ten seconds and try again. Dragino devices normally keep Bluetooth active only for a limited period after startup, reset or a manual uplink.
For a more detailed walkthrough, see Connect to a Dragino Device Using Serial Bluetooth Terminal.
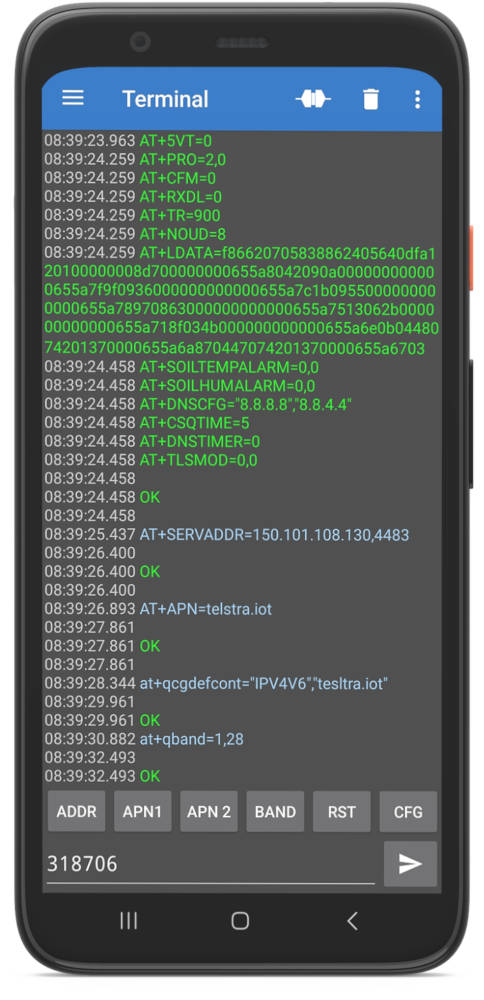
2. Configure Telstra NB-IoT and the Telemetry2U Server
Send each command separately and wait for the device response before continuing. The copy icon beside each command places the exact value on your clipboard.
-
Set the Telemetry2U server address and UDP port.
This directs device payloads to the Telemetry2U NB-IoT endpoint.
-
Set the Telstra APN.
Use the APN supplied by the SIM provider when commissioning a different network.
-
Set the modem packet-data context.
For BC660K-GL and supported BC95-based devices:
For devices using a Quectel BC35 modem:
Use only the command supported by the installed modem and firmware. Some devices may require the context command to be sent more than once before it is accepted reliably.
-
Restrict the modem to the selected NB-IoT bands for this deployment.
Band commands vary between modem families. Confirm the required syntax in the documentation for the installed Dragino model before changing an older device.
-
Display the complete device configuration.
Confirm the server, APN and band settings, then record the device's 15-digit IMEI from its label or configuration output. The IMEI is required when the node is added to Telemetry2U.
Do not apply commands blindly across different Dragino families. The server and APN values remain the same for this deployment, but the modem context, band and save commands can vary with the hardware and firmware version.
3. Add the NB-IoT Device to Telemetry2U
Register the device before restarting it so Telemetry2U can recognise the first incoming uplink.
- Sign in to Telemetry2U and open Admin > Node Maintenance.
- Select Add New Node.
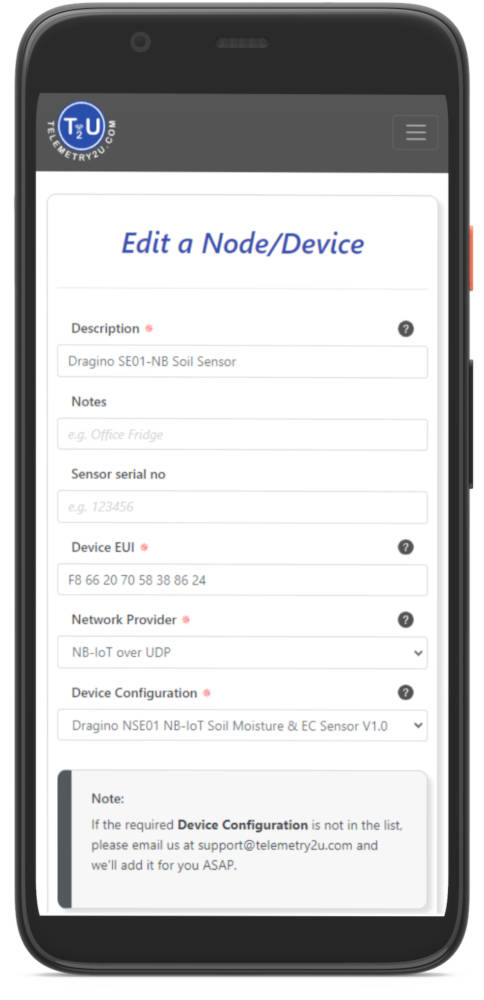
- Choose NB-IoT over UDP as the network provider.
- Select the device configuration that exactly matches the installed Dragino model and sensor type.
- Enter a clear node description that identifies the asset, measurement location or equipment being monitored.
- Enter the 15-digit device IMEI in the IMEI field and save the node.
Decoder check: selecting the wrong device configuration can make valid payloads appear incorrect. If the raw data arrives but the displayed values are unclear, recheck the configuration selected in Node Maintenance.
4. Restart the Device and Confirm Incoming Data
Restart the Dragino device after the node has been saved. The device must attach to the NB-IoT network before it can send its first payload to Telemetry2U.
Restart the device from the command terminal with:
Alternatively, use the physical reset or activation method specified for the device. Allow several minutes for the modem to attach, then open Reports and select the new node.
Data Appears Correctly
Confirm that timestamps are current, measurement names match the sensor and values are plausible for the installation. You can now configure alerts, charts, dashboards and reports.
No Data or Incorrect Values
Reconnect by Bluetooth and repeat the configuration check from step 2. Check the APN, server, network registration, IMEI and selected Telemetry2U device configuration. Also confirm predicted NB-IoT coverage at the site.
5. Create a Real-Time NB-IoT Dashboard
Once data is visible in Reports, create a dashboard that presents the measurements most useful to operators. A desktop browser provides the clearest layout for editing and resizing widgets.
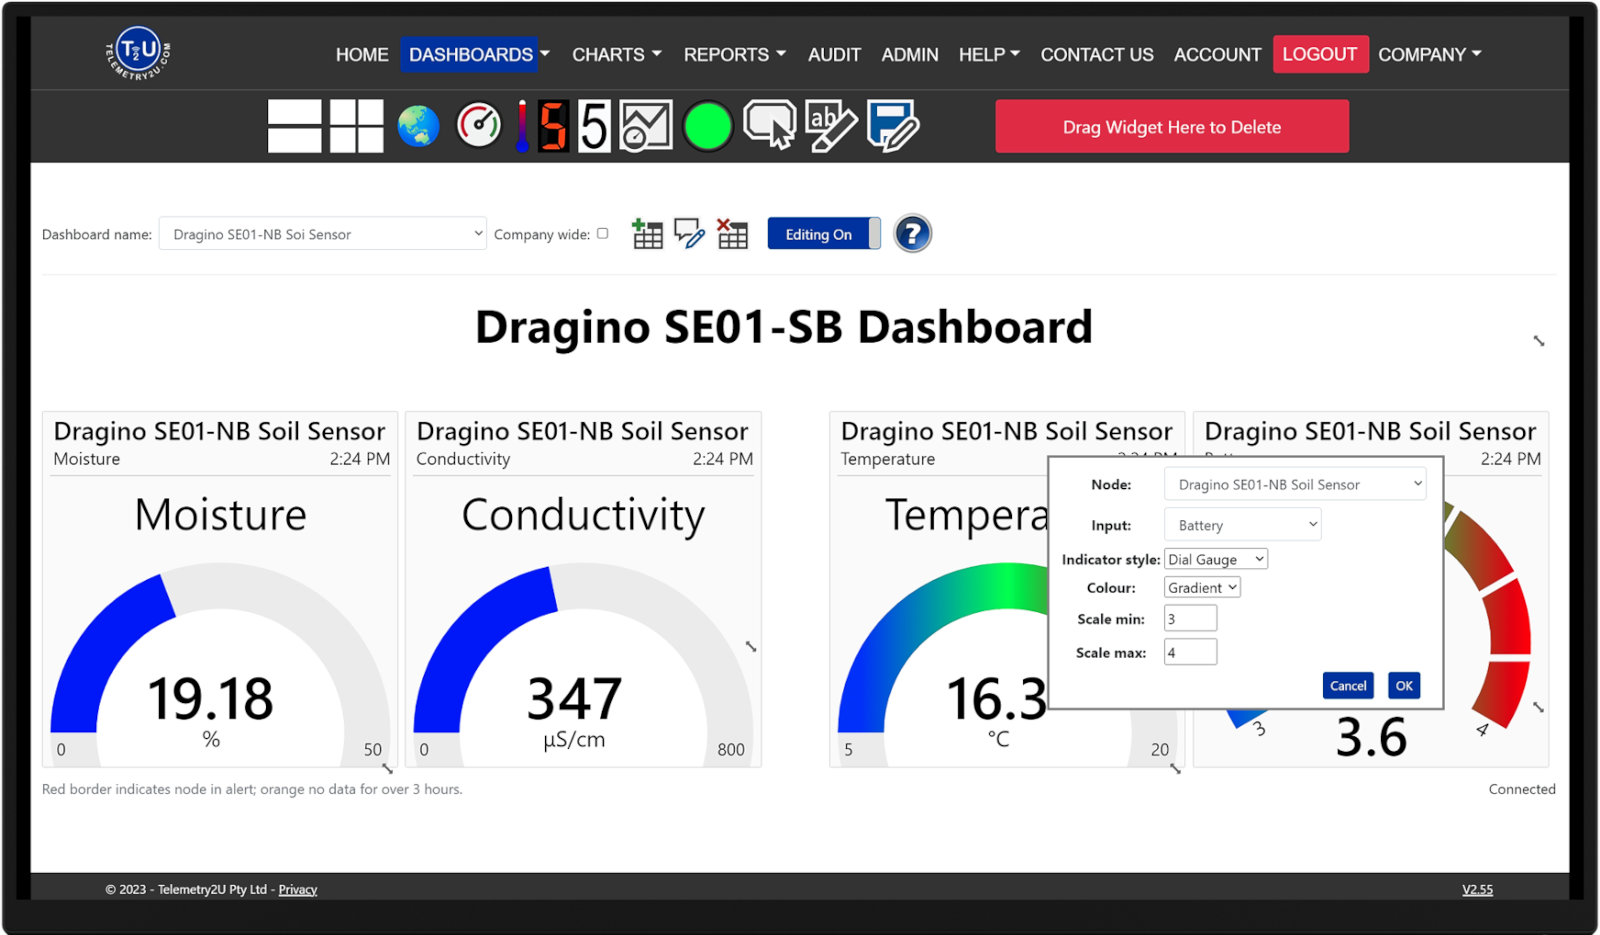
- Open Dashboard and select Create New.
- Select Editing to display the available widgets.
- Add a widget, then drag and resize it on the dashboard canvas.
- Open the widget settings and select the NB-IoT node, input, style and display range.
- Select Save when the dashboard is complete.
Sharing: enable Company Wide when the dashboard should be available to every user in the account. Use the dashboard copy function when assigning a dashboard to selected users only.
Monitor LoRaWAN, NB-IoT and LTE-M in One Platform
Telemetry2U is not limited to one device family or wireless network. A single account can bring together compatible LoRaWAN, NB-IoT and LTE-M devices so operators can use consistent dashboards, reports, alerts and administration across the deployment.
LoRaWAN
Connect low-power sensors through private, managed or compatible third-party gateway infrastructure.
NB-IoT
Use carrier NB-IoT coverage for fixed, low-data monitoring without installing a local gateway.
LTE-M
Use cellular IoT connectivity where mobility, responsiveness or broader device support is required.
Regardless of the transport used, supported measurements can feed the same reporting and visualisation tools. Available functions include historical charts, email/SMS/voice alerts, network-loss notifications, scheduled audit reports, calibration records, device commands and conditional automation.
See the LoRaWAN, LTE-M and NB-IoT network comparison when selecting the best connectivity option for a new installation.