How to Start a Free Telemetry2U IoT Platform Trial
Create and confirm your account, complete the essential profile settings and activate a free 14-day trial before connecting LoRaWAN, NB-IoT or LTE-M devices.
Create Your Account Before Connecting Hardware
The account and trial can be activated from a current web browser on a computer, tablet or phone. You do not need to configure a device or gateway before creating the account.
Hardware is only required when you are ready to send live data. LoRaWAN devices need access to a compatible public network or a gateway configured for Telemetry2U. NB-IoT and LTE-M devices instead require suitable cellular connectivity.
Telemetry2U sends an activation link that must be opened before the first sign-in.
This is optional during registration but required when you are ready to test live data.
1. Create a Telemetry2U Account
Open the Telemetry2U registration page and enter the email address that will be used to sign in.
- Enter a current email address.
- Create and confirm the account password.
- Answer the verification question displayed on the form.
- Review the linked Terms of Service and Privacy Policy.
- Select Sign up with Email to submit the registration.
Password requirements: use at least six characters, including an uppercase letter, a lowercase letter, a number and a non-alphanumeric character.
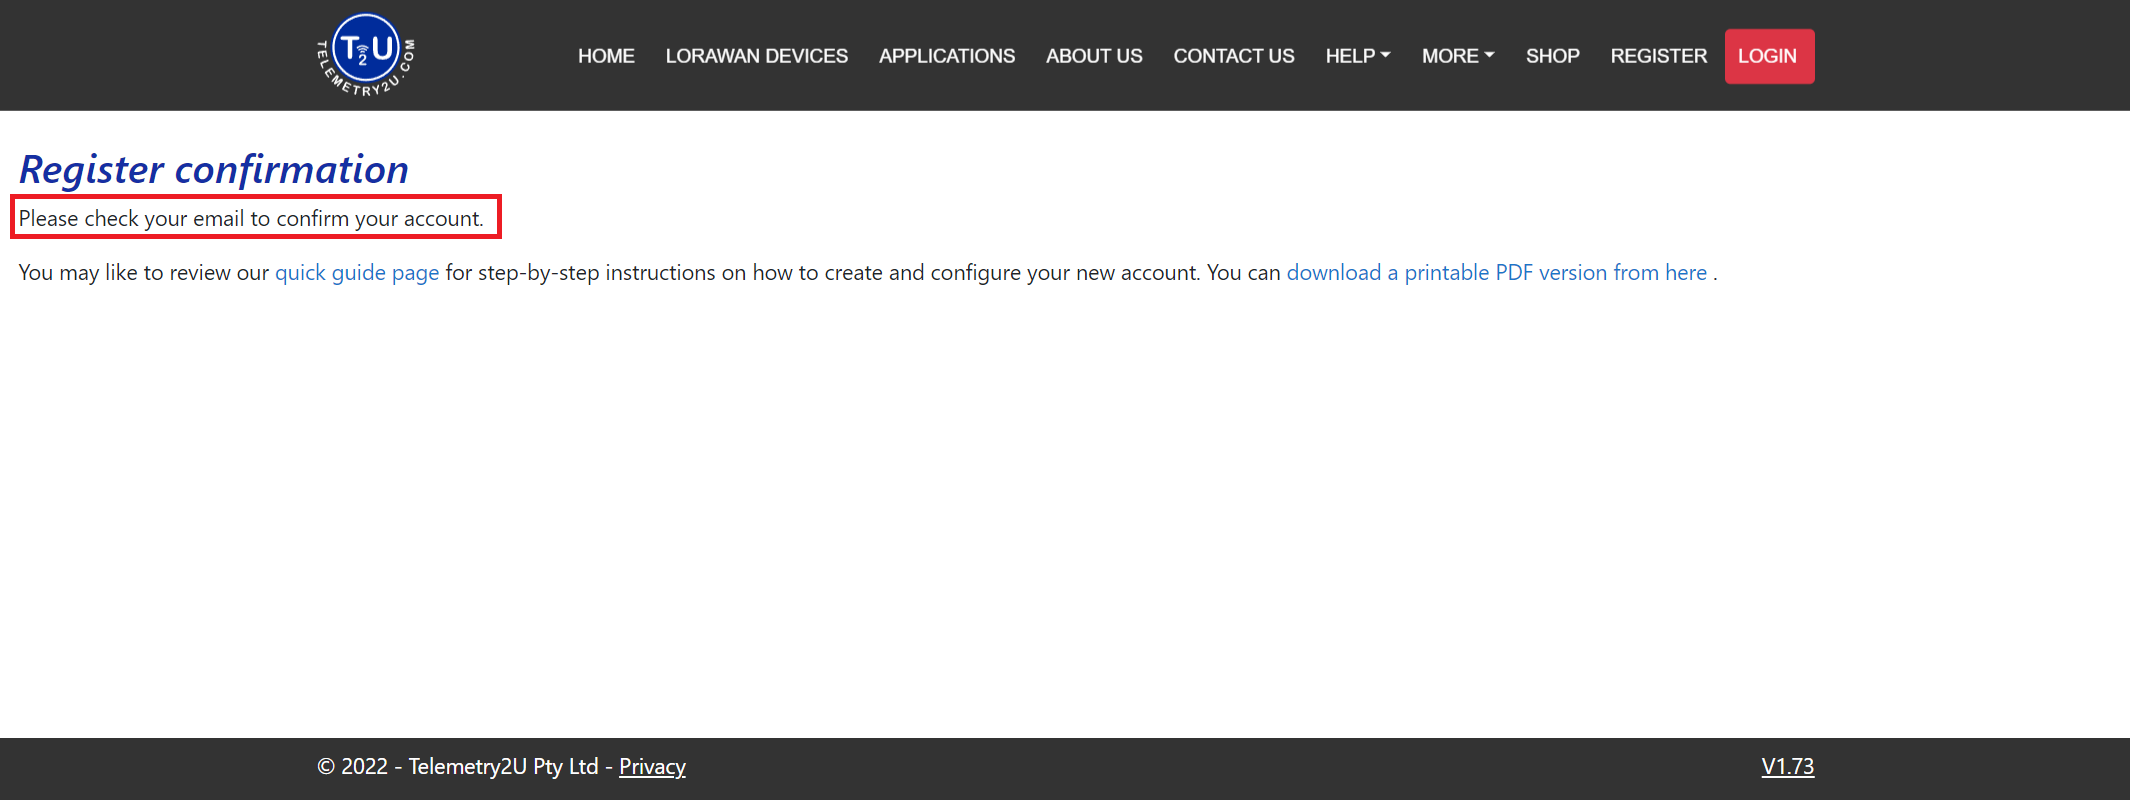
2. Confirm Your Email Address
Check the inbox for the address entered during registration and open the account confirmation message from Telemetry2U. The account cannot be used until its email address has been confirmed.
Select the confirmation link in the message. Telemetry2U will display a success notice when the account is active. You can then proceed to the login page.
Email not received? Check the spam or junk folder and confirm that the registration address was entered correctly before submitting another registration request.
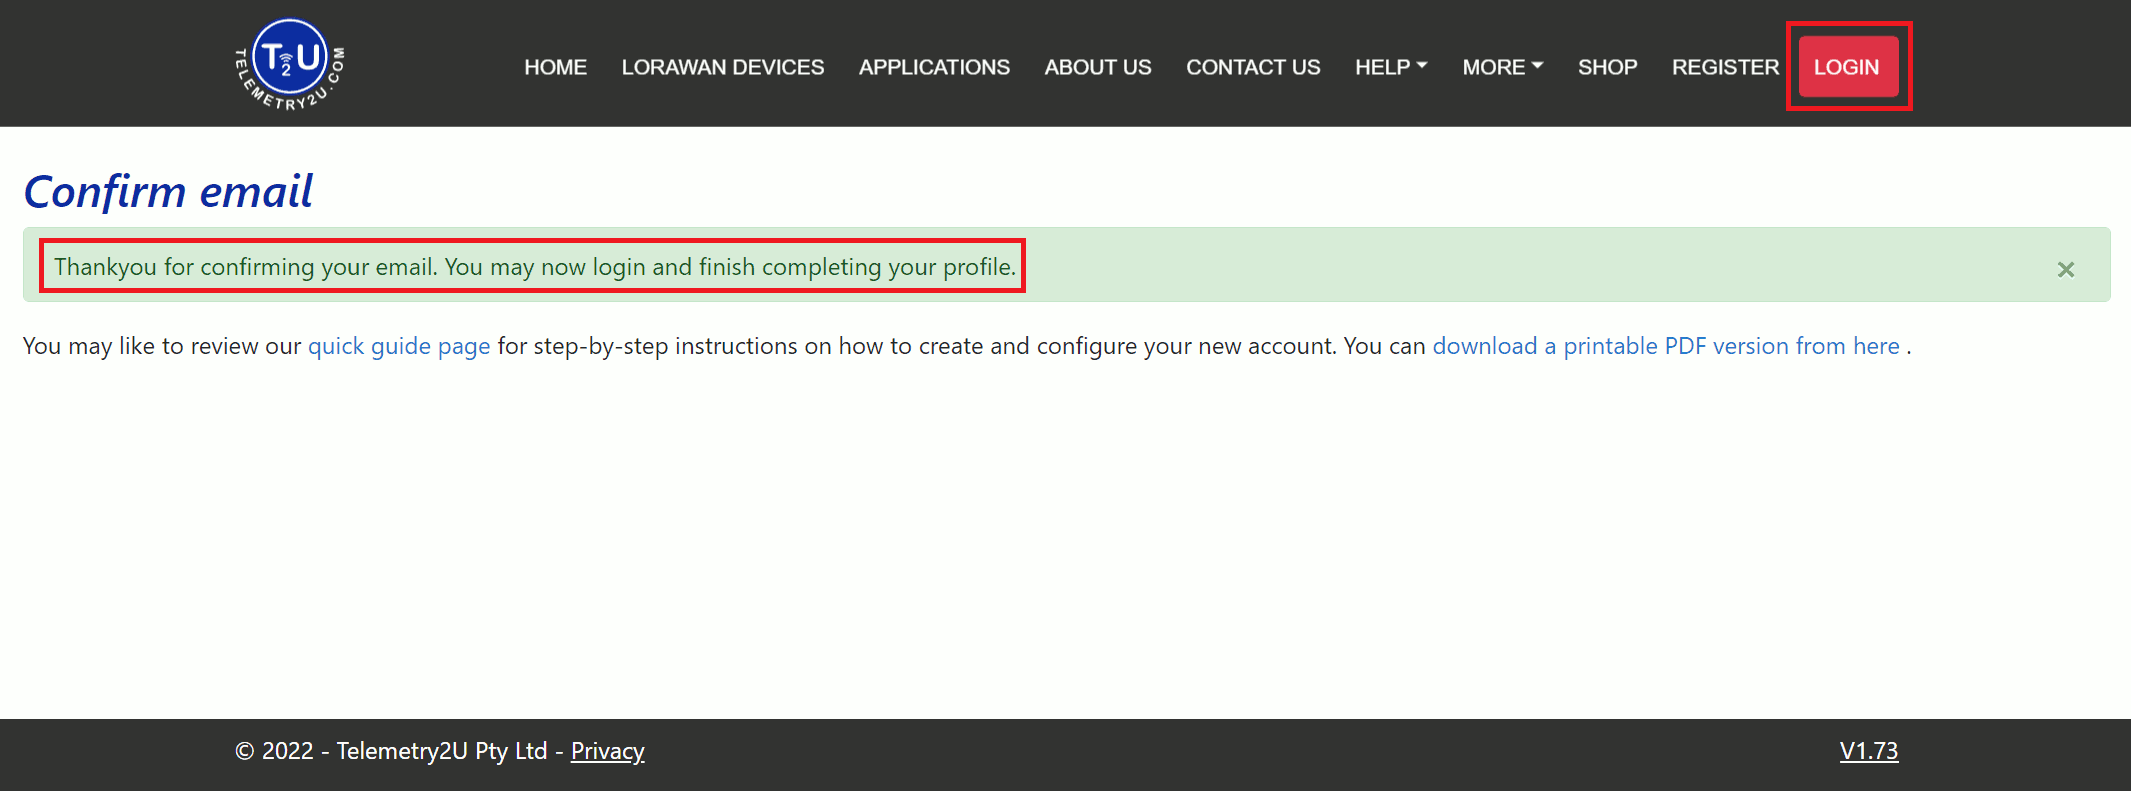
3. Complete the Account Profile
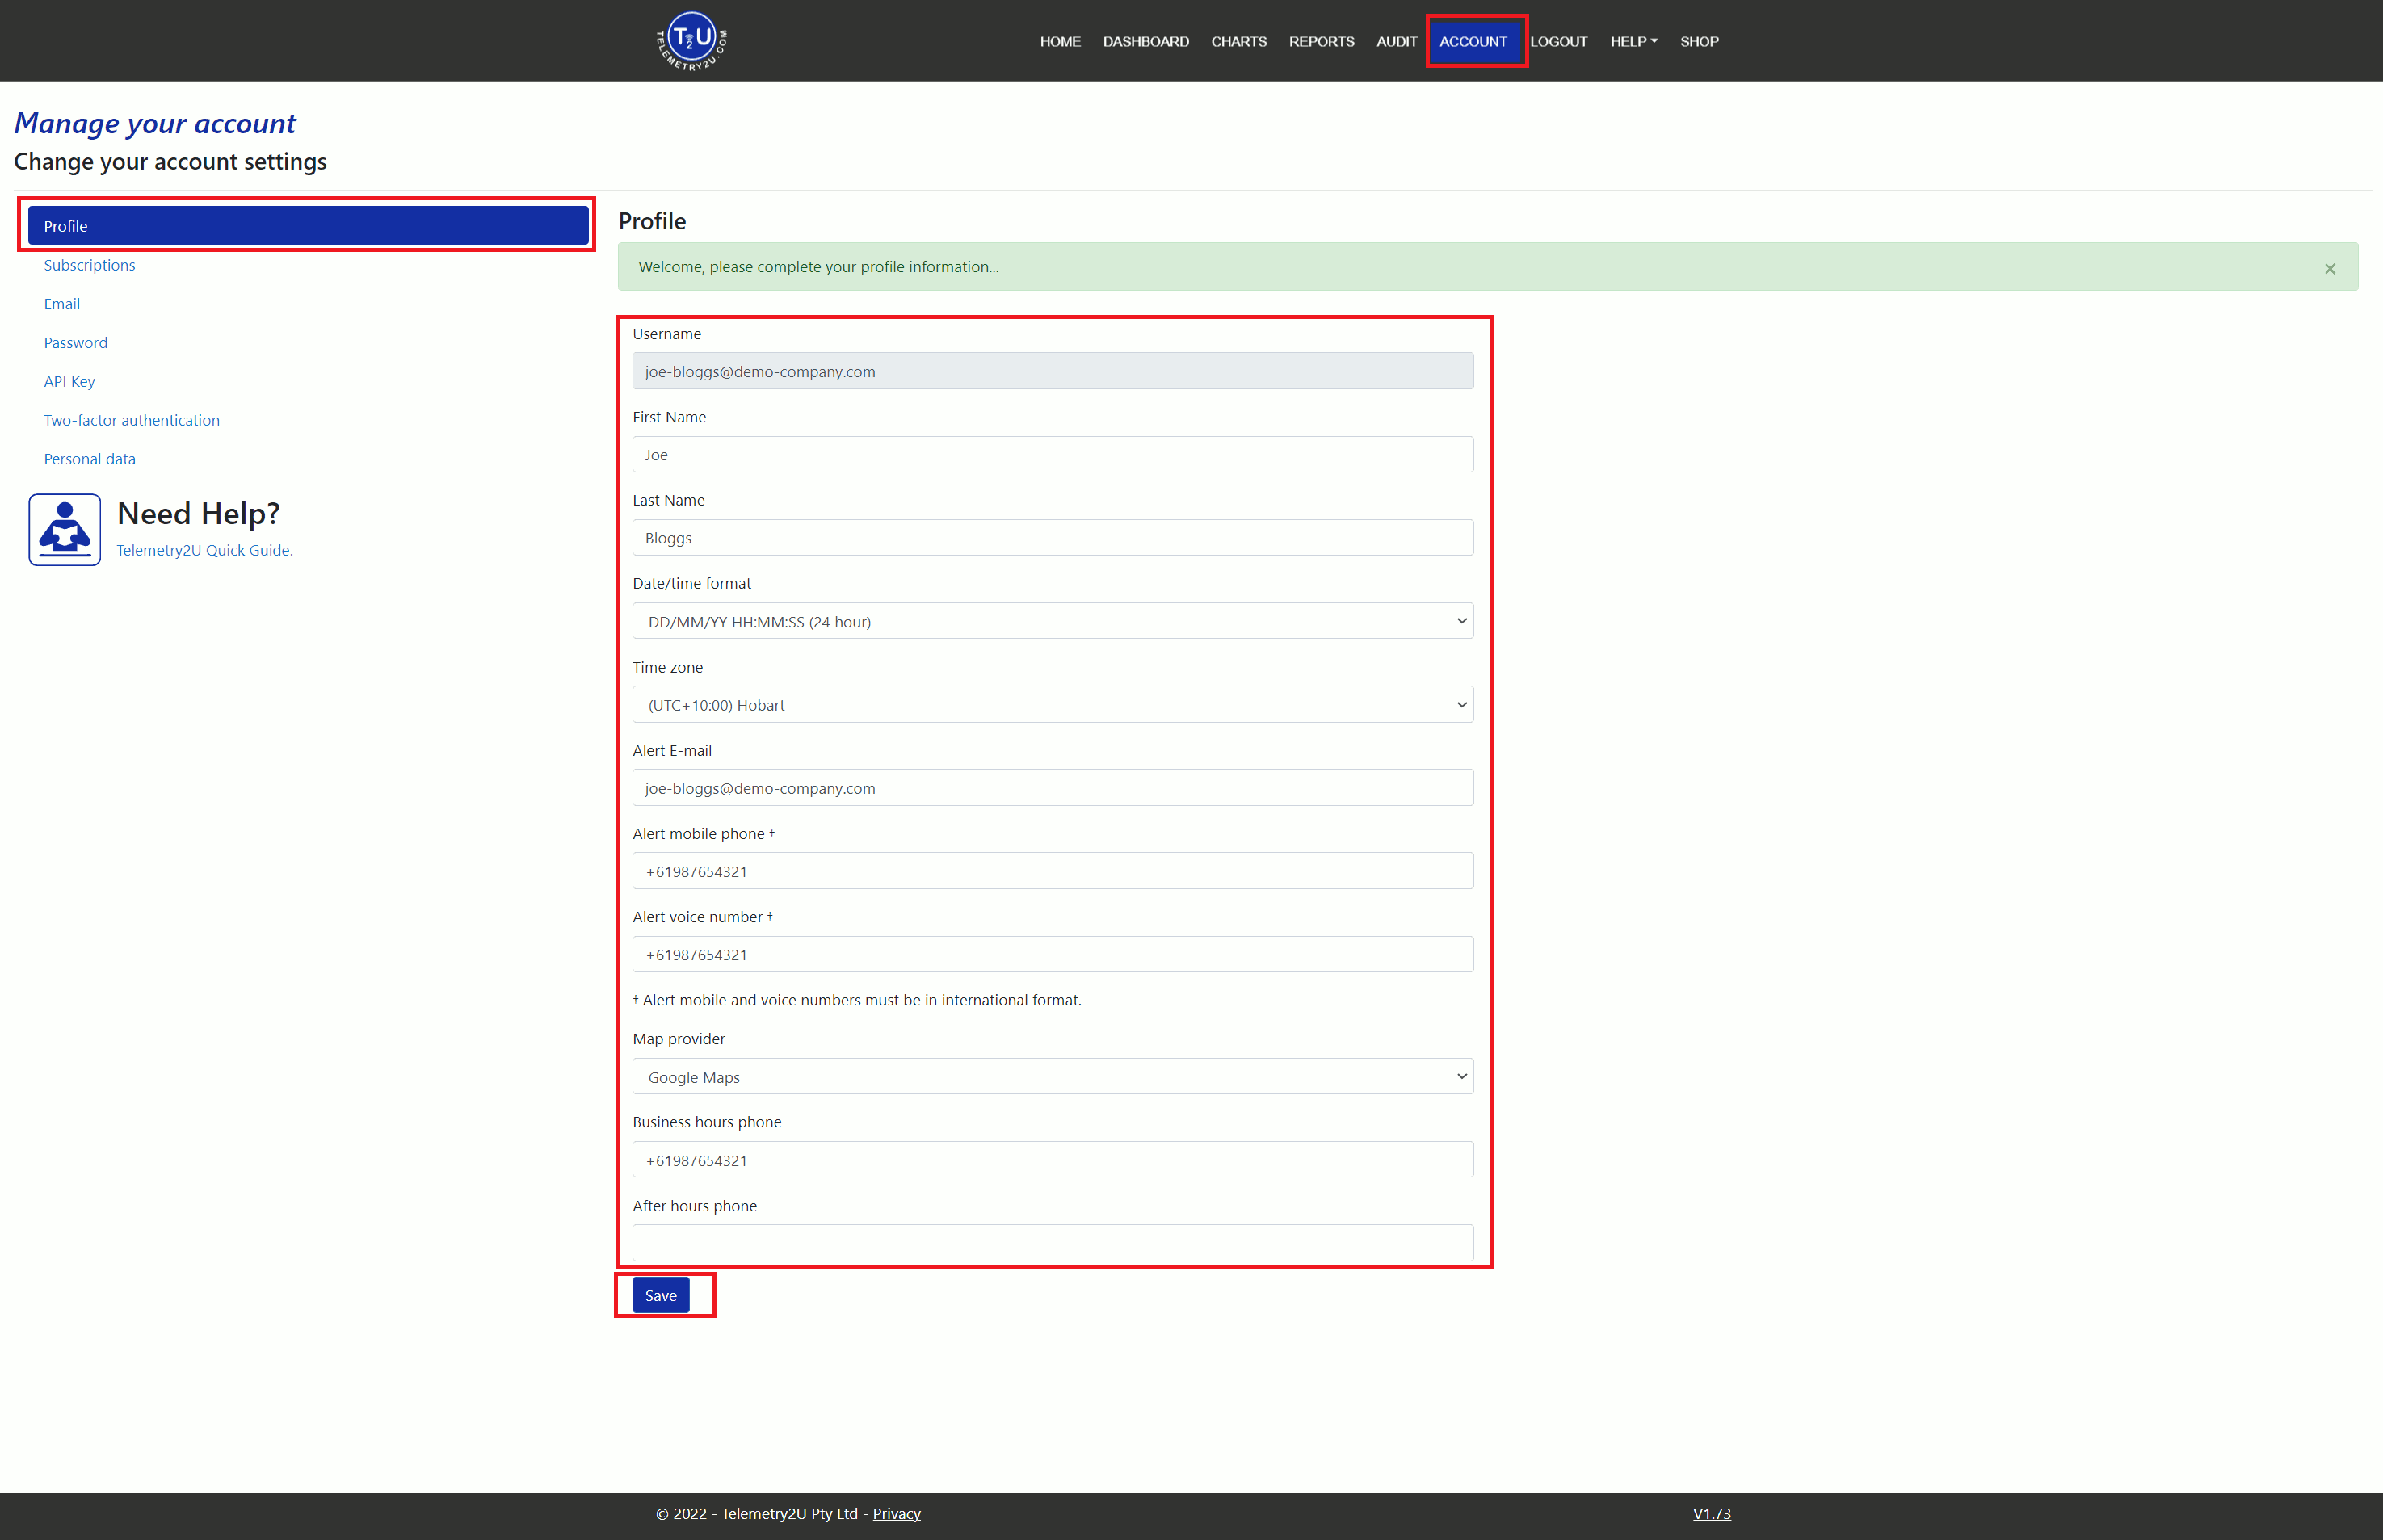
Sign in with the confirmed email address. On the first login, Telemetry2U opens the profile area so the account details and regional settings can be completed.
- Enter the first and last name used to identify the account.
- Select the correct Time Zone for dashboard, report and event timestamps.
- Check the Alert Email address and change it when notifications should go elsewhere.
- Complete any other relevant profile fields, then select Save.
To change account-level company information that is not editable from the profile page, contact Telemetry2U.
4. Start the Free 14-Day Trial
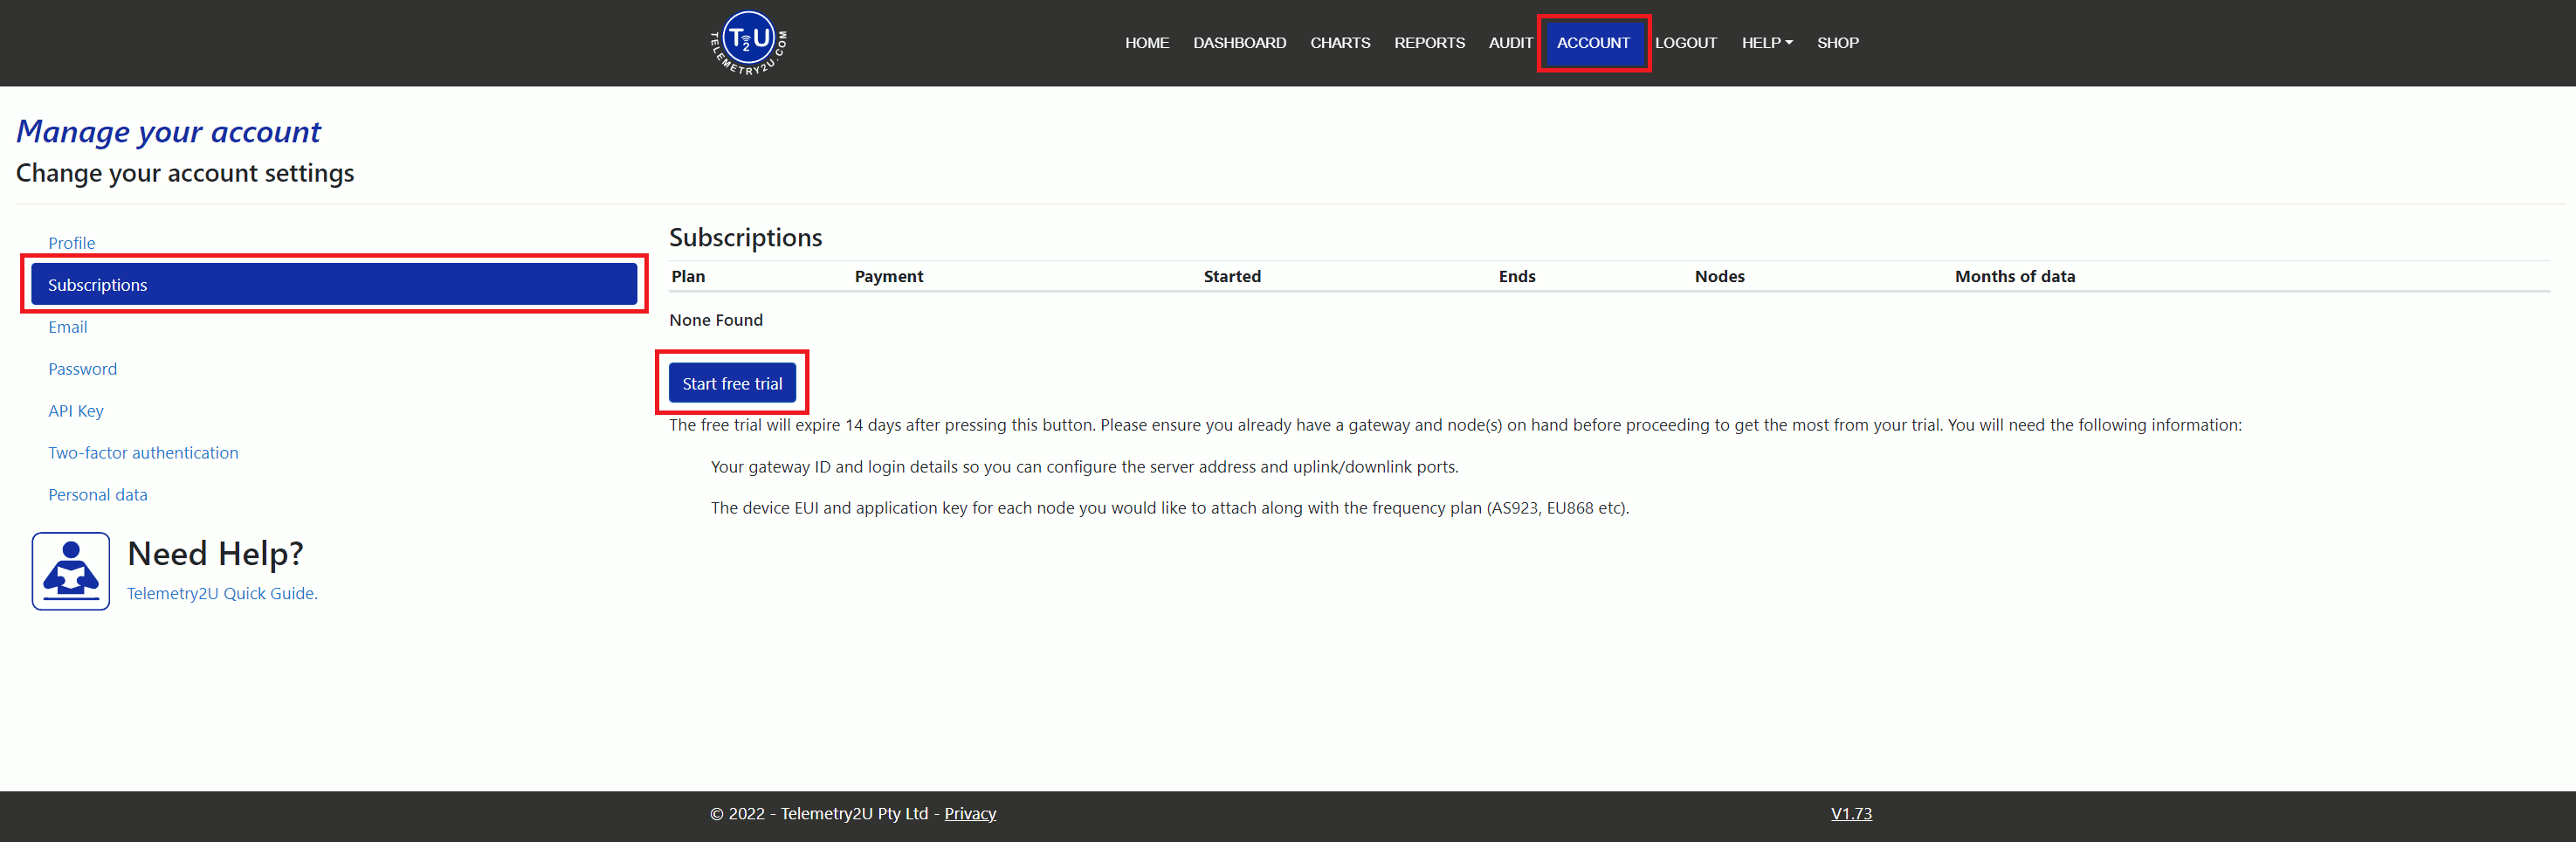
After saving the profile, open Account > Subscriptions. If the welcome page is still displayed, select Manage your subscriptions to open the same area.
On the Subscriptions page, select Start Free Trial. Telemetry2U will confirm the trial and show the information required to connect a compatible LoRaWAN gateway directly to the platform.
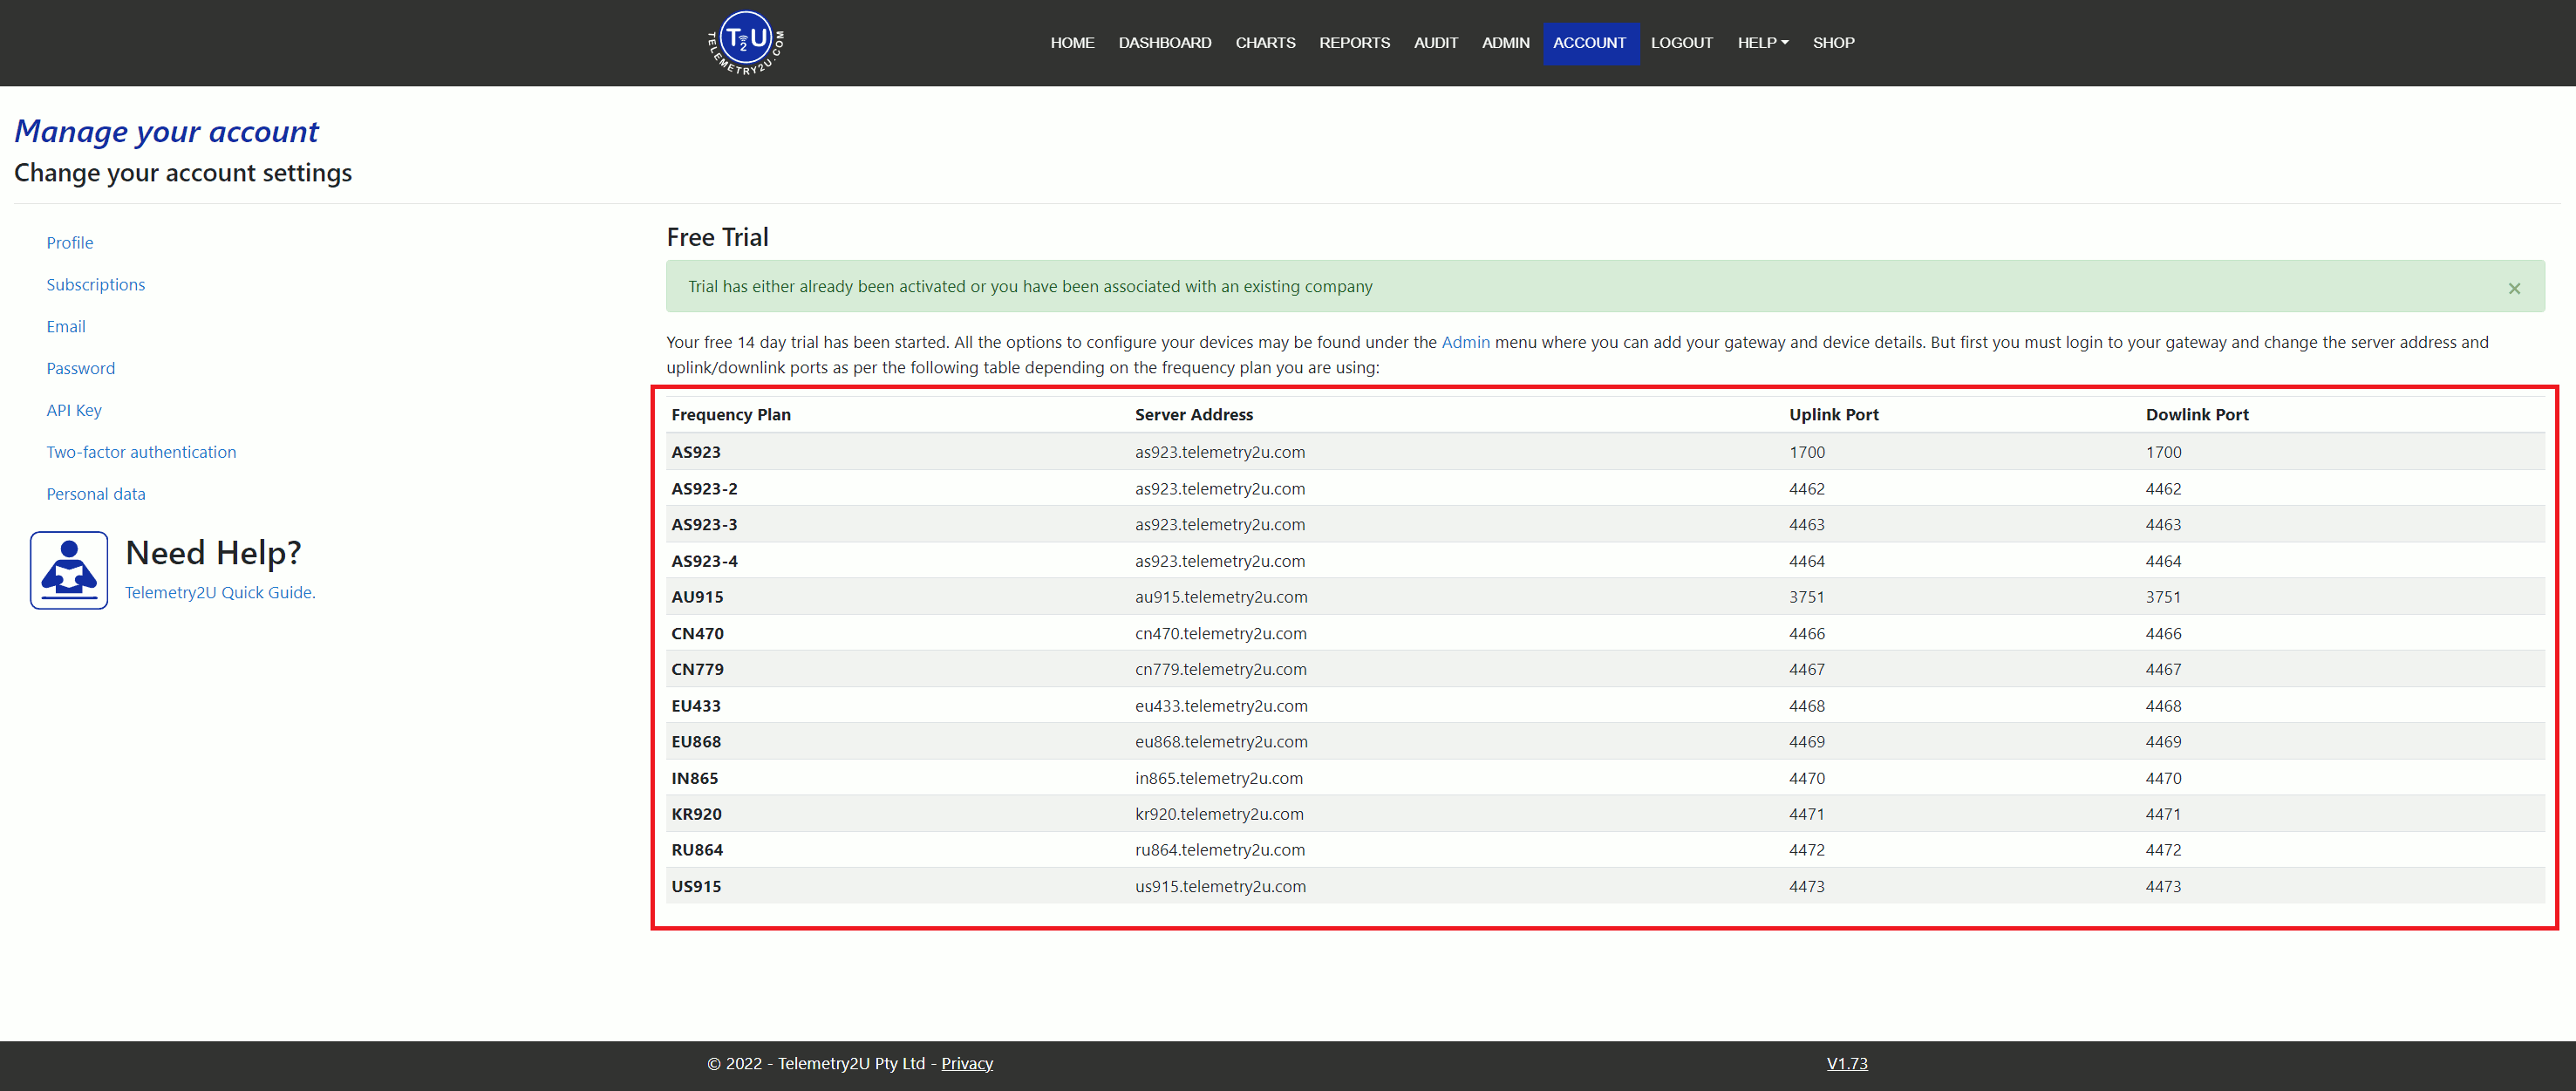
The gateway table applies to direct LoRaWAN gateway connections. NB-IoT and LTE-M devices do not use these LoRaWAN server ports. Public LoRaWAN networks, including Helium or The Things Stack, require their own integration procedure.
The trial is now active. Add the required gateway, network integration and sensor devices, then use the dashboard and reporting tools to confirm that data is being received. When the trial ends, subscription options remain available under Account > Subscriptions.